how to create presentation recordings on zoom
play

HOW TO CREATE PRESENTATION RECORDINGS ON ZOOM Steps If you do not - PDF document

HOW TO CREATE PRESENTATION RECORDINGS ON ZOOM Steps If you do not have zoom, please see the https://www.adelaide.edu.au/technology/your- support/self-help-guides for instructions on how to download the application If you require further


  1. HOW TO CREATE PRESENTATION RECORDINGS ON ZOOM Steps If you do not have zoom, please see the https://www.adelaide.edu.au/technology/your- support/self-help-guides for instructions on how to download the application If you require further assistance with the application please contact and ITDS Service Desk on 8313 3000. 
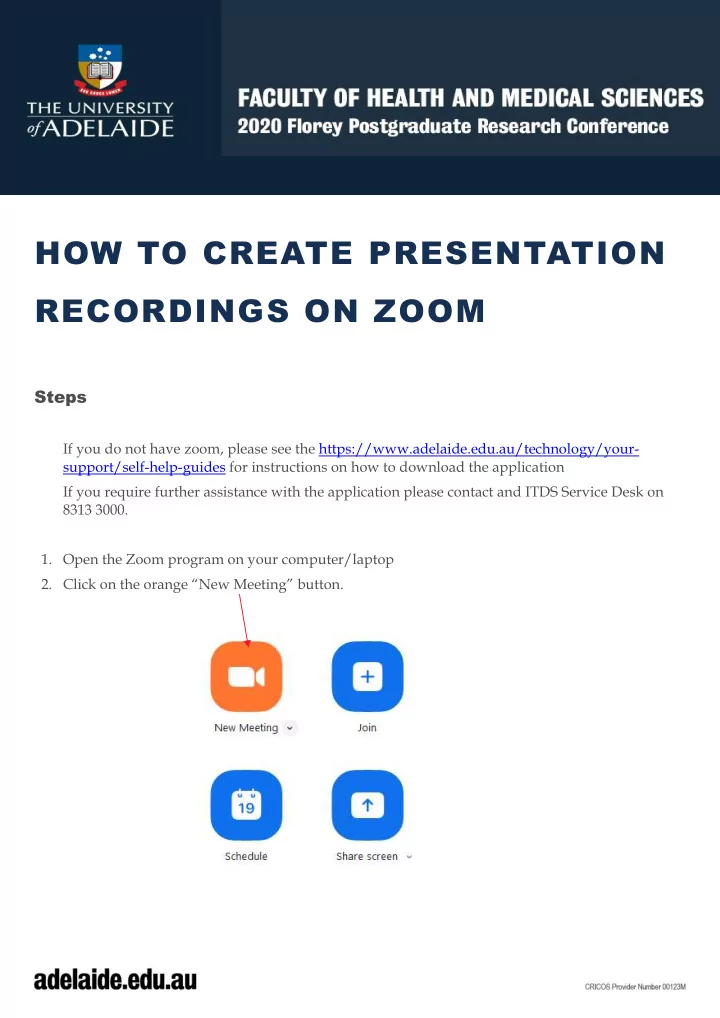
1. Open the Zoom program on your computer/laptop 2. Click on the orange “New Meeting” button.

  2. 3. It will open Zoom with your video camera turned on (ensure your PC or computer has a camera or this will not work) 4. On the bottom left, click on the up arrow on the mute button and select “ Test Speaker and Microphone ” and follow the prompts to test your speaker and mic are working correctly.

  3. 5. Open your PowerPoint presentation you will be sharing and leave it open in the background 6. Click the green “ Share Screen ” button on the bottom of your screen to share screen 7. Select the PowerPoint presentation window and then click the “share” button at the bottom of the screen. 8. You will see a green box at the top of the screen you are sharing “ You are screen sharing ”. T his will verify that it is being shared, as per below

  4. 9. Once shared you will see a video of yourself on the right-hand side and your poster in the middle, you can change this to a “ slide show ” if you wish. Now you have chosen your preferred method of presentation, you are ready to record! 10. Roll your mouse over the top of the screen where you see it highlighted in green until a menu drops down 11. Move your cursor over “ More ” then choose either “ Record on this computer ” or “ Record to the cloud ” from the list. There will now be an indicator on your screen verifying that the meeting is now being recorded.

  5. 12. When you’re done recording, go back into your Zoom toolbar as pictured above, click on More, then “ End Meeting ” and then select “ End Meeting For All ” . 13. If you selected the local recording option, the Zoom app will begin compressing the screen recording and save it on your computer. If you selected cloud recording, your video will appear in your Zoom account within a few minutes depending on its length. *Please ensure your presentation does NOT exceed 5 minutes.

Download Presentation
Download Policy: The content available on the website is offered to you 'AS IS' for your personal information and use only. It cannot be commercialized, licensed, or distributed on other websites without prior consent from the author. To download a presentation, simply click this link. If you encounter any difficulties during the download process, it's possible that the publisher has removed the file from their server.

Recommend


More recommend