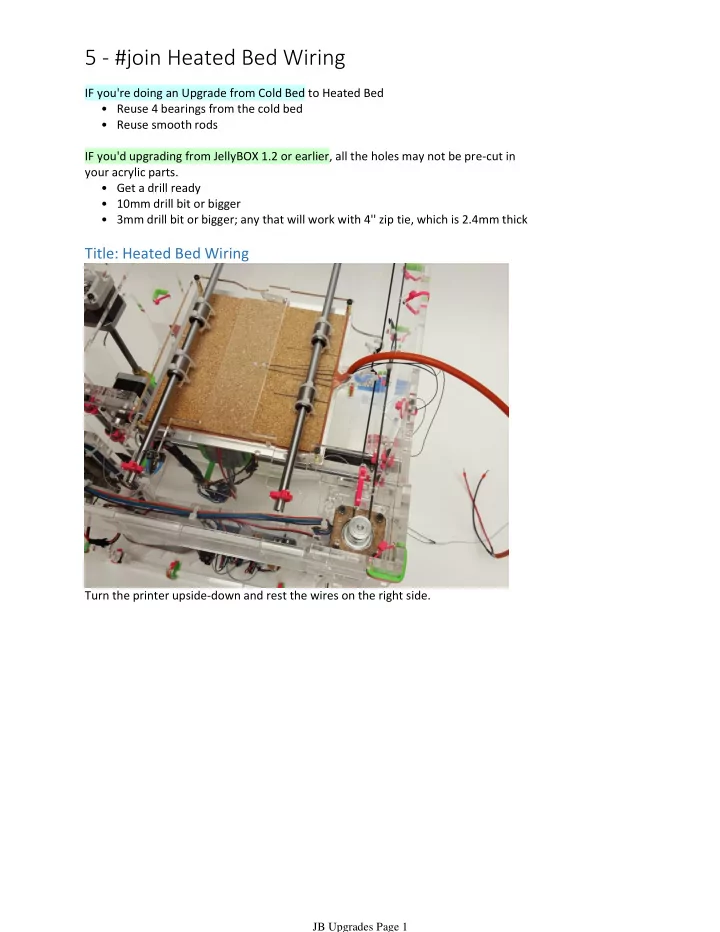

5 - #join Heated Bed Wiring IF you're doing an Upgrade from Cold Bed to Heated Bed • Reuse 4 bearings from the cold bed • Reuse smooth rods IF you'd upgrading from JellyBOX 1.2 or earlier, all the holes may not be pre-cut in your acrylic parts. • Get a drill ready • 10mm drill bit or bigger • 3mm drill bit or bigger; any that will work with 4'' zip tie, which is 2.4mm thick Title: Heated Bed Wiring Turn the printer upside-down and rest the wires on the right side. JB Upgrades Page 1
JB Upgrades Page 2
Route the wires through the Bottom acrylic piece AND the Y-motor bracket. If you are upgrading from JellyBOX 1.2, you will need to drill the holes in Bottom and Y-bracket to get the wires through. 10mm hole is the smallest you can get them through. JB Upgrades Page 3
First put on spiral wrap. Then loosely catch the wires underneath two zip ties: One 5'' pink zip tie close closer to the motor bracket One 4'' zip tie close to the middle of the bottom piece If you are upgrading from JellyBOX 1.2, you will need to drill the holes for these zip ties. Don't worry, you don't need to be intensely precise. NOTE: It IS possible to get this done without any drilling (if you are reluctant to drill). Simply use one big zip tie or two small ones around the bottom acrylic mid-section. JB Upgrades Page 4
Heated Bed Wire Folding #1 Heated Bed Wire Folding #2 Pull the wire back and forth and test how it's folding. When it's folding neatly without pulling on the components and without hanging too JB Upgrades Page 5
When it's folding neatly without pulling on the components and without hanging too low, tighten it in place. Finish up by snipping the zip ties On the inner back, secure the wires with a single 4'' zip tie just above the y motor bracket. Don't forget to leave the wires a bit of slack. No pulling. JB Upgrades Page 6
JB Upgrades Page 7
Recommend
More recommend