
SLIDE 1
IF you don't have the Heated Bed upgrade, you're on a wrong page.
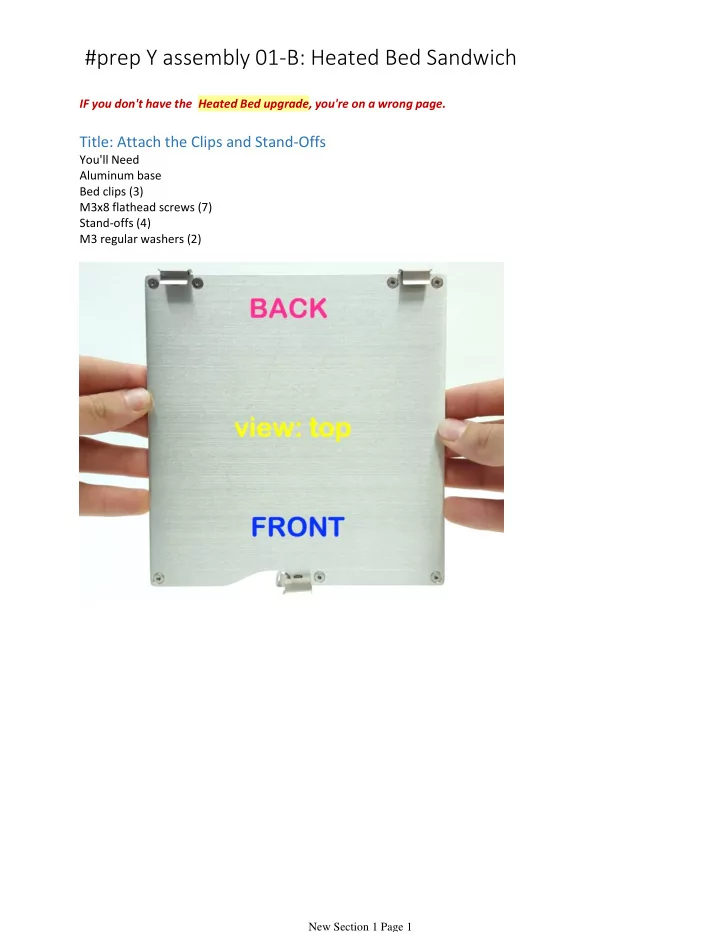
Title: Attach the Clips and Stand-Offs
You'll Need Aluminum base Bed clips (3) M3x8 flathead screws (7) Stand-offs (4) M3 regular washers (2)
#prep Y assembly 01-B: Heated Bed Sandwich
New Section 1 Page 1