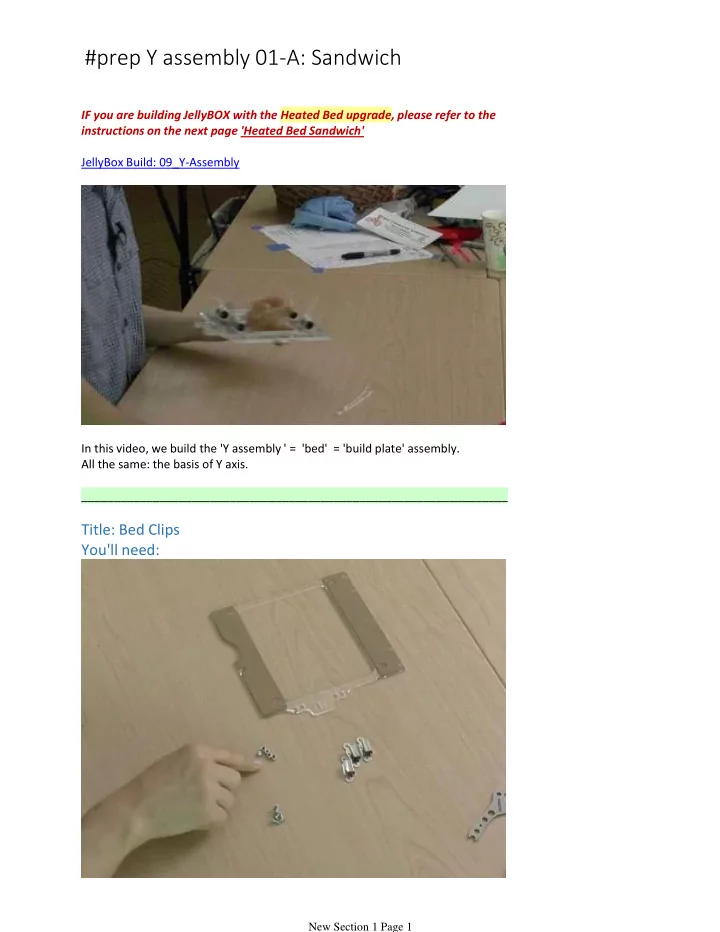

#prep Y assembly 01-A: Sandwich IF you are building JellyBOX with the Heated Bed upgrade, please refer to the instructions on the next page 'Heated Bed Sandwich' JellyBox Build: 09_Y-Assembly In this video, we build the 'Y assembly ' = 'bed' = 'build plate' assembly. All the same: the basis of Y axis. __________________________________________________________________ Title: Bed Clips You'll need: Top of Y-Assembly (with "Jelly" etching) New Section 1 Page 1
Top of Y-Assembly (with "Jelly" etching) Bed clips (3x) M3x8 flathead screws (5) Nylon lock nuts (5x) In the front , attach the one clip that is bent. Use only one screw and leave it a bit loose so that the clip can swivel open and close. In the back , attach the two remaining two clips. Do not use washers - the clips themselves distribute the pressure in this case. Title: Combine the Top and the Bottom You'll need: New Section 1 Page 2
Bottom acrylic piece (with outline etching of a jar) Top acrylic piece (with "Jelly" etching) M3x14 flathead screws (4x) Regular M3 washers (4x) M3 nylon lock nuts (4x) New Section 1 Page 3
Sandwich the top and bottom acrylic piece so that the "Jelly" label lays on top of the outline of a jar. If all goes well, you'll end up with a jar of jelly. Miam. Title: Bearings New Section 1 Page 4
You'll need: Y-Assembly Linear bearings (4x) Small, 4" zip ties (8x) Large, 6" zip ties (2x) New Section 1 Page 5
Thread all 4'' zip ties into the holes around the edges of all slots. The heads of the zip ties should be on the bearings. Drop in the bearings and tighten the zip ties with vise grip - normal tightening is sufficient here. Clip the ends of the zip ties. New Section 1 Page 6
Make two loops out of 6'' zip ties above and below the jelly jar. These loops will help correctly position the build plate. The heads of the zip ties need to be on the bottom. Title: Bend the Swivel Clip Most likely you received the front clip pre-bent. Just in case you didn't: New Section 1 Page 7
Bend a part of the front clip down along the diagonal line (shown in the drawing) with your vise grip. This will allow your fingers to better grip and rotate the clip. Also bend the right little tab on the clip to a straight 90 degree angle so that the clip can swivel fully. New Section 1 Page 8
Recommend
More recommend