SLIDE 1
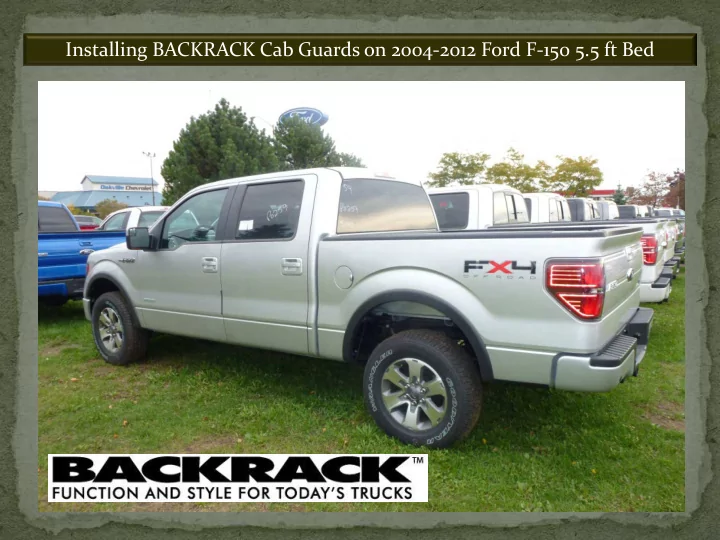
Installing BACKRACK Cab Guards on 2004-2012 Ford F-150 5.5 ft Bed
SLIDE 2
In the past, the 5.5 ft bed F-150 was installed by drilling holes through the top plastic of the truck bed rail ( 10512 SC ) The installation method illustrated in this presentation will demonstrate how to install Backrack Cab Guards on the 5.5 ft F-150 using the same Part # and installation method as the 6.5 ft and 8ft bed. ( 10512 ) The advantage to the consumer is a cleaner, more attractive installation. The advantage to the dealer is fewer Part #’s for the F-150. Eliminating Part # 10512 SC Replace with Part # 10512
SLIDE 3
DELETE NEW
Backrack no Toolbox
DELETE NEW
Backrack with Toolbox
DELETE NEW
Safety Rack no Toolbox
DELETE NEW
Safety Rack with Toolbox
SLIDE 4
- If the truck has a bedliner it needs to be removed.
- You require access to the inside wall of each front stake pocket.
- The 4 factory tie downs need to be removed to remove the liner.
- Here’s a quick and easy way to remove the liner .
- Drop the tailgate and stand in the center, off the bedliner, on the gate.
- Grab under the liner in the center and lift straight up.
- The liner will collapse down and under the rail, popping out.
This bedliner has to go These 4 tie downs removed
SLIDE 5
- There are no stake holes exposed on the 5.5 ft bed F-150.
- On the 6.5 ft and 8ft beds, a plastic cap is removed to expose the pockets.
- The 5.5 ft F-150 has the exact same stake holes as the 6.5ft bed F-150.
- The front stake holes need to be exposed by cutting away the plastic.
- Do not lift or pull up the entire plastic bed cap. Tabs will break off !
- You need to mark the location of the stake hole then cut the plastic away.
- A Dremel tool or utility knife will do the job just fine.
There’s a Stake Hole under the plastic. You will need to cut the plastic away to expose it.
SLIDE 6
Here’s the Stake Hole on the 6.5 & 8ft beds. ¾” in from the edge looks like we won’t hit metal. 2 – 1/8” looks safe for not hitting metal. Mark these dims out with ink on the rail then cut from center
SLIDE 7
- Cut the plastic away to expose the two front Stake Holes
- Now you need to create a hole on the inside metal wall of the front pockets.
- The hole should be 9/16” to accommodate a ½” diameter bolt.
- Mark the center of the hole to be drilled ( see dimensions below ).
- Use a center punch or nail to keep the drill bit from wandering.
- A smaller pilot hole is recommended. Drill the hole .
Drill a 9/16” hole on the inside metal wall of each pocket. Center is 4-9/16” from top and 1-1/2” from front metal of bed.
SLIDE 8
4-9/16” down from the top of the plastic bed rail. 1-1/2” back from the front of the metal box front. Mark the center with a punch to keep drill in place. Drill a pilot hole then a 9/16” for a ½” bolt.
SLIDE 9
- You have now drilled a 9/16” hole in the metal side wall of the pockets.
- You can now insert the Stake Pocket Bolts ( SPB ) into each Stake Hole.
- There is a LH and RH SPB in the fastener bag in the Hardware Kit.
- In Backrack Cab Guards, the Hardware Kit is enclosed in the large carton.
- For a Safety Rack Cab Guard, the Hardware Kit is in a separate box.
- Thread the ½” square washer on the short thread end of the SPB
- Thread the ½” square washer right to the end of the threads.
- Insert the SPB c/w square washers into the 9/16” holes you drilled.
- Do this by inserting SPB’s down in the holes you cut in the plastic rail.
Thread the ½” square washer
Insert the SPB into the pocket and through the 9/16 hole.
SLIDE 10
Insert the SPB into the Stake Holes, through the 9/16 hole. Secure with ½” nut and washer. Fully tighten ½ nut assembly with ratchet or wrench. Note that the stud is at the rear of the Stake Hole.
SLIDE 11
- You have now installed and tightened the SPB’s into the two front pockets.
- If you removed a bedliner, you now need to replace it.
- You cannot install the bedliner once the Cab Guard is in place.
- You now need to attach the Railmount Brackets ( RMB ) on to the Frame.
- If you have a Toolbox, attach the Toolbox Brackets ( TBB ) on to the Frame.
- Part #’s 10512 & 30112 contain RMB’s and Rail Plates c/w all fasteners.
- Part #’s 10512 TB & 30112 TB contain TBB’s only c/w all fasteners.
Railmount Brackets ( RMB ) Toolbox Brackets ( TBB )
SLIDE 12
Hardware Kit attached to Backrack Cab Guard Attach RMB or TBB on to each end of Cab Guard Frame. New kits have Carriage Head Bolts Older kits have Hex Head Bolts
SLIDE 13
- Attach the RMB or TBB on to each end of the Cab Guard frame.
- Beginning in 2012, Carriage Head bolts will be standard in all Hardware Kits.
- Current Hardware Kits have ½ x 3-1/2” Hex Head Bolts.
- The head of the bolt must be between the truck cab and the Cab Guard frame.
- This is illustrated in the photo below.
- If reversed, the rear window of the truck could be broken when box flexes.
- We have observed discrepancies in box location in relation to the truck cab.
Bolt head must be between Truck Cab and assembly.
SLIDE 14
- You have now attached the RMB or TBB’s on to the Cab Guard frame.
- Before placing the Cab Guard assembly in place, a few parts need to added.
- Effective 2012, a new Spacer Plate will be included in all F-150 Hardware Kits.
- The Spacer Plate will provide a level surface on which to place the assembly.
- Currently, ridges in the plastic rail cause the assembly to lean forward.
- The Spacer Plate will place the assembly level with the ridges.
- The Spacer Plate will also act to eliminate any forward movement of assembly.
- Rail Plates already act to eliminate forward movement when installed correctly.
- Rail Plates also provide a stable base to strengthen the plastic bed rails.
Spacer Plate included in all F- 150’s late 2011. Rail Plate locks against front
SLIDE 15
Place Spacer Plate over SPB Spacer Plate in place Place Rail Plate over Spacer Plate on to plastic rail. Rail Plate in place and locking against bed front.
SLIDE 16
- Earlier models with Rail Plate only, RP locks against front of truck bed.
- Lift and place the Cab Guard assembly over the Stake Pocket Bolts.
- The RMB / TBB’s drop over the SPB’s.
- The Cab Guard assembly is now sitting on the bed rail ready to be secured.
- Place the ½” flat washers over the SPB’s and on to the RMB / TBB.
- Toolbox Brackets ( TBB ) do not use Rail Plates.
- Thread the ½” Nylock nuts on to the SPB’s and snug down on to plastic rail.
- DO NOT over tighten. Over tightening will collapse bed rail and tear metal.
Place assembly over SPB and
Thread on Nylock Nut and
- secure. Don’t over tighten !
SLIDE 17
- Stand at the rear of the truck and center Cab Guard frame behind cab.
- When centered, tighten Carriage or Hex Head Bolt assembly.
- Tighten these as tight as possible using ratchet or wrench.
- The installation is now complete.
Center Cab Guard behind the truck cab. Tighten the Hex Head or Carriage Head bolts. CONTACT US: info@backrack.ca 905-849-3633