
SLIDE 1
- 1. Open the scanner and remove the document mat if it is present.
Note: You must remove the document mat from the scanner to scan fjlm or slides. This uncovers the transparency unit window beneath the mat. Place mat in plastjc bag.
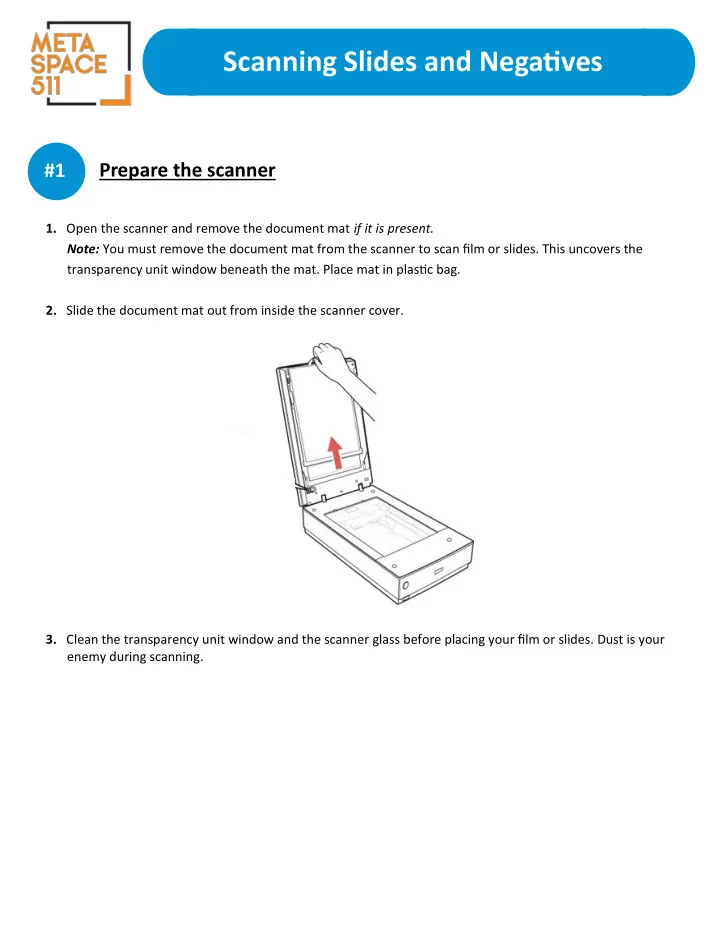
- 2. Slide the document mat out from inside the scanner cover.
- 3. Clean the transparency unit window and the scanner glass before placing your fjlm or slides. Dust is your
enemy during scanning.