
SLIDE 1
Relevant Additional Sources
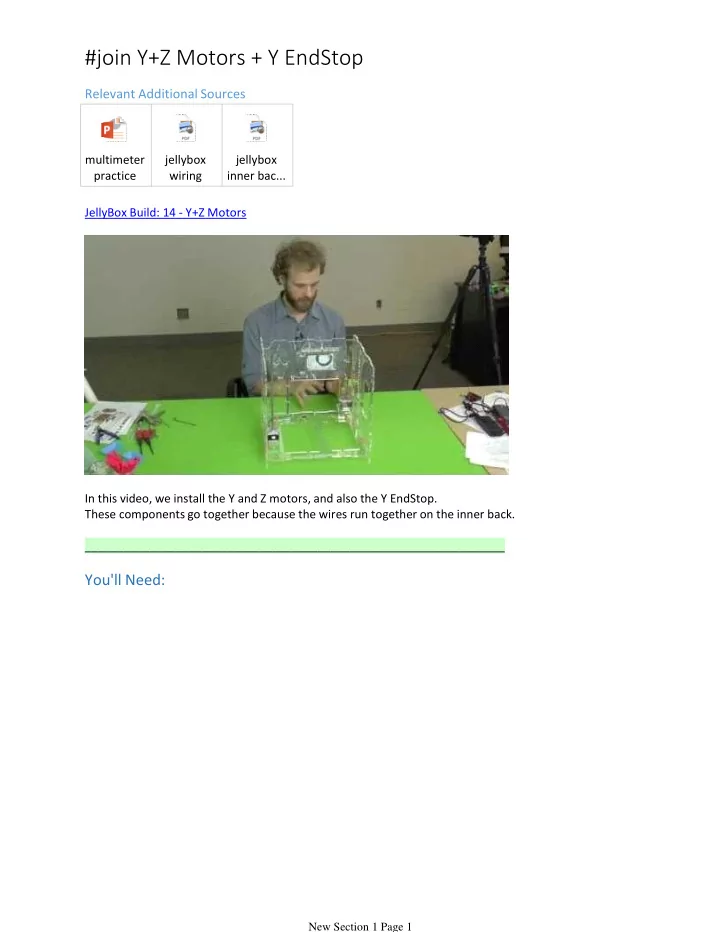
multimeter practice jellybox wiring jellybox inner bac... JellyBox Build: 14 - Y+Z Motors In this video, we install the Y and Z motors, and also the Y EndStop. These components go together because the wires run together on the inner back. _________________________________________________________________
You'll Need:
#join Y+Z Motors + Y EndStop
New Section 1 Page 1