
SLIDE 1
Geometrical Optics
1st year physics laboratories
University of Ottawa https://uottawa.brightspace.com/d2l/home
Geometrical Optics 1 st year physics laboratories University of - - PowerPoint PPT Presentation
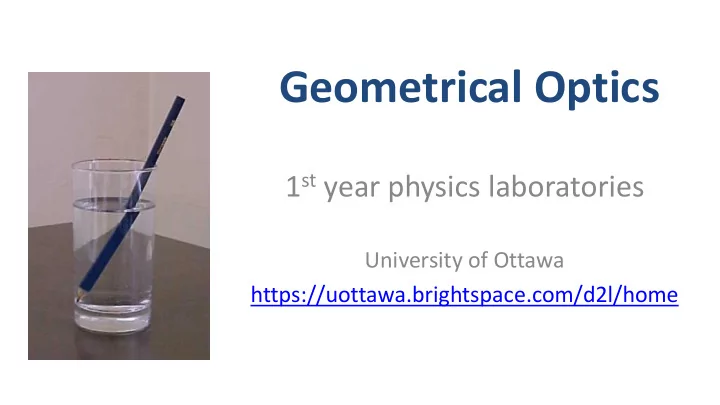
Geometrical Optics 1 st year physics laboratories University of Ottawa https://uottawa.brightspace.com/d2l/home INTRODUCTION Geometrical optics deals with light as a ray that can be bounced (reflected) or bent (refracted) by different
University of Ottawa https://uottawa.brightspace.com/d2l/home
1 𝑞 + 1 𝑟 = 1 𝑔
lens window screen
lens (10 cm convex) light source screen
lens (10 cm convex) light source lens (20 cm convex)
USB key.
the 4 acrylic pieces and the 360° protractor.
the light source, the two lenses, and the screen back
can.
push your chair back under the table.
The report is due at the end of the lab session. Don’t forget to do your pre-lab for the next experiment!