
SLIDE 1
Relevant Additional Sources
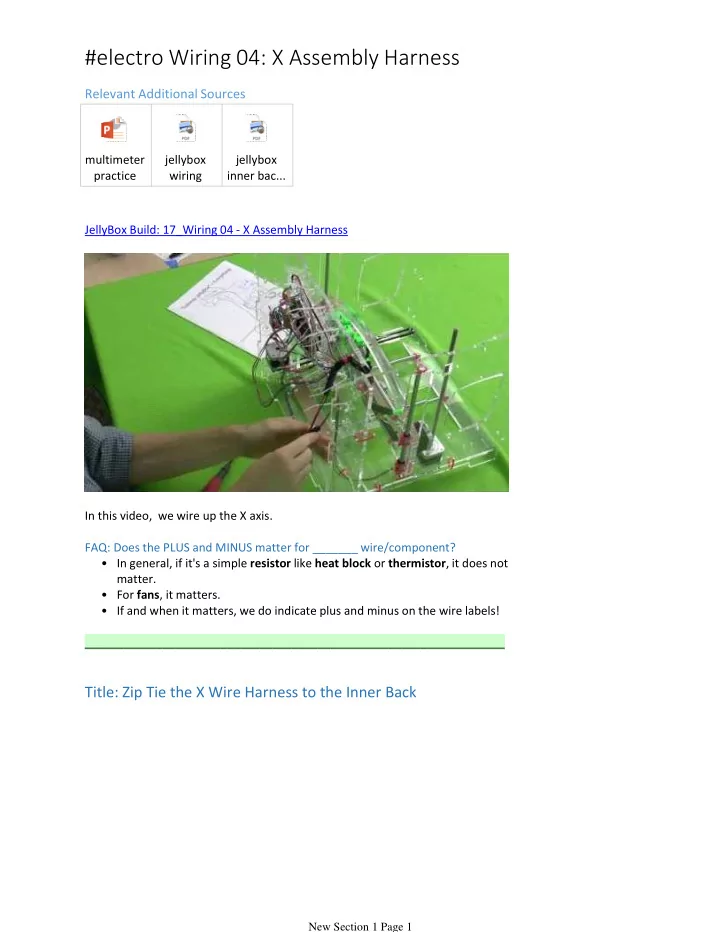
multimeter practice jellybox wiring jellybox inner bac... JellyBox Build: 17_Wiring 04 - X Assembly Harness In this video, we wire up the X axis. In general, if it's a simple resistor like heat block or thermistor, it does not matter.
- For fans, it matters.
- If and when it matters, we do indicate plus and minus on the wire labels!
- FAQ: Does the PLUS and MINUS matter for _______ wire/component?
_________________________________________________________________
Title: Zip Tie the X Wire Harness to the Inner Back
#electro Wiring 04: X Assembly Harness
New Section 1 Page 1