
SLIDE 1
proto
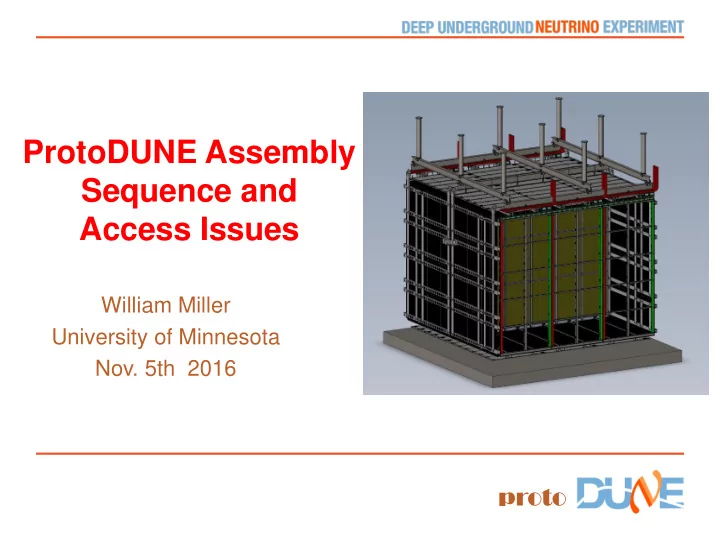
ProtoDUNE Assembly Sequence and Access Issues
William Miller University of Minnesota
- Nov. 5th 2016
ProtoDUNE Assembly Sequence and Access Issues William Miller - - PowerPoint PPT Presentation
ProtoDUNE Assembly Sequence and Access Issues William Miller University of Minnesota Nov. 5th 2016 proto Access needed for ProtoDUNE Access is required both inside the cryostat and outside in the cleanroom during pre-assembly Goal
William Miller University of Minnesota
cryostat and outside in the cleanroom during pre-assembly
cleanroom area where access is simplified
(Temporary Construction Opening) that is 1.2m wide and ~7m tall for ¾
devices must be removed by a 710 (29”) manhole, scaffolding must be tubular/clamp design
Nov 5, 2016 William Miller 2
Nov 5, 2016 William Miller 3
shown in the plan view on slide 3. Materials will be lowered via crane for access in the 8m x 13m clean room. A scissor lift can be used to transfer the load from the crane to the dedicated rail system shown on slide 5. Other items can be placed on a cart and wheeled in the double doors.
needed for installing the cold electronics, transferring load to rail system, etc. is ~8m (26 feet) and they should be large enough to hold 2 people plus some equipment (200kg?)
rolling 1-2m tall work platforms
parts, at least one large one for the field cages 4m x 2.5m rated for 1000kg
Nov 5, 2016 William Miller 4
Nov 5, 2016 William Miller 5
Nov 5, 2016 William Miller 6
Nov 5, 2016 William Miller 7
End wall field cage modules Top field cage modules with ground plane Calibration laser (4 total) HV feedthrough APAs CPAs Bottom field cage modules with ground plane Detector Support Structure
Nov 5, 2016 William Miller 8
2.5m 6.0m 2.5m 2.0m Side view-length 2.5m clearance 485mm Height 6m, must be able to adjust height Plan View-width 2.0m clearance 313mm Length 2.5m clearance 485mm
Nov 5, 2016 William Miller 9
Nov 5, 2016 William Miller 10
Using a small electric hoist, the 5 bridge beams are lifted into position and connected to the single trolley system. These are stainless with non-lubricated bushings. 2m x 2.5m x 6m scaffolding will be needed for reach each of these 15 connections.
Nov 5, 2016 William Miller 11
Once the Detector Support Structure is completed the Cryogenic Piping is installed. Some of the manifolds are heavy, we may be able to use the DSS to help lift in place,
Scaffolding access will be needed to connect manifolds to the hanger brackets
Nov 5, 2016 William Miller 12
to install and test the Photon Detectors and cabling
front of the Cold Box where it’s cold electronics are installed and is then tested in the Cold Box
testing they are joined together in front of the TCO and rolled into the Cryostat on Beam A
scaffolding is set up by APA 1 to route the cables to the feed-thru then continue with APA 2 and 3. The scaffolding will have to be moved at least once to reach all 3 feed-thru’s
Nov 5, 2016 William Miller 13
can be moved into position using the spreader bar, swivel and trolley.
until installation of Beam C with the complete set of CPA/FC
Scaffold
Nov 5, 2016 William Miller 14
shown on page 3 after a “pair” of CPAs are joined via threaded rod and spacer, the field shaping strips are mounted and all electrical connections are completed.
hinges located at the top of the CPA “Pair”.
center lifting attachment to give the correct angle.
side then this pair is completed
Nov 5, 2016 William Miller 15
Scaffold 2m x 2.5m
FC9 is lowered and FC10 is raised using pulley/hoist mounted on Beam B
Nov 5, 2016 William Miller 16
Scaffold 2m x 2.5m
FC11 is lowered and FC12 is raised using pulley/hoist mounted on Beam B
Nov 5, 2016 William Miller 17
the most difficult and this step is repeated again on FC18/19
750 wide for access needed to engage latches and make final electrical connections
Scaffold
Nov 5, 2016 William Miller 18
Endwalls and FC the TCO needs to be welded shut
and needed welding equipment to be stored in North Drift Area. It is likely we can move Beam B to the north and use the End Walls to help protect the APAs and allow better access to the manholes
deployment can be done in the same sequence as the South Drift
performed in a confined space environment with access via tripod with man-lift for manhole
710mm Manhole Access
Nov 5, 2016 William Miller 19
final connections are made, access door openings in End Wall 5 and 23 are closed up
personnel are then lifted up thru manhole
Scaffold
River JLG-2630ES
work platforms 1-3m
It needs to be of a tubular design so it can fit out manhole
the TCO
manhole to lower/raise personnel once TCO is closed
Nov 5, 2016 William Miller 20