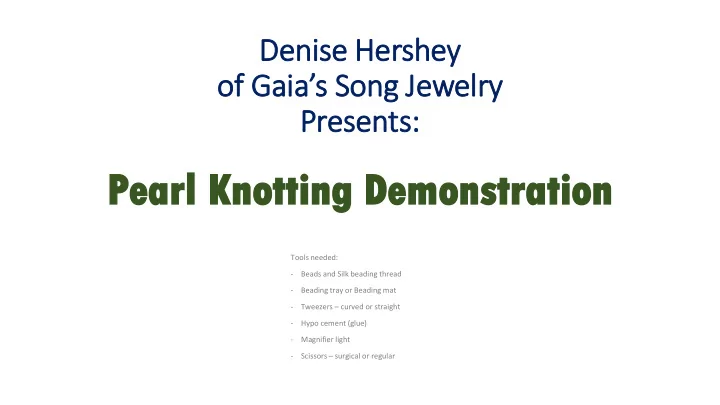
pea earl rl kn knot otting ting dem demons onstration
play

Pea earl rl Kn Knot otting ting Dem Demons onstration tration - PowerPoint PPT Presentation

Denise Hershey of Gaias Song Jewelry Presents: Pea earl rl Kn Knot otting ting Dem Demons onstration tration Tools needed: - Beads and Silk beading thread - Beading tray or Beading mat - Tweezers curved or straight - Hypo


  1. Denise Hershey of Gaia’s Song Jewelry Presents: Pea earl rl Kn Knot otting ting Dem Demons onstration tration Tools needed: - Beads and Silk beading thread - Beading tray or Beading mat - Tweezers – curved or straight - Hypo cement (glue) - Magnifier light - Scissors – surgical or regular

  2. De Design ign and nd str trin ing g your r ne necklac klace Using a bead tray or mat that allows you to place beads and they don’t move much, put out all of your potential beads and create your design. Once you like the design, get out your silk thread that has a needle incorporated into one end. This example uses Natural Silk Bead Cord by Griffin. Carefully put each bead in order onto the thread. [pro tip: Keep checking that you have threaded all the beads in the right order. This will save you precious time if you catch a problem early.] Here I’ve completed threading the whole necklace.

  3. Pr Prepa pare re for kn r knott ttin ing Notice that all the beads are near the needle end of the strand in the previous picture. [pro tip: especially if you can make more than one piece on the strand, you want to start stringing from the far end of the strand so you can reuse the needle.] Unwind the rest of the thread and push the beads near the end. [pro tip: leave about 8-10 inches of thread for the tail and room to work.] Tie a regular knot about 3 inches from the far end of the thread. [pro tip: Pull it very tight!]

  4. Second nd Kno not Slide the first bead to the knot. [pro tip: you do not want to have any slack in the thread as it will cause gaps in the necklace] With the first knot and first bead in your right hand and the rest of the beads in your left with a 5 inch gap in between, tie a loose knot in the gap. [pro tip: don’t let the knot close at this point!] Using your tweezers, insert it into the loop of the knot and grab the thread where it emerges from the bead. Make sure the tweezers are pushing the bead hard against the first knot. [pro tip: I like to use tweezers with a curved end. Straight ends are okay, but NEVER use tweezers with ridges for gripping as they will tear the thread] Slowly pull the thread and close the knot at the tip of the tweezers. Carefully remove the tweezers. Use the tweezers to push the knot into the bead while continuing to tighten the knot.

  5. Avoid id Sla lackness ckness! The bead should not be able to slide between the knots. [pro tip: wait to completely tighten the knot until after you recheck that the bead is not sliding. If, after you tighten the knot, the bead slides, you have two choices. 1. start over by cutting this bead loose and stringing it at the other end, or 2. Carefully use your tweezers to loosen the knot and try tightening the knot again If you are at the beginning, it’s sometimes easier to cut your losses and do option 1, however, once you are into the necklace, do your best to do option 2. It can be frustrating and sometimes impossible to unknot a tight knot. So the trick is to always check before you tighten the knot fully. I use a magnifying glass light to see what I’m doing when trying to unknot.]

  6. Ad Add d and nd Kno not t Second nd Be Bead Push the second bead tight to the first bead and follow the instructions for the Second Knot. Here, I’ve stopped after slowly tightening the knot against the tweezers Once I tighten the knot all the way to the tip of the tweezers, I pull the tips of the tweezers out while tightening the knot. Here I’m using the tweezers to push the knot hard against the bead so it doesn’t relax or move.

  7. Cont ntin inue ue kno nott tting ing Here I’ve completed the first set of beads in the pattern. [pro tip: keep your working thread gap to about 5 inches or whatever is comfortable for you. This will mean that periodically you will need to move the unknotted beads down the thread to accommodate thread used in the knots. As you continue, the tail of knotted beads is getting longer and longer. So you may need more than 5 inches and as you practice you will find a way to pass the beaded thread through the loop without it getting hung up.]

  8. Finish nish the he ne necklace lace Finish by knotting the rest of the string except for the last bead. Take the tail from the first bead and the thread through the last bead and tie a square knot very tightly. Dab hypo cement on the knot and let dry. Once dry, trim the ends of the threads and you are done!

Download Presentation
Download Policy: The content available on the website is offered to you 'AS IS' for your personal information and use only. It cannot be commercialized, licensed, or distributed on other websites without prior consent from the author. To download a presentation, simply click this link. If you encounter any difficulties during the download process, it's possible that the publisher has removed the file from their server.

Recommend


More recommend