
SLIDE 1
or select the txMyZone link on Mrs. Gillums webpage. (Aubrey Middle - - PowerPoint PPT Presentation
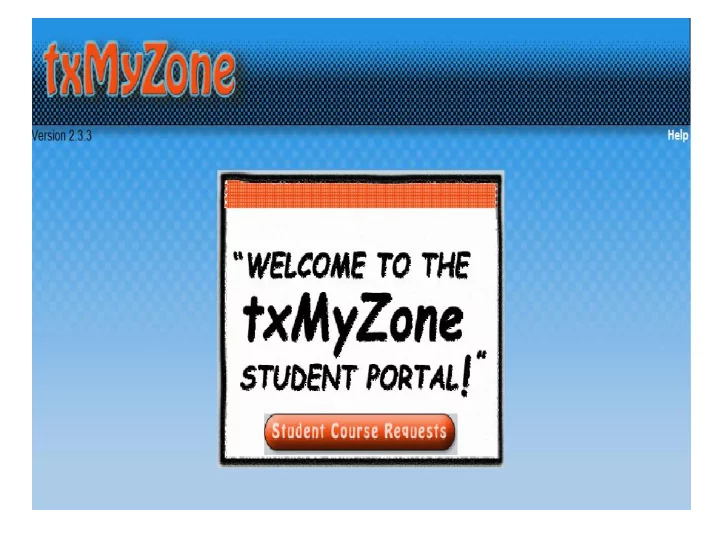
1. From your Internet browser , go to http://txcnto1.esc11.net/aubreymyzone or select the txMyZone link on Mrs. Gillums webpage. (Aubrey Middle School, Campus Departments, Counselor) 2. From the txMyZone Welcome screen, click the Student Course
Message
When you log in, a Message from the school office will appear. Please read the message as it will have helpful information. Here is a sample: 1.Click the Close button after you have read the message.
Student Identification and Menu
selections.
decrease by 2.
you remove a previously selected course from the Requested Courses section.
IMPORTANT! Do NOT click the Submit button until you have made ALL applicable Subject selections!
that are available for your grade level will appear in the Available Courses area on the left. You may click any Subject tab desired. However, if you let it begin at the first tab, once you click the Next Subject button it will advance to the next tab in line. Only courses in the Subject selected will appear on that tab.
Click the button in the Add column on the line of the desired course to move it from the Available Courses area on the left to the Requested Courses area on the right. Notice the Units Remaining decreased by 2.
Submit Courses
The Submit button should only be clicked when you are finished selecting ALL courses needed. First confirm the following items:
complete the schedule.
Remember: No changes can be made in txMyZone once you click Submit. See the counselor if changes are needed. 1.Submit – Click this button to submit and complete the course request selection process.
If you receive a Warning message, it means you did not select enough courses to be fully scheduled:
Once you have selected all requests, click the Submit button again. If all selections have been made, click Continue. The following screen appears: