
SLIDE 1
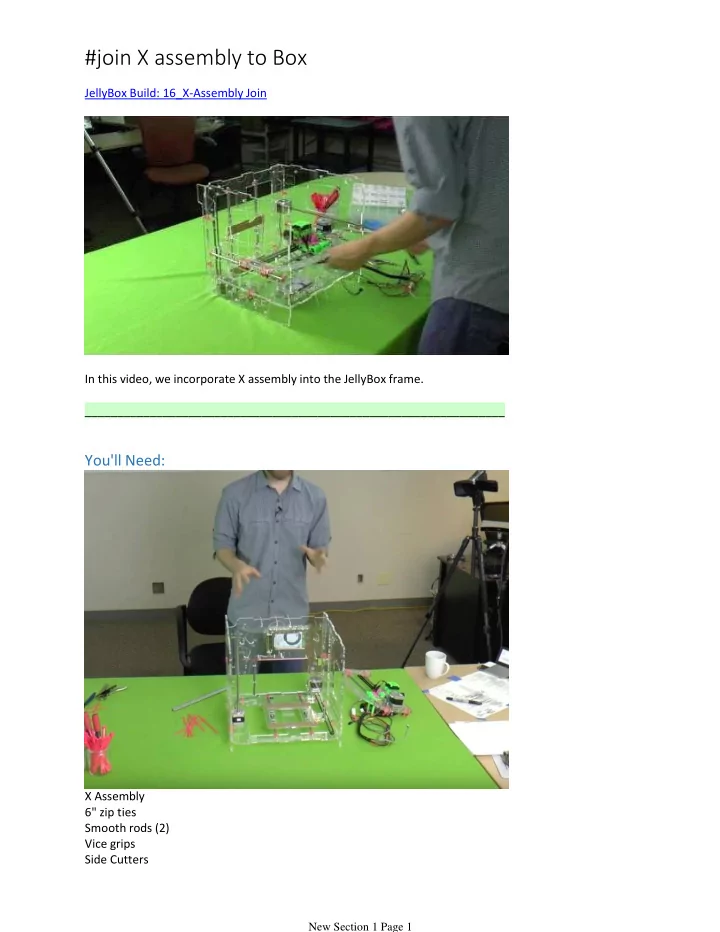
JellyBox Build: 16_X-Assembly Join In this video, we incorporate X assembly into the JellyBox frame. _________________________________________________________________
You'll Need:
X Assembly 6" zip ties Smooth rods (2) Vice grips Side Cutters
#join X assembly to Box
New Section 1 Page 1