
SLIDE 1
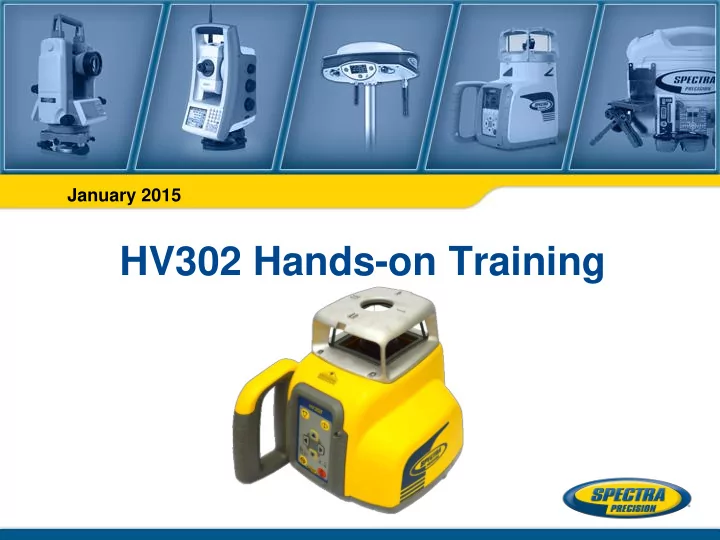
HV302 Hands-on Training
January 2015
HV302 Hands-on Training HV302 Controls Scan Button Rotation Button - - PowerPoint PPT Presentation
January 2015 HV302 Hands-on Training HV302 Controls Scan Button Rotation Button Scan Button Rotation Button Slope/Alignment Buttons HI-/Manual- Standby - LED Level-LED Battery Status LED Power Button Manual/Single Slope Mode/ Standby
January 2015
Battery Status LED Level-LED Manual/Single Slope Mode/ Standby Button Power Button HI-/Manual- Standby - LED Slope/Alignment Buttons Rotation Button Scan Button Scan Button Rotation Button
Left & Right Buttons Menu button Up & Down Buttons LCD - Display On/Off Button RC402N-Battery status LED Enter button Hand loop Manual/Single Slope Mode/ Standby Button
Rubber Feet Serial Number 5/8” x 11 Beam Exit Metal Sunshade Sighting Guides Rotor Vial
Plastic Feet Rubber Foot Laser Safety Labels 5/8” x 11
New warning label at the battery cage
M-Button : Quickly press and release starts the MENU entry and can be used to return to the previous menu position E-Button : Quickly press and release starts the selected mode Manual Button : Quickly press and release activates/deactivates the manual mode/ single slope mode; press and hold for 3 seconds activates/deactivates the Standby mode Up/Down Arrow Buttons Left/Right Arrow Buttons ON/OFF button - press for 1 second to turn on the unit; press and hold for 2 seconds to turn off the unit RC402N Battery- Status-LED (red)
Battery status laser Mask mode indication HI-Alert activated
The remote control mirrors the basic functionality of the HV302 keypad and
battery door tab on the RC402N.
plus (+) and minus (-) diagrams inside the battery housing.
until it “clicks” into the locked position. Turning On/Off the Radio Remote Control Press the button to turn on the radio remote control. To turn off the radio remote control, press and hold the button for 2 seconds.
Display at RC402N HV302 – horizontal setup Display at RC402N HV302 - vertical setup
– The battery LED flashes fast.
Make sure the transmitter is turned off. First, turn on the receiver, then press and hold the (A) and (B) buttons for two
then RDIO. Press and release the button – display shows the current radio mode. If not already set to LS, press (C) button (current mode flashes) then press (A) or button (B) until LS is displayed. Press (C) button again to enter selection. Press and release the (B) button – display shows PAIR. Press the (C) button again – the display shows PAIR and a rotating bar. Then press and hold the button and turn on the transmitter (Battery LED flashes fast). After completing, PAIR/OK will be displayed. The laser pairs now automatically with the new receiver and turns back to the standard function. Press and release the HL760 button two times to exit the menu at the receiver. A laser symbol and an antenna is lit to confirm the receiver is ready for communication with the laser.
A B C
the button
automatic self-leveling mode
seconds (diagnostic mode).
leveling once a second
solid for the first five minutes or 30 seconds (depending on Settings), then flashes every 4 seconds indicating the laser remains level and the HI-alert has been activated
seconds while the RC402N display shows Standby.
buttons increase/decrease the rotor speed from 10 to 80 and then continuously in 10 rpm increments up to 600 rpm. Note: To stop the beam’s rotation immediately, press and release the button.
for moving the beam clockwise/ counterclockwise and to align the rotor vial to establish an exact plumb down beam.
buttons increase/decrease the line size in 5° increments. Press and hold button moves the scan line to the right/left direction.
simultaneously starts Line Scan while the rotor checks the limits of the X- axis (beeps) and stops at the center position (all laser LEDs are turned off) .
changes the unit into manual mode.
buttons.
unit back to full automatic mode.
buttons change the slope of the Y- axis; the X- axis will self level to maintain a consistent elevation of the sloped reference plane.
buttons change the slope of the X-axis; the Y- axis will self level to maintain a consistent elevation of the sloped reference plane.
selected rotation speeds 0, 10 (short moving line), 80, 200 and 600 rpm.
buttons increase/decrease the rotor speed from 10 to 80 and then continuously in 10 rpm increments up to 600 rpm. Pressing button shows the actual rpm. At 0 rpm, the beam stops automatically close to the +Y- axis center position. Buttons move the beam to the Left/Right side. Note: To stop the beam’s rotation immediately, press and release the laser’s button.
increase/decrease the scan size in 5°increments. Pressing button shows the actual scan size. Press and hold button moves the scan line to the right/left direction. In automatic vertical mode, pressing and holding button moves the scan line counterclockwise/ clockwise; buttons moves the scan line into the right/left direction regardless if in automatic or manual mode. Note: To stop the scan mode immediately, press and release the laser’s button.
NOTE: DO NOT change the receiver position at the rod
Exiting of Grade Match can be done by pressing the button where the unit goes always back to automatic mode.
The red and green LED flash simultaneously (once a second).
When the slope work has been finished,
press the button two times to go back to automatic self-leveling mode.
1 Hz
1 - attach the HL vertical adapter to the receiver 2 - attach the adapter for the receiver to the HL vertical adapter 3 - HL vertical adapter/receiver combo ready for vertical applications 3 - mount the HL vertical adapter/receiver combo at the batter board
Note: When used in vertical mode, the receiver has to be placed with the photocell
set up the HL760 at least 0.5 m (2 ft) above the ground. Any loss of signal over an extended period of time (1 minute) causes the laser to go into the HI-alert condition (beam turns off, rotor stops and a warning message
been deleted with the button. Exiting of PlaneLok can be done by pressing the button or any HL760 button where the unit goes always back to automatic mode.
and select >>Line Scan<<.
The rotor checks the limits of the X- axis and stops at the center position in automatic mode. (LS is flashing while all laser LEDs are turned off) Pressing the button at the laser or RC402N stops the movement and changes the unit into manual mode. Line position corrections left and right can be done using buttons. Press and release the button at the laser or RC402N to change the unit back to full automatic mode.
and select >>Beam Plunge<<.
The rotor checks the limits of the Y- axis and switches back to automatic mode at the center position. (BP is flashing while all laser LEDs are turned off) Pressing the button at the laser or RC402N stops the movement and changes the unit into manual mode. Corrections up and down can be done using buttons; for left/right corrections use buttons. Press and release the button to change the unit back to full automatic mode.
Error codes Description Solution 21 Temporary EEprom problem Press the E button to deletet the error message 120 HI alert - Unit Height changed Check laser beam elevation 130 Mechanical Limit during Grade Match / PlaneLok Check if existing slope is above +/-9% 140 Laser beam blocked Make sure there are no obstacles between the transmitter and the HL760 141 Time Out - Alignment could not be completed in the allowed time Check radio operating range/ connection; check stable laser setup 150 No receiver – HL760 Receiver not available for single axis automatic function Make sure the HL760 is on and paired 152 No receiver - The laser searched for the receiver but could not find it Check the operating range for auto function and restart the auto alignment 153 Lost Receiver - The laser searched and found the receiver but then lost it Check the operating range for auto function and restart the auto alignment 155 More than two paired receivers are available during automatic alignment function. Make sure only two HL760 receivers are turned on. 160 X or Y level sensor defect Contact service center
Any error message can be deleted with a short press of button E. The table shows the related description and possible solutions. The next service center should be contacted if a different error message as shown at the table will be displayed.
1. Nail Holes (3) – allows you to hang the wall mount onto nails or screws. 2. Locking Screws – lock/unlock the wall mount at the wall molding or floor track. 3. Locking Knob - tightens/loosens the sliding bracket in place after it has been positioned along the elevation scale. 4. 5/8“–11 Laser Mount – lets you connect the laser to the wall mount. 5. Fine height adjustment screw - lets you fine adjust the laser’s position
6. Adjustment screw – adjust the slider‘s movement tightness considering the laser weigth. 7. Elevation Scale – provides graduated marks that indicate the position
5 cm (2 in.) below it. (The “2“ position is aligned with the horizontal centerline at the ceiling target.) 8. Reading Edge – allows you to adjust the laser position appropriate for your application needs. 9. Vertical-Alignment Notch— shows the position of the laser beam when the laser is set up in vertical mode and is moved up to the top (3.1 cm [1 1/4 in.]) stop. Note: The laser handle should be used as a safety hole - provide a place to tie a safety wire when mounted to a wall.
1 2 3 4 6 5 2 7 8 9