
SLIDE 1
How to Make a Video from a PowerPoint Presentation
How to Make Video from PowerPoint 2010
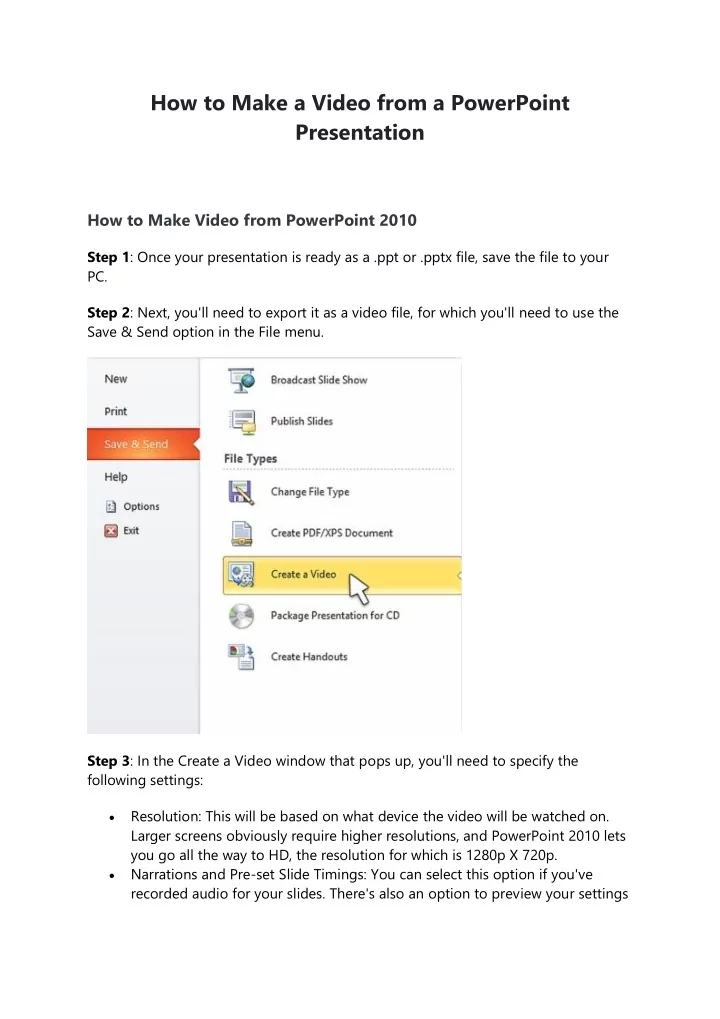
Step 1: Once your presentation is ready as a .ppt or .pptx file, save the file to your PC. Step 2: Next, you'll need to export it as a video file, for which you'll need to use the Save & Send option in the File menu. Step 3: In the Create a Video window that pops up, you'll need to specify the following settings:
Resolution: This will be based on what device the video will be watched on. Larger screens obviously require higher resolutions, and PowerPoint 2010 lets you go all the way to HD, the resolution for which is 1280p X 720p.