
SLIDE 1
Health Sciences Programs SMART Lab Guide
How to Create a Narrated PowerPoint Presentation
These instructions were developed for PowerPoint 2010 on Windows 7 and assume basic knowledge of PPt for Mac computers, we advise you to use Keynote instead of PowerPoint for Mac.
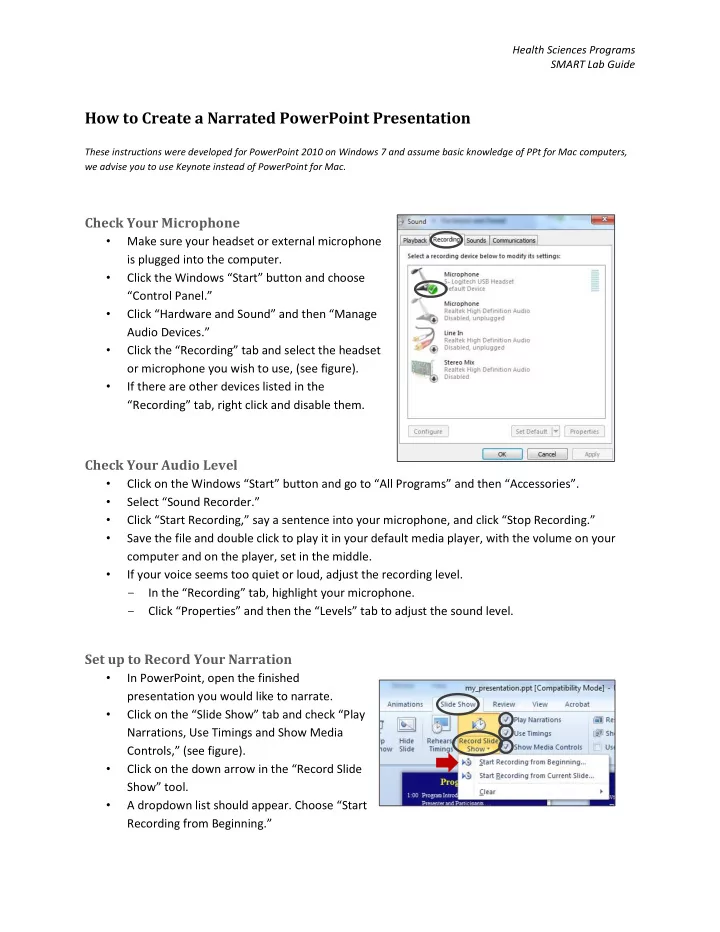
Check Your Microphone
- Make sure your headset or external microphone
is plugged into the computer.
- Click the Windows “Start” button and choose
“Control Panel.”
- Click “Hardware and Sound” and then “Manage
Audio Devices.”
- Click the “Recording” tab and select the headset
- r microphone you wish to use, (see figure).
- If there are other devices listed in the
“Recording” tab, right click and disable them.
Check Your Audio Level
- Click on the Windows “Start” button and go to “All Programs” and then “Accessories”.
- Select “Sound Recorder.”
- Click “Start Recording,” say a sentence into your microphone, and click “Stop Recording.”
- Save the file and double click to play it in your default media player, with the volume on your
computer and on the player, set in the middle.
- If your voice seems too quiet or loud, adjust the recording level.
- In the “Recording” tab, highlight your microphone.
- Click “Properties” and then the “Levels” tab to adjust the sound level.
Set up to Record Your Narration
- In PowerPoint, open the finished
presentation you would like to narrate.
- Click on the “Slide Show” tab and check “Play
Narrations, Use Timings and Show Media Controls,” (see figure).
- Click on the down arrow in the “Record Slide
Show” tool.
- A dropdown list should appear. Choose “Start