
SLIDE 1
2013 CROWNWeb New User Training 1
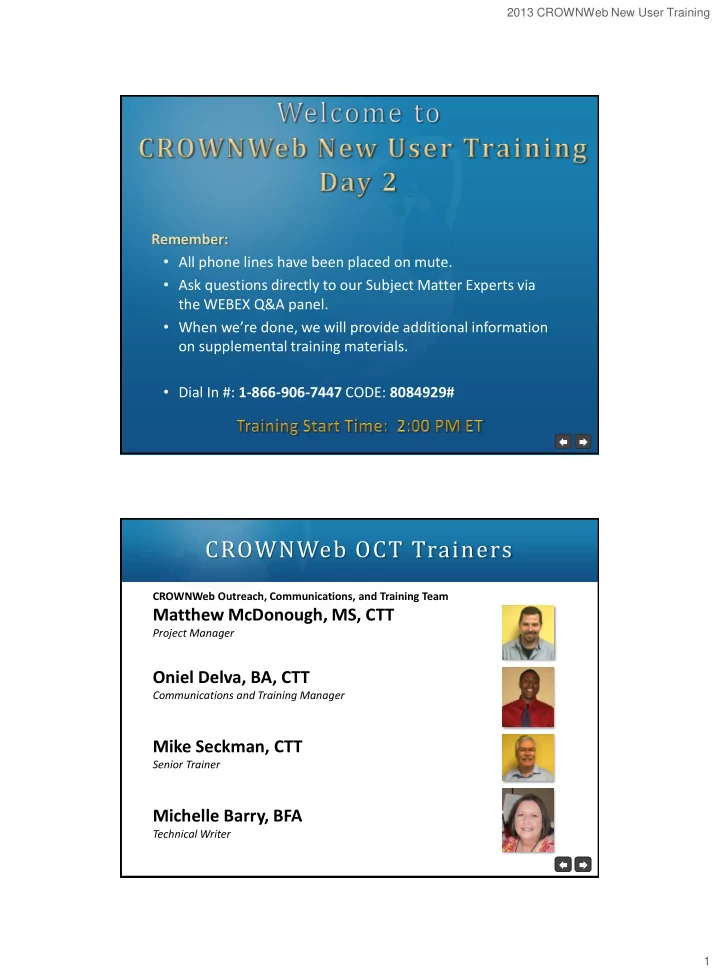
Remember:
- All phone lines have been placed on mute.
- Ask questions directly to our Subject Matter Experts via
the WEBEX Q&A panel.
- When we’re done, we will provide additional information
- n supplemental training materials.
- Dial In #: 1-866-906-7447 CODE: 8084929#
CROWNWeb OCT Trainers
CROWNWeb Outreach, Communications, and Training Team
Matthew McDonough, MS, CTT
Project Manager
Oniel Delva, BA, CTT
Communications and Training Manager
Mike Seckman, CTT
Senior Trainer
Michelle Barry, BFA
Technical Writer