
SLIDE 1
November 10, 2014
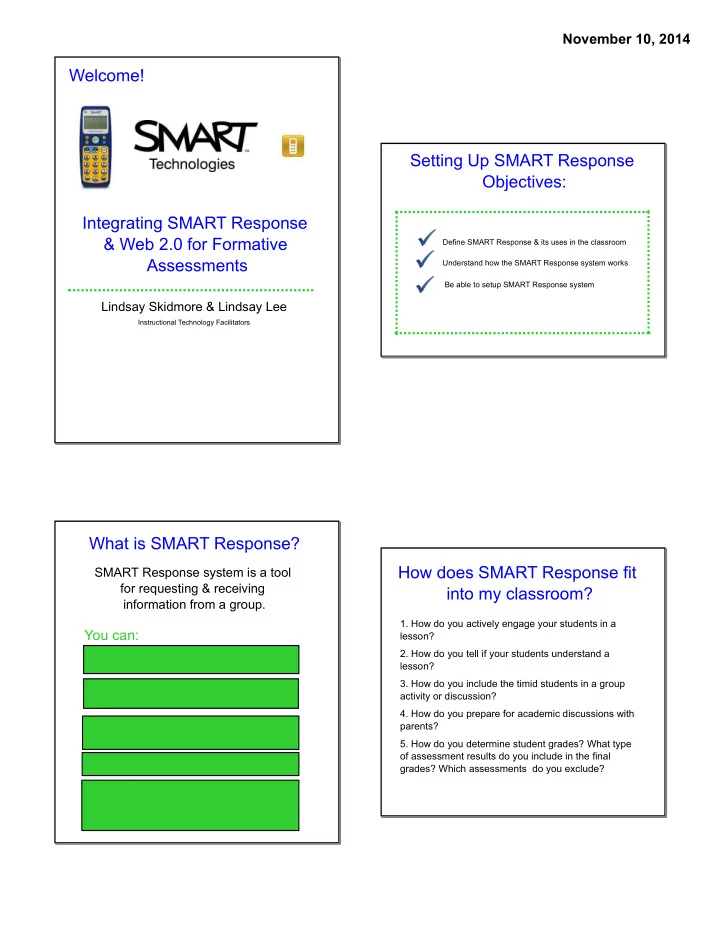
Welcome! Integrating SMART Response & Web 2.0 for Formative Assessments
Lindsay Skidmore & Lindsay Lee
Instructional Technology Facilitators
Setting Up SMART Response Objectives:
Define SMART Response & its uses in the classroom Understand how the SMART Response system works Be able to setup SMART Response system
What is SMART Response?
SMART Response system is a tool for requesting & receiving information from a group.
You can:
Gather formal/informal information Pre-plan your questions or use instant questions Integrate questions into a lesson or use them on their own Save or discard student response Specify whether you want student response to contribute to grades or not
How does SMART Response fit into my classroom?
- 1. How do you actively engage your students in a
lesson?
- 2. How do you tell if your students understand a
lesson?
- 3. How do you include the timid students in a group
activity or discussion?
- 4. How do you prepare for academic discussions with
parents?
- 5. How do you determine student grades? What type
- f assessment results do you include in the final
grades? Which assessments do you exclude?