
SLIDE 1
Slide into January
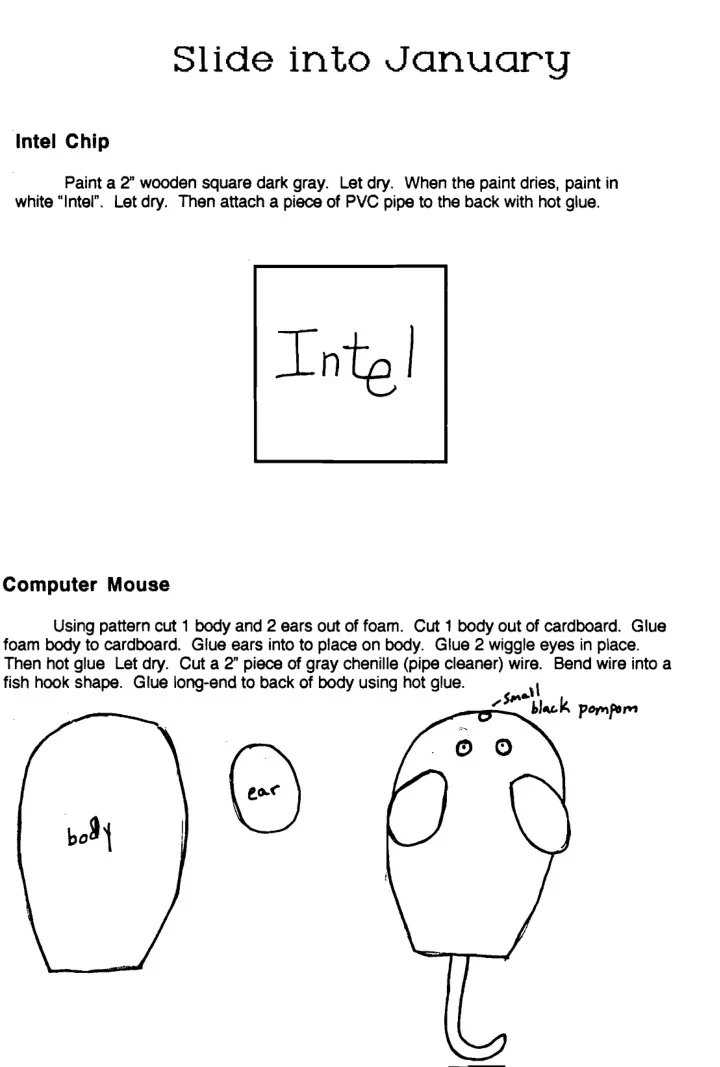
Intel Chip
Paint a 2" wooden square dark gray. Let dry. When the paint dries, paint in white "Intel". Let dry. Then attach a piece of PVC pipe to the back with hot glue.
Computer Mouse
Using pattern cut 1 body and 2 ears out of foam. Cut 1 body out of cardboard. Glue foam body to cardboard. Glue ears into to place on body. Glue 2 wiggle eyes in place. Then hot glue Let dry. Cut a 2" piece of gray chenille (pipe cleaner) wire. Bend wire into a fish hook shape. Glue long-end to back of body using hot glue.
,\
~.,...,_SI"'_
..bJ~
k Pop,fOP1