More Modeling in Solidworks 2 Refresher: Do these sketches create - - PowerPoint PPT Presentation

more modeling in solidworks
SMART_READER_LITE
LIVE PREVIEW

More Modeling in Solidworks 2 Refresher: Do these sketches create - - PowerPoint PPT Presentation

More Modeling in Solidworks 2 Refresher: Do these sketches create 3D features in Solidworks? Coordinate Systems Local Coordinate Systems make geometry creation easier. Origin for LCS can be anywhere on model 4 Workplanes


slide-1
SLIDE 1

More Modeling in Solidworks

slide-2
SLIDE 2

Refresher:

Do these sketches create 3D features in Solidworks?

2

slide-3
SLIDE 3

Coordinate Systems

  • Local

Coordinate Systems make geometry creation easier.

  • Origin for LCS

can be anywhere on model

slide-4
SLIDE 4

Workplanes

๏ Canvas for drawing the construction geometry of a part (profile,

construction lines, etc.)

4

slide-5
SLIDE 5

Blend Extrusion

๏ Loft: create a profile on the

base plane, define the second plane (with a second profile) to which the initial profile will be extruded to

slide-6
SLIDE 6

Other helpful Solidworks tools

๏ Reference Geometry>Axis ๏ Linear Pattern>Linear Pattern or Circular Pattern ๏ Hold down the center button of your mouse to rotate your part ๏ Press Space Bar on keyboard to get this

  • Allows you to easily orient the part being modeled

6

slide-7
SLIDE 7

Constraint-based Modeling

๏ Collection of features

  • Ex: Extrude, Extruded cut, Revolve,

Fillet/Round, Chamfer, Sweep, Loft, etc.

๏ Parts Tree

  • Pay attention to the parent/child relationship

between a feature and it’s sketch

slide-8
SLIDE 8

Solid Primitives

๏ Almost every object can be decomposed into its most

fundamental, 3-dimensional geometries

๏ Solidworks can only create a limited set of 3D objects ๏ Combine these to make a complex object!

slide-9
SLIDE 9

What are the fundamental 3D geometries of this part?

slide-10
SLIDE 10

Make this part…

slide-11
SLIDE 11

Feature Definition

๏ The order in which a part’s features are added to it is important! ๏ Look for major features first.

11

slide-12
SLIDE 12

How would you model this part?

12

slide-13
SLIDE 13

13

slide-14
SLIDE 14

Feature Definition- How not to do it

14

Too many steps! Don’t make two parts from

  • ne!
slide-15
SLIDE 15

Try this…

๏ Model this hollowed out, angled, box with a hole in it.

15

slide-16
SLIDE 16

It looks something like…

16

slide-17
SLIDE 17

Break Time…get up and move!

17

slide-18
SLIDE 18

Technical Drawings

*rough draft of product that highlights its main features

slide-19
SLIDE 19

Multiview Drawings

๏ 2-Dimensional ๏ Generally, three

parallel projections (principle) are used.

19

slide-20
SLIDE 20

Projected Views

๏ Six total views of a part:

  • Front
  • Top
  • Right
  • Left
  • Back
  • Bottom

20

slide-21
SLIDE 21

To help visualize…

21

slide-22
SLIDE 22

Adjacent Views

22

Note: all necessary information to model a part is given in it’s technical drawing.

*Do the math to find the dimension

  • f a feature that is not directly given

to you.

slide-23
SLIDE 23

Take a closer look…

๏ Orthographic Projection Rule 1:

Every point or feature in one view must be aligned on a parallel projector in any adjacent view.

  • Note the projection lines located on the

right and top views that represent the hole on the front view.

23

slide-24
SLIDE 24

Activity

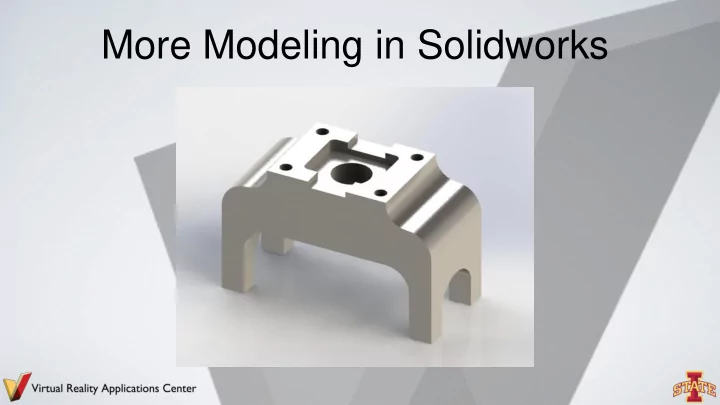
๏ Model these parts of the Vise in Solidworks ***All measurements are in inches***

  • Pin
  • Grip
  • Jaw
  • Shaft
  • Base (Hint: utilize a revolute extrusion)
  • Wheel (Hint: utilize a revolute extrusion)

Note: Think about the part’s main features and how to best model them. In what order should you model these features?

24