
SLIDE 1
1
ATC-20-1: A Rough Guide to Using Your Trusty Field Manual for - - PowerPoint PPT Presentation
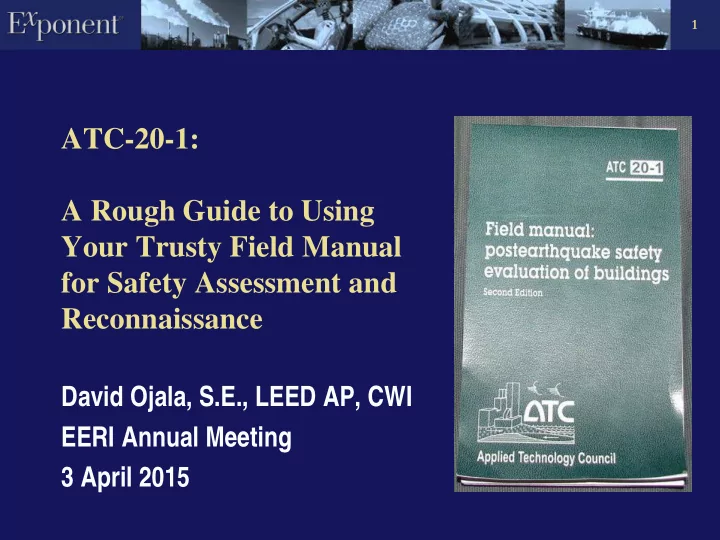
1 ATC-20-1: A Rough Guide to Using Your Trusty Field Manual for Safety Assessment and Reconnaissance David Ojala, S.E., LEED AP, CWI EERI Annual Meeting 3 April 2015 2 Outline Reconnaissance vs. Safety Assessment Overview of ATC-20
1
2
3
4
5
6
7
Source: Applied Technology Council. ATC-20-1 Field Manual: Postearthquake Safety Evaluation of Buildings, Second Edition. Page 13.
8
Structure identified for evaluation Rapid Evaluation Post INSPECTED Post LIMITED ENTRY RESTRICTED USE Post UNSAFE
Apparently OK Only building exterior may have been inspected Questionable Obviously unsafe
Detailed Evaluation Post INSPECTED Post LIMITED ENTRY RESTRICTED USE Post UNSAFE
Safe but may need repairs Questionable Unsafe, must be repaired
Engineering Evaluation Post INSPECTED Post UNSAFE
At the discretion of the Building Department At the discretion of the Building Department
Source: Applied Technology Council. ATC-20-1 Field Manual: Postearthquake Safety Evaluation of Buildings, Second Edition.
9
Source: Applied Technology Council. ATC-20-1 Field Manual: Postearthquake Safety Evaluation of Buildings, Second
10
Source: Applied Technology Council. ATC-20-1 Field Manual: Postearthquake Safety Evaluation of Buildings, Second
11
12
Source: Applied Technology Council. ATC-20-1 Field Manual: Postearthquake Safety Evaluation of Buildings, Second
13
Source: Applied Technology Council. ATC-20-1 Field Manual: Postearthquake Safety Evaluation of Buildings, Second Edition. Page 23-24.
14
Source: Applied Technology Council. ATC-20-1 Field Manual: Postearthquake Safety Evaluation of Buildings, Second
15
Source: Applied Technology Council. ATC-20-1 Field Manual: Postearthquake Safety Evaluation of Buildings, Second
16
Source: Applied Technology Council. ATC-20-1 Field Manual: Postearthquake Safety Evaluation of Buildings, Second
17
Source: Applied Technology Council. ATC-20-1 Field Manual: Postearthquake Safety Evaluation of Buildings, Second
18
Source: Applied Technology Council. ATC-20-1 Field Manual: Postearthquake Safety Evaluation of Buildings, Second
19
Source: Applied Technology Council. ATC-20-1 Field Manual: Postearthquake Safety Evaluation of Buildings, Second
20
Source: Applied Technology Council. ATC-20-1 Field Manual: Postearthquake Safety Evaluation of Buildings, Second
21
Source: Applied Technology Council. ATC-20-1 Field Manual: Postearthquake Safety Evaluation of Buildings, Second Edition. Page 72.
22
Source: Applied Technology Council. ATC-20-1 Field Manual: Postearthquake Safety Evaluation of Buildings, Second Edition. Page 26.
23
24
25
26
27
28
29
30
31
32
33
34
35
36
37
38
39
40
41
42
43
44
45
46
47
48
49
50
51
52
53
54
55
56
57
58
59
60
61
62
63
64
65
66
67
68
69
70
71
72
73
74
75
76
77
78
79
80
81
82
83
84
85
86