tube wire inspection systems
play

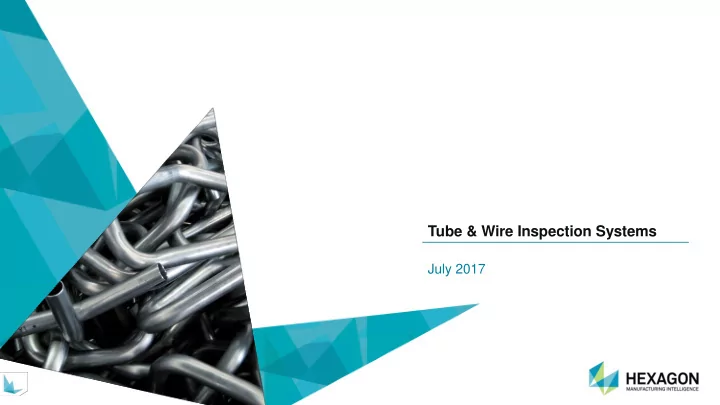
Tube & Wire Inspection Systems July 2017 Tube & Wire - PowerPoint PPT Presentation

Tube & Wire Inspection Systems July 2017 Tube & Wire Measurement Products Hexagon MI offers two types of high-accuracy measurement systems for tube applications. The measurement systems are operated with a dedicated software


  1. Tube & Wire Inspection Systems July 2017

  2. Tube & Wire Measurement Products ▪ Hexagon MI offers two types of high-accuracy measurement systems for tube applications. ▪ The measurement systems are operated with a dedicated software package for tube & wire measurements, taking the biggest advantage for each system. ▪ Both solutions are reliable and rugged enough for shop-floor use. ▪ The portable ROMER Absolute Arm with TubeShaper software ▪ The high-speed AICON TubeInspect with BendingStudio software 2 Confidential

  3. Products cover complete range of requirements Customer groups – who needs tube & wire inspection solutions? ▪ Automotive: e.g. for brake, fuel, exhaust, engine and air-condition tubes, stabilizer, different wire components. ▪ Aerospace: e.g hydraulic, fuel, air-condition. ▪ Manufactures for other tubes & wires like heating, white goods, hydraulic and other bent parts. Applications – what customer need tube & wire solutions for? ▪ Production managers need to increase efficiency of tube & wire production through fast and easy set-up and correction of bend programs. ▪ Operators need to produce parts within tolerance quickly. ▪ End users need parts with proven and documented quality. ▪ Part manufactures want to do reverse engineering. ▪ Quality engineers want to control processes. 3 Confidential

  4. ROMER Absolute Arm and AICON TubeInspect : What’s the difference? The ROMER Absolute Arm: ▪ Is totally portable - it can be taken anywhere. ▪ 3D portable measuring arm with fork-shape non contact Tube Probes. ▪ Can also use touch probes for tube and feature measurement. ▪ Uses TubeShaper software, which can be connected to numerous CNC tube benders. ▪ Multi purpose tool: Can be used for other metrology applications with different software (CAD- to Part comparison, GD&T inspection, 3DScanning…). The TubeInspect system: ▪ Is extremely high speed (measurement result within seconds) - rapid measurement throughput . ▪ Camera based optical 3D-measurement technology. ▪ Is also suitable for the measurement of long, complex and flexible tubes & wires like brake lines. ▪ Uses BendingStudio software, which can be connected to numerous CNC tube benders. 4 Confidential

  5. Which Applications and Parts Are Most Suited to TubeInspect? The main advantages of the TubeInspect solution are the non-contact measurement , and very high-speed measurement process . This means that TubeInspect is the perfect product for: ▪ High volume production runs - Measurement within seconds. ▪ Measuring long semi-flexible tubes. ▪ Measuring complex tubes & wires with very short straights (<10mm) and bend-in-bend geometries. ▪ Measuring free-form tubes. ▪ Cost savings by replacing gauges. 5 Confidential

  6. Which Applications and Parts are for ROMER Absolute Arm? The main advantage of the ROMER Absolute Arm is its flexibility. It is a tool that can be used for many different measurement tasks. This means that the ROMER Absolute Arm is the perfect tool for: ▪ Measuring parts anywhere, even under a car. ▪ Measuring complex parts, that include brackets, hangers or flanges. ▪ Measuring fixtures and jigs for certification. ▪ Reverse engineering complex tube assemblies. ▪ Other 3D metrology applications: CAD- to Part comparison, GD&T inspection, 3D Scanning, reverse engineering,… 6 Confidential

  7. Which Measurement System is Most Suited to Your Application? AICON TubeInspect ROMER Absolute Arm Tube jigs and fixtures Tubes with very short straights Long tubes Free-form tubes Tube bending Measuring mounted tubes High volume production Complex tube assemblies, with brackets and hangers 7 Confidential

  8. Technical Comparison: ROMER Absolute Arm and AICON TubeInspect ROMER Absolute Arm AICON TubeInspect Range of sizes 7 possible sizes 2 possible sizes CNC Bender compatibility yes yes One installation can be connected to multiple benders yes yes Measurement type Infra-red tube probe Optical Evaluation method Intersection of straights 3D model with straights and bends Freeform tube measurement no yes CAD import yes yes Reverse engineering of tubes (with CAD export) yes yes Measurement reporting yes yes Measurement of jigs and fixtures Yes (with touch probe) no Measurement time per tube Depends on tube length and complexity, but 5 sec approx 2-3 min is a good indication 8 Confidential

  9. THANK YOU! 9 Confidential

Download Presentation
Download Policy: The content available on the website is offered to you 'AS IS' for your personal information and use only. It cannot be commercialized, licensed, or distributed on other websites without prior consent from the author. To download a presentation, simply click this link. If you encounter any difficulties during the download process, it's possible that the publisher has removed the file from their server.

Recommend


More recommend