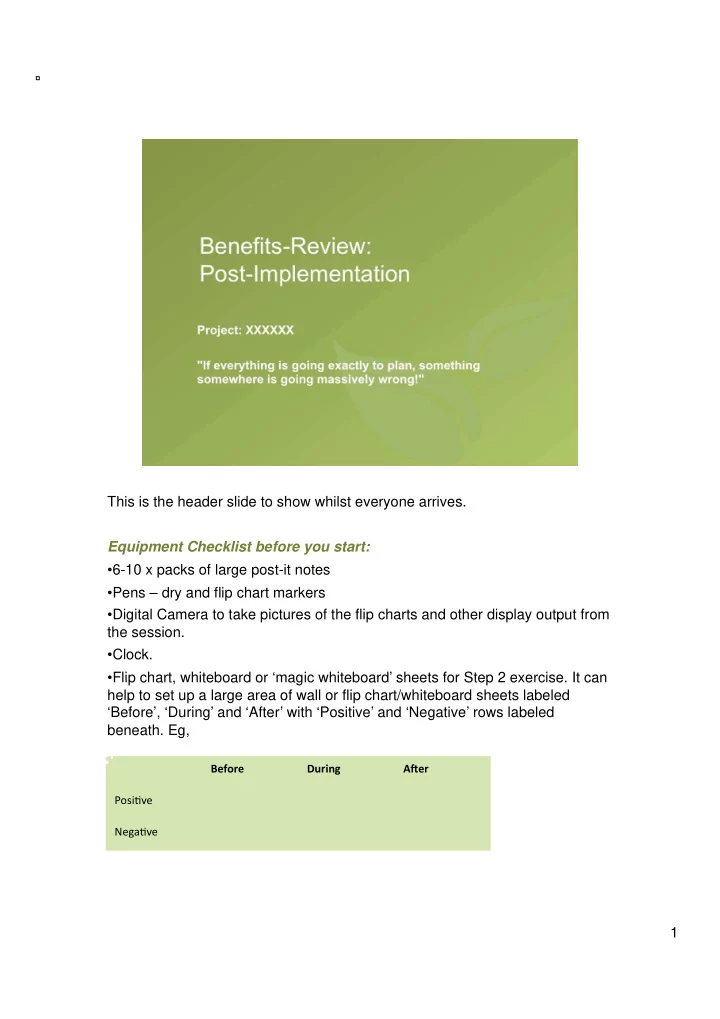
SLIDE 1 This is the header slide to show whilst everyone arrives. Equipment Checklist before you start:
- 6-10 x packs of large post-it notes
- Pens – dry and flip chart markers
- Digital Camera to take pictures of the flip charts and other display output from
the session.
- Clock.
- Flip chart, whiteboard or ‘magic whiteboard’ sheets for Step 2 exercise. It can
help to set up a large area of wall or flip chart/whiteboard sheets labeled ‘Before’, ‘During’ and ‘After’ with ‘Positive’ and ‘Negative’ rows labeled
1
Before ¡ During ¡ A-er ¡ Posi%ve ¡ Nega%ve ¡
SLIDE 2
Adjust the timings to match your actual schedule: These timings give an indication of how long to devote to each activity, although you may need to adjust depending on the level of debate. Introductions: Make sure everyone knows each other. If you have invited users or others who haven’t regularly been involved with the core project team, make sure everyone introduces themselves. Don’t assume familiarity! 2
SLIDE 3 Present the core objectives of the session. Ask the group to spend 5 minutes discussing ‘what will help us to get the most from this session?’ If it’s a larger group (over 8 people), ask them to discuss this in pairs or trios. Draw out the key points in a whole group review, write up the key points on a flip chart (you could ask someone from within the group to scribe for you so that you can concentrate on the discussion). This gives you something to refer back to if you need to remind people about
- conduct. Some tips for things to include/suggest here are:
- Timekeeping – stating that you will make requests to keep to agreed
time – or re-negotiate if a point requires further debate
- Asking for one person to speak at a time
- Stating that, as facilitator, you will pause discussions that may stray
away from the core agenda with the intent of re-focusing
- Encourage people to be creative in thought and ideas, and to have fun!
- Ask for examples, not hearsay or generalisations.
- Say that the normal rules of confidentiality apply (ie, not to name people
who are not present or disclose content of discussions outside of the meeting without agreement) 3
SLIDE 4
For anyone new to the concept of Benefits Realisation, this slide helps to illustrate the core competences or capabilities that are crucial to successful IT- enabled change and project delivery. It’s common sense, and also proven by John Ward’s research, that when project teams plan to review their project, ideally during and after implementation, there is an increased likelihood of success. 4
SLIDE 5
This matrix is a key model for the Benefits Review. Drawing this matrix on a flip chart as you explain it has more impact. You can then overlay it with examples of benefits and ‘dis-benefits/dis- advantages’ related to the Project, later on in the session. 5
SLIDE 6 5 Minutes Discussion, 10 minutes group review. Use these questions to prompt an open group discussion (for 6 or fewer people).
- For more than 8 people, establish smaller groups of 4 and let the discussion
run for 5 minutes before asking for headline summaries from the whole group.
- Write the key points on a flip chart.
Points to note, questions to ask the group during the review:
- What’s the degree of agreement, or disagreement about the answers to
these questions? Why is that?
- Are there different responses from people with different perspectives
(eg, users versus project team or sponsors)? What is the learning from that.
- Watch out for getting too bogged down in going over history at this
- point. Write up any key questions or issues and move on, let the group know
that they will be able to go into this in more detail later. 6
SLIDE 7 10-15 minutes for individuals to write up each item they think of (or get people working in pairs or trios in larger groups) and post on relevant section of the wall-chart. 15-20 minutes to review and discuss output. During the group review of output, prompt for the following key themes / issues:
- Clarity of goals, strategy and vision
- Success of stakeholder communication & engagement
- The extent to which business conditions changed during the project and the
impact on the effectiveness of change management.
- How well the project progresses according to project planning, milestones and
risk-management etc.
- Keep the focus on specific examples as opposed to generalised statements.
7
Before ¡ During ¡ ¡ A3er ¡ Posi%ve ¡ Nega%ve ¡
SLIDE 8
10-15 minutes Use this slide to prompt further discussion. If there are a number of key topics or themes, you can ask 2 or 3 people to address these questions for each area. This can help to keep everyone engaged in a larger group or where there are lots of issues to be addressed. 8
SLIDE 9
10-15 Minutes Again, use these questions to prompt either a whole group discussion or you can split into representative groups (eg, users, steering group etc) for larger gatherings. 9
SLIDE 10 15 minutes This is the action planning phase:
- It’s important to get to as many specific action points as necessary and
identify how each action will be forwarded.
- It can help if two people volunteer to be accountable for a specific point,
get them to agree when and how they will progress the actions, if necessary.
- Agree who will co-ordinate the actions (don’t assume this job should fall to
you, the facilitator of the review!).
- Attach a name/names and target timescales to each action wherever
possible. This part of the process can require a bit of tenacity on your part as the facilitator! Be firm and look back at the initial list of agreements about how to get the most from the session. 10
SLIDE 11
- Take photographs of all your visual output which can easily be posted and
shared after the event.
- Agree what else needs to be collated, typed up or distributed in whatever
manner is suitable.
- Don’t assume you have to do all the documentation as the facilitator!
Enlist others to share the task if needs be. 11
SLIDE 12
12 Thank everyone and clearly state next steps – if any have been agreed. You may wish to ask for the group’s feedback on the session, what have they enjoyed and how could the session be delivered differently next time?
SLIDE 13
Simply a reference slide if anyone wants to undertake further reading. 13