
SLIDE 1
Red Pitaya Tutorial #1
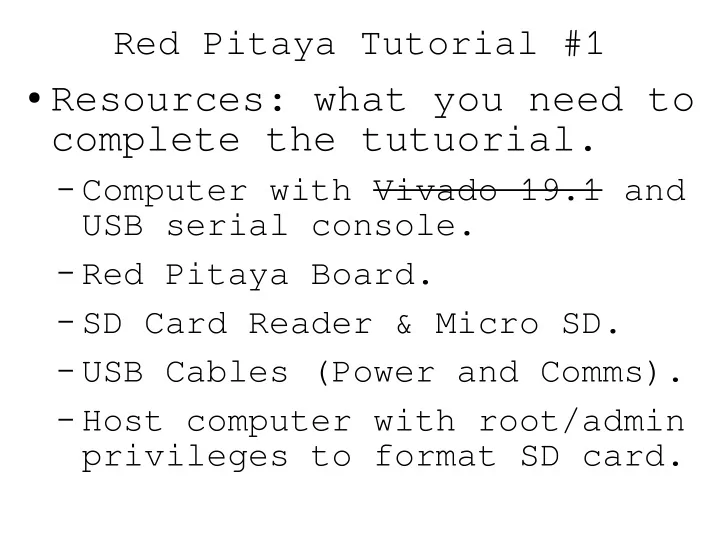
- Resources: what you need to
Resources: what you need to complete the tutuorial. Computer with - - PowerPoint PPT Presentation
Red Pitaya Tutorial #1 Resources: what you need to complete the tutuorial. Computer with Vivado 19.1 and USB serial console. Red Pitaya Board. SD Card Reader & Micro SD. USB Cables (Power and Comms). Host computer with
Network Cable uSD/USB adapter US Plug uSD with SD adapter 5V micro USB Power Supply SMA Cable for DAC/ADC loopback USB to micro USB for serial comms JTAG Programmer
Network Cable uSD/USB adapter US Plug uSD with SD adapter 5V micro USB Power Supply SMA Cable for DAC/ADC loopback USB to micro USB for serial comms JTAG Programmer
& write to an ext4 filesystem.
– Contains first stage boot loader (FSBL) and u-boot. – You really don’t need to know what this is.
– u-boot environment setting and boot script. – Again, important to have but don’t need to know specifics.
– The FPGA design. – This is what we will design/modify in this class.
– Binary version of the device tree. – Description of board hardware for linux device recognition. – Somewhat important, but we will dig into this later. – Defines how Linux will communicate with hardware.
– A compiled version of the Xilinx Branch of the Linux Kernel (5.4.0).
– Minimal Ubuntu file system.
a) Need root privileges. If you don’t know what you are doing, use process #2 (and stop here). b) Resources available here. c) Partition #1: boot partition
FAT32, 100 MB
d) Partition #2: root partition
EXT4, few GB
logic.bit is in boot which is easily accessible from win10.
– EECS700_SD_Image.zip – Zip file contains EECS700_SD.img which is a raw disk
image.
– Download file and unzip. – Flash the SD card with the “.img” file.
found in the /dev directory):
– Virtual Machine that can access and format usb/SD cards will also work.
– use a raw copy program. Similar to what you would do with a raspberry pi.
Look at https://www.balena.io/etcher/ for a portable app that you don’t need to install on your computer. Alternative - https://rufus.ie/
– May take a very (very) long time of not responding. Just let it run.