prep x y pulleys
play

#prep X+Y Pulleys JellyBox Build: 03_XYPulleys In this video, we - PDF document

#prep X+Y Pulleys JellyBox Build: 03_XYPulleys In this video, we put thread lock on the set screws in belt pulley, and install these pulleys on X and Y motors. X and Y motors and pulleys are all identical components, but the X pulley needs to


  1. #prep X+Y Pulleys JellyBox Build: 03_XYPulleys In this video, we put thread lock on the set screws in belt pulley, and install these pulleys on X and Y motors. X and Y motors and pulleys are all identical components, but the X pulley needs to be installed differently than the Y pulley. _________________________________________________________________ 
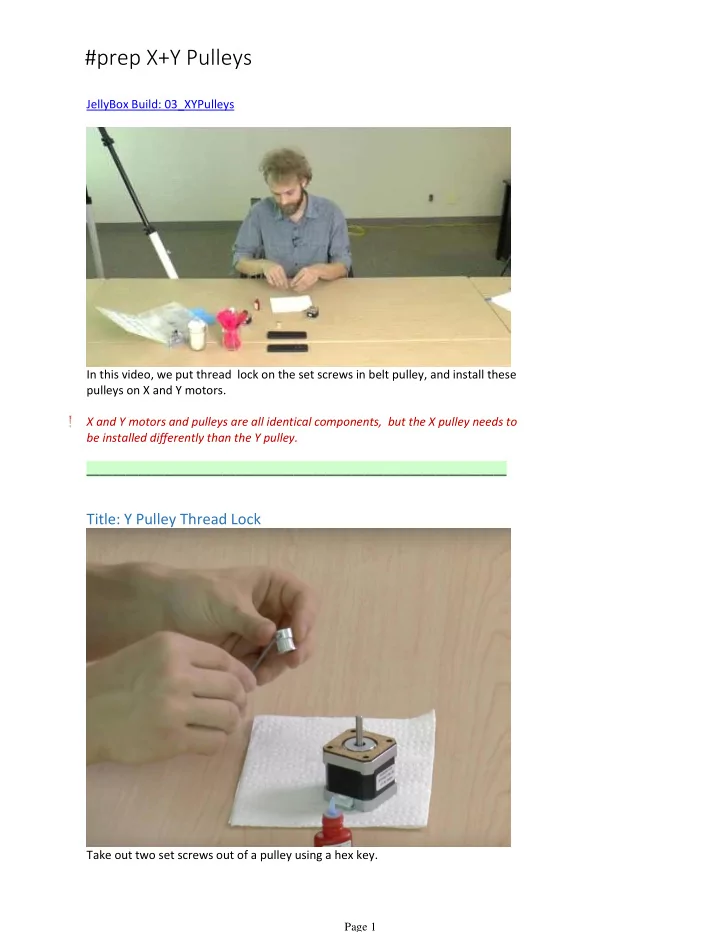
Title: Y Pulley Thread Lock Take out two set screws out of a pulley using a hex key. Page 1

  2. Put a single small drop of thread lock onto the set screw thread. Spread the thread lock into the thread. Do not use too much thread lock. Little is enough. Wipe excess if necessary. Tip: Keep the set screw on the hex key for easy manipulation. Page 2

  3. Re-insert the set screws into the pulley. Repeat procedure for both set screws. Title: The Y Pulley Goes onto the Y Motor Slide the Y pulley onto the Y motor shaft. The thin flange side of the pulley faces away from the motor - towards the top of the motor shaft. Title: Align and Tighten Y Pulley Page 3

  4. Page 4

  5. Align the top of the shaft with the top of the pulley. Tighten the set screws well. Tighten as much as you can without damaging the thread (so called 'stripping'). Make sure one of the set screws is against the flat side of the motor shaft. This prevents the pulley from spinning around. Title: X Pulley Thread Lock Same as putting the thread lock onto the Y Pulley set screws. Take out two set screws out of the pulley, put thread lock into their threads, and put them back into the pulley. Title: The X Pulley Goes onto the X Motor Page 5

  6. Title: The X Pulley Goes onto the X Motor Slide the X pulley onto the Y motor shaft. The thin flange side of the pulley faces the motor this time (the opposite from Y pulley on Y motor.) This X motor pulley alignment is very different from Y motor pulley. Follow the instructions closely. Title: Align and Tighten the X Pulley Page 6

  7. Page 7

  8. Slide the pulley as far away from the motor as you can. Yet the set screws should still fully grip the motor shaft. The X pulley will be extending about 3mm (0.12'') beyond the top of the X motor shaft. Tighten as much as you can without damaging the thread (so called 'stripping'). Make sure one of the set screws is against the flat side of the motor shaft. This prevents the pulley from spinning around. Page 8

Download Presentation
Download Policy: The content available on the website is offered to you 'AS IS' for your personal information and use only. It cannot be commercialized, licensed, or distributed on other websites without prior consent from the author. To download a presentation, simply click this link. If you encounter any difficulties during the download process, it's possible that the publisher has removed the file from their server.

Recommend


More recommend