
SLIDE 1
Information directly from the web site
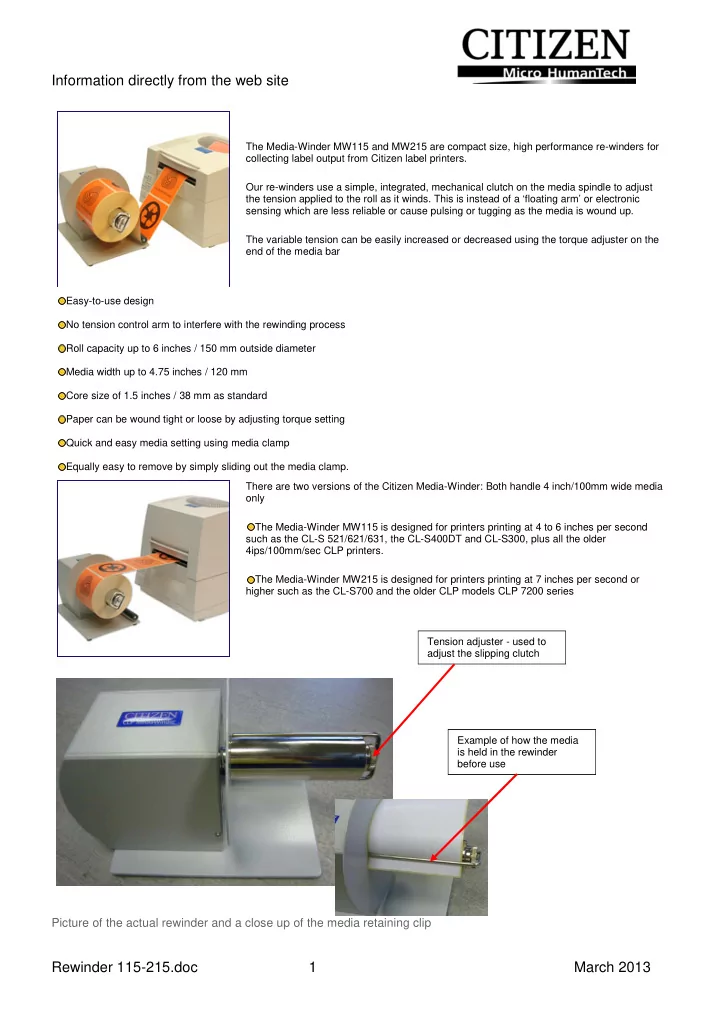
The Media-Winder MW115 and MW215 are compact size, high performance re-winders for collecting label output from Citizen label printers. Our re-winders use a simple, integrated, mechanical clutch on the media spindle to adjust the tension applied to the roll as it winds. This is instead of a ‘floating arm’ or electronic sensing which are less reliable or cause pulsing or tugging as the media is wound up. The variable tension can be easily increased or decreased using the torque adjuster on the end of the media bar Easy-to-use design No tension control arm to interfere with the rewinding process Roll capacity up to 6 inches / 150 mm outside diameter Media width up to 4.75 inches / 120 mm Core size of 1.5 inches / 38 mm as standard Paper can be wound tight or loose by adjusting torque setting Quick and easy media setting using media clamp Equally easy to remove by simply sliding out the media clamp. There are two versions of the Citizen Media-Winder: Both handle 4 inch/100mm wide media
- nly