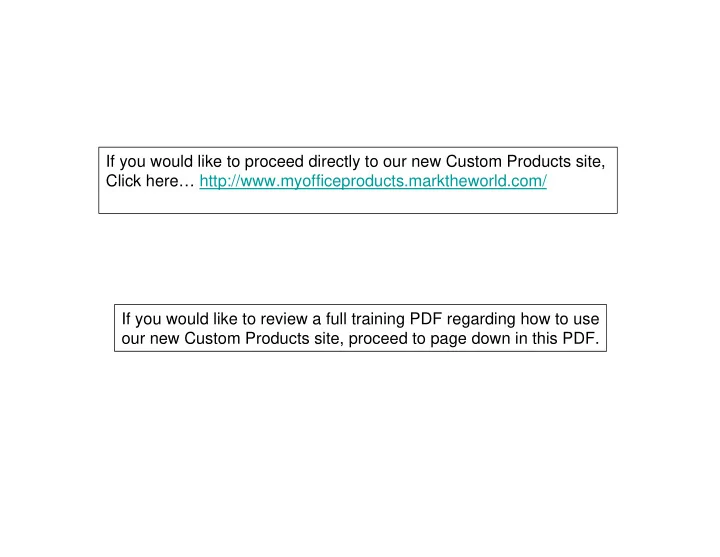
SLIDE 1 If you would like to proceed directly to our new Custom Products site, Click here… http://www.myofficeproducts.marktheworld.com/ If you would like to review a full training PDF regarding how to use
- ur new Custom Products site, proceed to page down in this PDF.
SLIDE 2 This is the login screen for the MyOfficeProducts custom products website. Please note the specific instructions regarding the first time you log into
- ur custom products website.
www.myofficeproducts.marktheworld.com
SLIDE 3
If you will note, you enter your user name that you normally use on www.myofficeproducts.com. As was noted on the first slide, the first time you log in, you use “MYOP21” as your password. Click on “Login”
SLIDE 4 Once you log in for the first time using the MYOP21 password, you will get the opportunity to “change” your profile. It is here that you may choose to change your password. You need to ensure that all of the
- ther information contained on this
page is correct. After you have completed the required fields (* indicates required field), you will then click on “Continue”. You may now make your password anything you choose.
SLIDE 5 Once you have updated your profile and you click on “Continue”, you will get this page which will indicate that “Your account has been successfully updated”. Go to the Home page to begin
- r continue shopping and click the
“Here” prompt found in the middle
SLIDE 6 This is the Home Page for the MyOfficeProducts custom products
- website. You may begin shopping by
clicking into any of the various categories or subcategories that are displayed on this Home page. Click the “CLIK!” For purposes of this “Help” manual, we have chosen to click the “Clik!” pre-inked stamps button.
SLIDE 7 Once you have clicked into the “CLIK!” button, you will receive this product information page for that specific subcategory of custom
- products. In our example here, you
can now choose to click on the “Paid In Full” stamp at the bottom center
SLIDE 8
At this point, you make a determination as to the ink color you would like to have on your stamp.
SLIDE 9 At this point, you make a decision as to whether or not you want to select a clip art logo, upload your own custom logo or signature, or you can choose a logo that was previously uploaded to your account. You may also choose to go forward without a
- logo. In our “Help” manual, we have
chosen (for purposes of this training) to select the “Skip Graphic” icon. You have nothing in your shopping cart at this point.
SLIDE 10
You may proceed to actually “Click” into the stamp itself and drag the text in any way you choose, or you may choose to go into the “Edit Content” blocks below the stamp and make any changes you choose relative to alignment, size of font, the actual content, and/or the type of font. Note the account number: 8749312 You are now in our “build your stamp” screen.
SLIDE 11
If you will note, you have actually edited content from the previous slide for Line 2 by changing the account number. Note the font size: 11 pt.
SLIDE 12
Please note that you have adjusted the font size on Line 1 from the previous size of 11 pt. to 16 pt. Note the font type: Times
SLIDE 13
Please note that you have adjusted the font type from the previous slide from Times Roman to Helvetica and the change appears in the stamp block above. Note color: Process Blue
SLIDE 14 On this slide, you have chosen the “Color” button from your Tool Box on the left and our intuitive website has brought up the “Change Ink Colors”
- box. At this point, you may choose
to change your color.
SLIDE 15
Once you have selected your new color and made the change, the “new color” confirmation dialogue box will appear.
SLIDE 16
If you will note, your color is now reflected as Red where it had previously been Process Blue.
SLIDE 17
You have now moved to our Tool Box and selected the “Add H-Line” button and you are now able to position the line anywhere that you choose by simply “clicking” into the actual stamp box.
SLIDE 18 You may click into the actual stamp box and position the H-Line in the center
- r wherever you choose simply by
dragging the line to the position you desire.
SLIDE 19 You also have the option of turning
- n a grid and you have an option
from the Tool Box of “Hiding the Grid” if you so choose.
SLIDE 20
At this point, you have clicked back into the Tool Box and you have clicked on “Hide Grid” so the grid has disappeared.
SLIDE 21
You may also go to your Tool Box and do a spell check if you choose by simply clicking on the “Spell Check” button from the Tool Box.
SLIDE 22
There is also a “Design Area Help” feature that is available by simply clicking on the “Help” button in the upper right-hand side of the screen above the actual stamp box. Please note the “Help” button.
SLIDE 23
At this point, you are ready to save your work and you may do so by clicking on the “Save Work” button and/or the “Save & Add to Cart” button. In either case, you will get the “Save Work” prompt and you will select “Yes” so that your work is saved and the work has been added to your shopping cart.
SLIDE 24 At this point, you can still make changes to the stamp. In this example, you chose to click on and drag the “H-Line” from the middle
- f the stamp box to the top of the
stamp box. You then click “Save & Add to Cart” at which time you will get a “Product Proof”.
SLIDE 25
Here is an example of the product proof that you will see “on the screen” after you have clicked the “Save & Add to Cart” button. At this time, you may re-edit your information, print a copy, accept and add as a new item, and/or accept and replace a previous item that you had previously put in the cart. Once you “Accept” the item, the item will show up in your Shopping Cart.
SLIDE 26
At this time you may click on any of these icons; proof, edit, or border. Now you are in your Shopping Cart and there is something in the cart.
SLIDE 27 If you did not choose to proof, edit,
- r border, you can choose to “Continue
Shopping” or to “Checkout” with this
SLIDE 28 If you choose to click on “border” from the shopping cart, you will get this prompt that inquires as to whether
- r not you “Would like a border for your stamp at no
charge?”. You said “Yes” to adding a border.
SLIDE 29
If you choose “Yes” to “Adding a Border”, you will get a new product proof and you can then choose to “Accept and Replace as Same Item” (meaning the previous item did not contain the “border”). If you need assistance at any time, please call our Customer Service Team.
SLIDE 30
If you choose to “Accept and Replace as Same Item” from the previous “Product Proof” page, then you will note that this single stamp is now placed in your cart with a “Border” based on the changes you made. As this point, you may choose to “Checkout”. “Continue Shopping”.
OR
SLIDE 31
This “Review” page provides Step 1, Step 2, and Step 3 information in order to expedite your checkout. If you click on “Checkout”, you get a chance to review your account information.
SLIDE 32
You may choose to add a PO number at this point, and then you may choose to execute the final checkout.
SLIDE 33 You will receive this page that indicates that your order has been received and submitted for approval. You should print a copy of this screen for your records. The confirmation number, the order date, and all other appropriate information are included should you need to make an inquiry to MyOfficeProducts Customer Service regarding the order. At this point, you may choose to go to the Home page and place another
- rder for the same category of product
- r a different category of product.
SLIDE 34 You are now back at the MyOfficeProducts custom products Home page, and you may click into any category or subcategory to start shopping again. You may click here to view your
- rder history, your saved work,
- r logos you have previously
uploaded.
SLIDE 35 You are now back at the MyOfficeProducts custom products Home page, and you may click into any category or subcategory to start shopping again. You may click here to contact Customer Service or review
SLIDE 36
You are now back at the MyOfficeProducts custom products Home page, and you may click into any category or subcategory to start shopping again. You may click here to log out.
SLIDE 37 Thank you for ordering from MyOfficeProducts. Your order is currently processing. Because we want you to receive your order as soon as possible, we are unable to allow for changes, corrections and/or cancellations. All items are shipped directly from the manufacturer and most should arrive in 2 to 10 business days from the date ordered, depending on method of shipment chosen. Some items from your order may be shipped separately to ensure delivery times. Your Order Confirmation Number Is: IPR-BUTCH Please record this confirmation number for future reference, and include it with all
- correspondence. If for some reason your order is delayed, we will notify you via e-mail.
Visit us again for all your office product needs. Your patronage is greatly appreciated. Sincerely, MyOfficeProducts (Your Office Products Provider) CustomerService@MyOfficeProducts.com Phone: 877-696-7266
You will receive a confirmation email within minutes of closing your order.
SLIDE 38
- ----Original Message-----
From: Customer Service [mailto:CustomerService@myofficeproducts.com] Sent: Monday, February 18, 2008 11:06 AM To: butch.johnson@myofficeproducts.com; kelseyl@usstamp.com; mobleyj@usstamp.com Subject: Order Shipment Confirmation IPR-BUTCH Thank you for ordering from MyOfficeProducts. Your order was shipped on 02/15/08, and should arrive at your address within two to six days depending on your chosen shipment method. If you need to track your shipment, please sign on to your account at www.myofficeproducts.marktheworld.com and click on the ORDER STATUS link for detailed tracking information. We appreciate your order, and hope you enjoy your merchandise. Please check MyOfficeProducts.com for all of your office products needs. Sincerely, MyOfficeProducts 877-696-7266
You will receive a Shipping Confirmation email immediately after your order ships.
SLIDE 39
Cincinnati City Bank 1357 East Main Street Cincinnati, OH 45232 Cincinnati City Bank Cincinnati City Bank 1357 East Main Street Cincinnati, OH 45232 Cincinnati City Bank 1357 East Main Street Cincinnati, OH 45232 This is what your shipping label from Marktheworld will look like.