
SLIDE 1
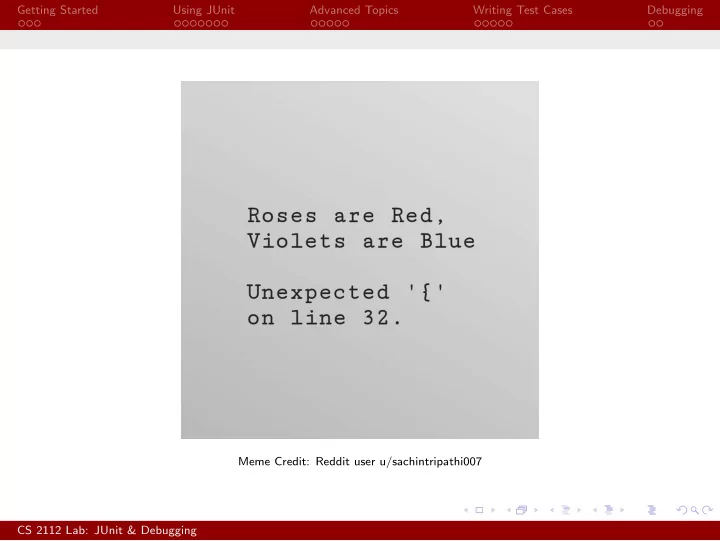
Getting Started Using JUnit Advanced Topics Writing Test Cases Debugging Meme Credit: Reddit user u/sachintripathi007 CS 2112 Lab: JUnit & Debugging
Getting Started Using JUnit Advanced Topics Writing Test Cases - - PowerPoint PPT Presentation
Getting Started Using JUnit Advanced Topics Writing Test Cases Debugging Meme Credit: Reddit user u/sachintripathi007 CS 2112 Lab: JUnit & Debugging Getting Started Using JUnit Advanced Topics Writing Test Cases Debugging CS 2112
Getting Started Using JUnit Advanced Topics Writing Test Cases Debugging Meme Credit: Reddit user u/sachintripathi007 CS 2112 Lab: JUnit & Debugging
Getting Started Using JUnit Advanced Topics Writing Test Cases Debugging
CS 2112 Lab: JUnit & Debugging
Getting Started Using JUnit Advanced Topics Writing Test Cases Debugging Getting Started with JUnit
CS 2112 Lab: JUnit & Debugging
Getting Started Using JUnit Advanced Topics Writing Test Cases Debugging Getting Started with JUnit
CS 2112 Lab: JUnit & Debugging
Getting Started Using JUnit Advanced Topics Writing Test Cases Debugging Getting Started with JUnit
1
2
CS 2112 Lab: JUnit & Debugging
Getting Started Using JUnit Advanced Topics Writing Test Cases Debugging Basics
1
2
3
4
CS 2112 Lab: JUnit & Debugging
Getting Started Using JUnit Advanced Topics Writing Test Cases Debugging Basics
CS 2112 Lab: JUnit & Debugging
Getting Started Using JUnit Advanced Topics Writing Test Cases Debugging Basics
1
2
3
4
5
6
7
8
9
10
CS 2112 Lab: JUnit & Debugging
Getting Started Using JUnit Advanced Topics Writing Test Cases Debugging Basics
1
2
3
4
5
6
CS 2112 Lab: JUnit & Debugging
Getting Started Using JUnit Advanced Topics Writing Test Cases Debugging Basics
1
2
3 4
5
6
7
8
9 10
11
12
13
14
15
CS 2112 Lab: JUnit & Debugging
Getting Started Using JUnit Advanced Topics Writing Test Cases Debugging Basics
CS 2112 Lab: JUnit & Debugging
Getting Started Using JUnit Advanced Topics Writing Test Cases Debugging Basics
1
2 3
4
5 6
7
8
9
10
11 12
13
14
15
16
17
CS 2112 Lab: JUnit & Debugging
Getting Started Using JUnit Advanced Topics Writing Test Cases Debugging Advanced Topics
CS 2112 Lab: JUnit & Debugging
Getting Started Using JUnit Advanced Topics Writing Test Cases Debugging Advanced Topics
CS 2112 Lab: JUnit & Debugging
Getting Started Using JUnit Advanced Topics Writing Test Cases Debugging Advanced Topics
1
2 3
4
5 6
7
8 9
10
11
12
13 14
15
16
17
18
CS 2112 Lab: JUnit & Debugging
Getting Started Using JUnit Advanced Topics Writing Test Cases Debugging Advanced Topics
1
2
3
4
5
6
CS 2112 Lab: JUnit & Debugging
Getting Started Using JUnit Advanced Topics Writing Test Cases Debugging Advanced Topics
1
2
3 4
5
6
7
8
9
10 11
CS 2112 Lab: JUnit & Debugging
Getting Started Using JUnit Advanced Topics Writing Test Cases Debugging Writing Test Cases
CS 2112 Lab: JUnit & Debugging
Getting Started Using JUnit Advanced Topics Writing Test Cases Debugging Writing Test Cases
CS 2112 Lab: JUnit & Debugging
Getting Started Using JUnit Advanced Topics Writing Test Cases Debugging Writing Test Cases
CS 2112 Lab: JUnit & Debugging
Getting Started Using JUnit Advanced Topics Writing Test Cases Debugging Writing Test Cases
CS 2112 Lab: JUnit & Debugging
Getting Started Using JUnit Advanced Topics Writing Test Cases Debugging Writing Test Cases
CS 2112 Lab: JUnit & Debugging
Getting Started Using JUnit Advanced Topics Writing Test Cases Debugging Debug View
CS 2112 Lab: JUnit & Debugging
Getting Started Using JUnit Advanced Topics Writing Test Cases Debugging Debug View
CS 2112 Lab: JUnit & Debugging