
SLIDE 1
Developed by AWWA in partnership with RCAP and funded by USEPA, Published 2015
1
Workshop developed by RCAP/AWWA and funded by the USEPA
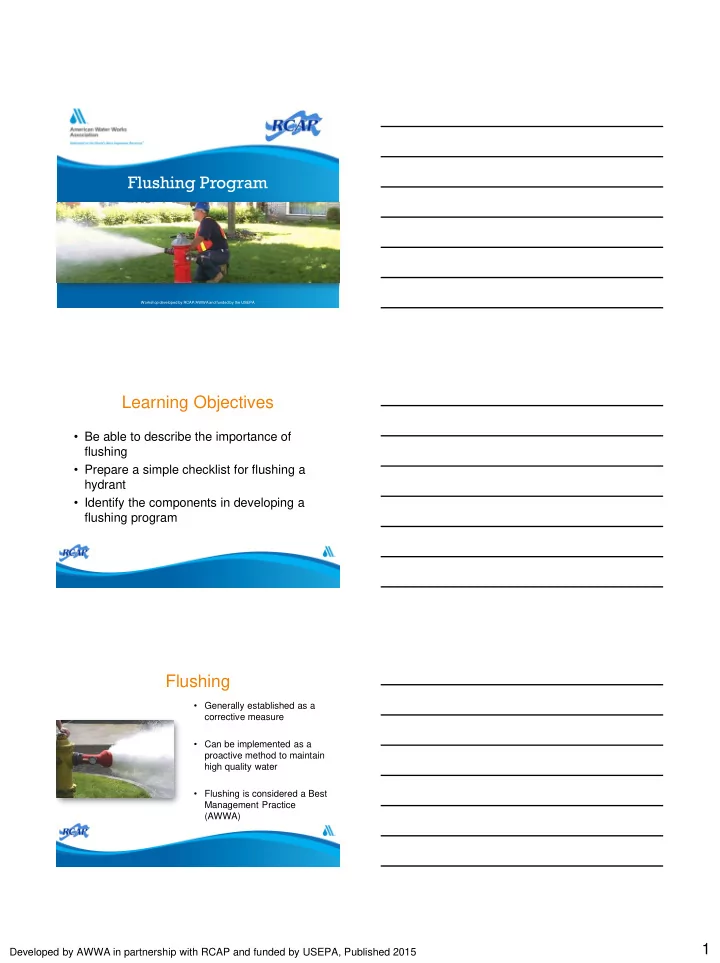
Flushing Program Learning Objectives
- Be able to describe the importance of
flushing
- Prepare a simple checklist for flushing a
hydrant
- Identify the components in developing a
flushing program
Flushing
- Generally established as a
corrective measure
- Can be implemented as a
proactive method to maintain high quality water
- Flushing is considered a Best