
SLIDE 1
District Gmail and Calendar
1
District Gmail and Calendar 1 Resources Website: - - PDF document
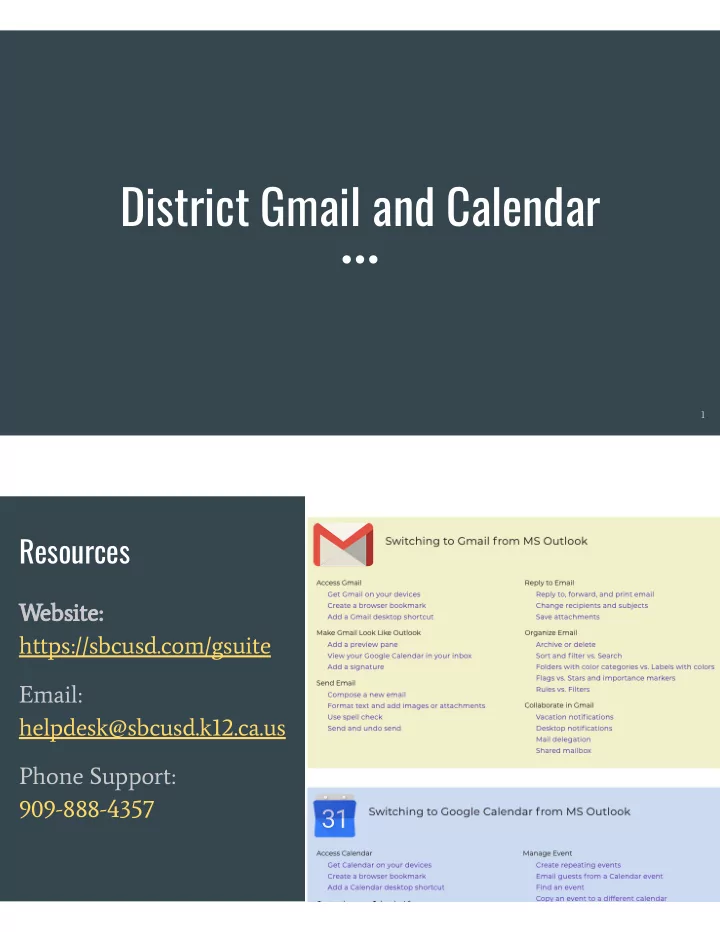
District Gmail and Calendar 1 Resources Website: https://sbcusd.com/gsuite Email: helpdesk@sbcusd.k12.ca.us Phone Support: 909-888-4357 Logging into G Suite Launching Calendar Launching Gmail Accessing calendars
1
3
account, click here to determine if you are logged into a personal or district account.
personal account, click “Sign out”
account, you can skip to slide 9. For additional assistance, contact IT Helpdesk 909-888-4357
4
5
6
Email address: firstname.lastname@sbcusd.k12.ca.us
7
8
icon.
9
will find “Reply” or “Forward” at the bottom of any message.
10
type the name of the recipient.
11
drag and drop the file onto the new message.
12
(Folders in Gmail are called “Labels”)
top of the email.
would like to associate with the message.
associate a new label with the message. (Note: This step keeps the message in your inbox.)
13
(Folders in Gmail are called “Labels”)
at the top of the email.
to move the email into or create a new label. (Note: This step removes the message from your inbox.)
14
15
16
into your calendar, you will see the G Suite logo.
see the name of your primary calendar.
they will appear in the “Other calendars” section.
17
click on “Create” or (b) click at the time you would like to schedule.
appear on a calendar other than your primary calendar, click to add it here.
18
click here. Select from the options
19