SLIDE 1
1
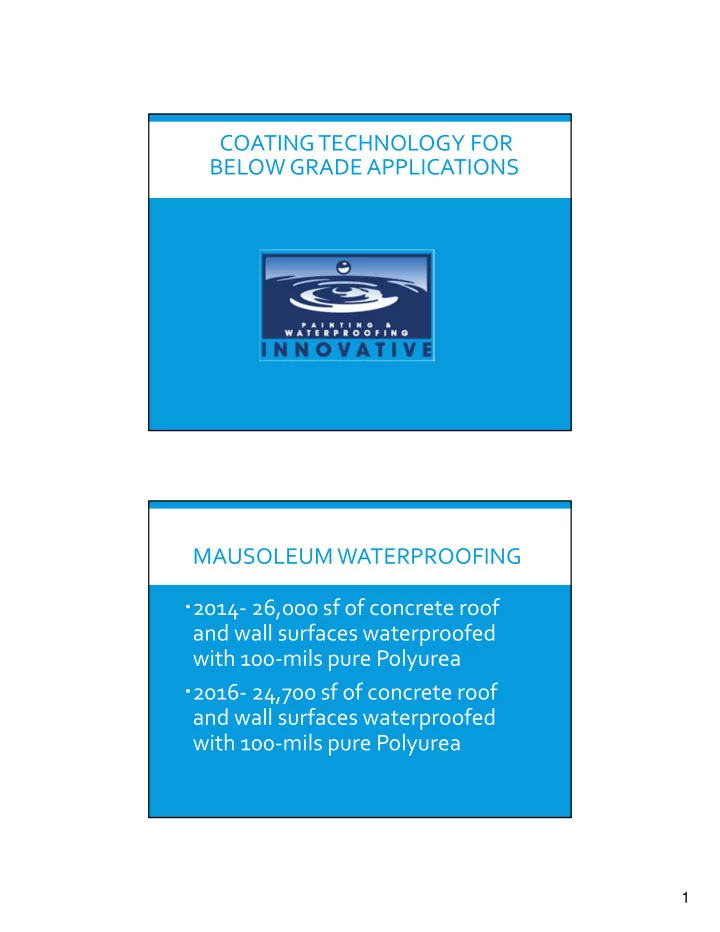
COATING TECHNOLOGY FOR BELOW GRADE APPLICATIONS MAUSOLEUM WATERPROOFING 2014‐ 26,000 sf of concrete roof and wall surfaces waterproofed with 100‐mils pure Polyurea 2016‐ 24,700 sf of concrete roof and wall surfaces waterproofed with 100‐mils pure Polyurea
SLIDE 2 2
CUSTOMER HISTORY
Contacted to help repair wall leaks in restroom of 5 year
- ld Underground Mausoleum structure
Mausoleum was no longer under construction warranty Existing waterproofing failed at various locations allowing water to leak into several public areas of the structure Limited access required that repairs needed to be completed form the negative side Urethane grout injection was recommended to repair leaks and seal active cracks using a hydrophobic water‐ activated, (hydro‐active),water cut‐off grout
FOAM INJECTION REPAIRS HYDROPHOBIC WATER‐ ACTIVATED, WATER CUT‐OFF GROUT
SLIDE 3
3
INJECTION FLOW PATTERNS IS THERE ANY BETTER WATERPROOFING?‐YES
Customer asks what can we do differently to better protect these underground structures They have been using roller applied and sheet waterproofing with limited success? New mausoleums are built underground with minimal surface loss by using roof areas for traditional burial sites These structures once built do not have the ability to excavate and install new systems in the future
SLIDE 4 4
21ST CENTURY TECHNOLOGY
Our recommendation was to use 100% pure aromatic Polyurea. Polyurea was applied at 100‐mils over properly prepared and primed structural concrete Drain matt was used to protect coating and allow water to flow to drain assemblies 10‐year warranty with 50 + year life expectancy
MAUSOLEUM HISTORY
Earliest versions were built to last Oldest of the Seven Wonders of the World In the fourth dynasty, three large stone pyramids were built at Giza. The design of these pyramids was based on the pyramids that had been built
- before. These are the largest and sturdiest pyramids that were ever built
in ancient Egypt.
SLIDE 5 5
20TH CENTURY MAUSOLEUMS
It wasn’t until the 1870’s that there was much interest in America in community mausoleums. The time was ripe to
- ffer above ground burial to the masses. Cemetery
promoters touted above ground burial as aesthetically pleasing and much easier on the grieving family than having shovelfuls of dirt tossed on their loved ones’ remains. Unfortunately, some of the first community mausoleums suffered from shoddy construction and much of the profit realized by the cemetery from the sale of the crypts was soon eaten up by maintenance costs. Nevertheless, cemeteries continued to construct community mausoleums, but with improved construction techniques that lowered maintenance costs.
TYPICAL COSTS
A single or double crypts in a large community mausoleum starts between $ 3,000 and $10,000 dollars, but can increase to $ 15,000 to $ 30,000 for a double crypt in a upscale mausoleum. California’s Inglewood Park Cemetery is currently the largest mausoleum community in with 95,000 mausoleum crypts. Revenue generated for these crypt’s with casket and internment fees for Inglewood’s Park Cemetery for this division alone is over $1 Billion dollars.
jaj1
SLIDE 6 Slide 10 jaj1 Strike - polyetheramine
Jay Johnston, 3/13/2009
SLIDE 7
6
WE NEED MORE SPACE?
In the 1990’s a new trend has taken the direction to build mausoleums into hill faces or underground. This allowed for the roof areas to become income lawn sites, the effect is minimum property loss allowing owner to add additional plots on top of the 5 or 6 underneath. A 25,000 sf building has capabilities for an additional 1250 plots on the roof area with internment fees included @ $ 10,000 each =$ 1.25 million of unrealized income.
LETS GET STARTED
SLIDE 8 7
CONCRETE PREPARATION
- 1. After 28 days curing concrete was 5,000 psi power washed
to remove laitance, dirt and debris.
- 2. Vertical surfaces were poured in place requiring a
Cementous Parge coating to fill all bug holes and voids. A rapid cure grout with 6000psi tensile was applied with rubber float leaving surface with texture similar to 80‐grit paper.
- 3. Flatwork was steel troweled finished with lite broom
texture.
- 4. Cracks larger than 1/8” were routed out to ½” and filled
with Urethane sealant.
- 5. Saw cut ¼” X ¼” keyway’s for coating Terminations in field
areas.
SLIDE 9
8
PRIME
Apply 2 coats of 100% solids epoxy primer at 6‐8 mils per coat. 1st coat applied in late afternoon when temperature is falling. 2nd coat received a broadcast of 6‐7 pounds of # 20 aggregate into wet coating.
EQUIPMENT AND MATERIAL SETTINGS
Material Temperature: 150°F to 160 °F Pressure: 2350 to 2500 (psi) spray pressure. Machine: Graco H‐XP3 with data recording module, 360 feet of 3/8” hose using Fusion Air Purge with 4242AR mix module
SLIDE 10
9
APPLICATION OF COATING
SLIDE 11
10
FINAL STEPS
Water Test‐ 24 hours Install Drain Matt Others backfill with 12” sand followed by 12” clean dirt or gravel. Others install concrete lawn boxes and cover with 12‐18” of clean topsoil. Finish with new landscape including plants, grass and hardscape decor.
WATER TEST AND DRAIN MATT
SLIDE 12
11
BACKFILL AND INSTALL LAWN BOXES
FINISHED LANDSCAPE
SLIDE 13 12
PROJECT RECAP
Phase 1 & 2 total area coated 50,700 sf Primer used 500 gallons Polyurea used 3200 gallons Work completed over 2.5 year duration Phase 1 opened in 2015 Phase 2 open 2017
THANK YOU
Don Dancey
don@911waterproofing.com Phone: (714) 257‐0200 Web site: www.911waterproofing.com