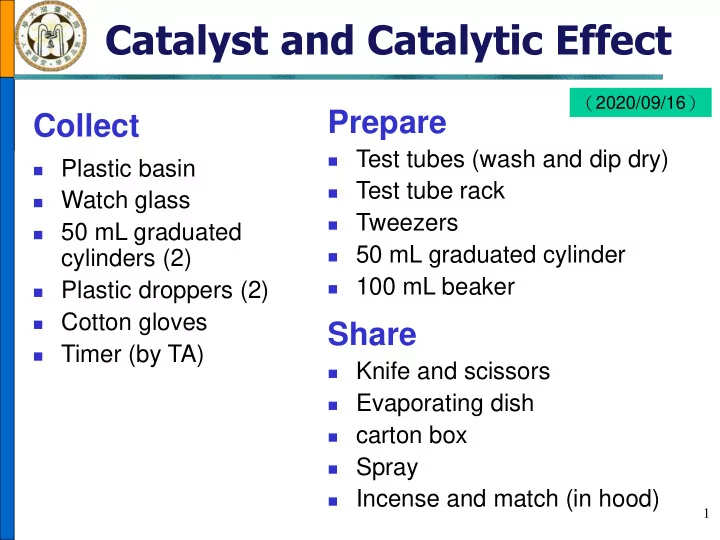

Catalyst and Catalytic Effect ( 2020/09/16 ) Prepare Collect ◼ Test tubes (wash and dip dry) ◼ Plastic basin ◼ Test tube rack ◼ Watch glass ◼ Tweezers ◼ 50 mL graduated ◼ 50 mL graduated cylinder cylinders (2) ◼ 100 mL beaker ◼ Plastic droppers (2) ◼ Cotton gloves Share ◼ Timer (by TA) ◼ Knife and scissors ◼ Evaporating dish ◼ carton box ◼ Spray ◼ Incense and match (in hood) 1
Objective & Techniques Objective Decomposition of hydrogen peroxide ◼ Chemiluminescence of luminol ◼ Catalytic effect of catalyst ◼ Techniques ◼ Weighing ◼ Magnetic stirrer and hot plate Graduated cylinder and dispenser ◼ Liquid nitrogen ◼ 2
I. Decomposition of Hydrogen Peroxide Catalyst 2 H 2 O 2 (aq) O 2 (g) + 2 H 2 O(l) 3
II. Chemiluminescence of Luminol O O * - Iron ions O NH NH + 2OH - + 2H 2 O 2 + 4H 2 O + N 2 - O NH 2 O O H 2 N 發光胺 Luminol h ν 基態 Ground state 4
Catalytic Effect of Catalyst ▪ Catalyst A catalyst is a substance which increases the rate of a chemical reaction ▪ Types – Homogeneous catalyst – Heterogeneous catalyst – Biocatalyst (enzyme) ▪ Mechanism? 5
Enzyme ◼ Enzyme: a biocatalyst ◼ Characteristics – High specificity – High efficiency –Activity affected by pH, temperature… etc. ▪ Why? ▪ Protein: a polymer of amino acids ▪ Possess specific function for special structure 6
Experimental Flowchart I. Decomposition of H 2 O 2 II. H 2 O 2 and luminol by catalyst – Pig liver blood – MnO 2 (s) – K 3 [Fe(CN) 6 ] – KI(aq) – K 4 [Fe(CN) 6 ] – Pig liver • Fresh III. Forensic chemistry • Frozen – Detection of blood • Boiled – Blood from pig liver 7
Step I. MnO 2 and H 2 O 2 • Weigh 0.1 g MnO 2 • Add 5 mL H 2 O 2 soln • Insert burning and add 3 d incense into gas • Mix well dishwashing liquid bubbles • Record rxn time and into 50 mL graduated • Inspect the property volume of bubbles cylinder of gas evolved formed 8
Step II. KI Solution and H 2 O 2 Add 1 mL 2.0 M KI(aq) and 3 d dishwashing liquid To 50 mL graduated cylinder Add 5 mL 10 mL 2%H 2 O 2 Mix well Record rxn time and volume Test with burning incense 9
Step III. Pig Liver and H 2 O 2 ▪ Take 3 pieces of 50 mL graduated cylinder Record: ▪ 5 mL of 3%H 2 O 2 Add 3 d dishwashing liquid and Rxn time & 1) Fresh pig liver bubble volumes 2) Frozen pig liver 3) Boiled pig liver 4) Blood from pig liver Cut to slices Freeze pig liver in liquid nitrogen 10
Step IV. Luminol and H 2 O 2 Take 5 test tubes, each filled with (1) 1 mL H 2 O & 2 d. blood from pig liver (2) 1 mL 0.2 M K 3 Fe(CN) 6 (3) 1 mL 0.2 M K 4 Fe(CN) 6 (4) 1 mL H 2 O & 1 d. K 3 Fe(CN) 6 (5) 1 mL H 2 O & 5 d. K 3 Fe(CN) 6 Use a test tube to take 3 mL luminol test soln Add 0.5 mL of luminol test soln to #(1)~(5) one by one Observe and record chemiluminescence 11 Add more Fe(III) to tubes (4) and (5)
Step V. Luminol and Forensic Collect the luminol test soln left in a spray Spray the luminol test soln on to tissue, knife, or scissors used Take the picture for recording 12
Summary I Catalyst 0.1 g MnO 2 (s) 3 d 1 mL KI(aq) dishwashing liquid Fresh pig liver + Frozen pig liver 5 mL Boiled pig liver 3%H 2 O 2 2 d Blood from pig liver 13
Summary II Test tube Reagent 1 mL H 2 O 2 + 2 d. pig liver blood 1 mL 0.2 M K 3 Fe(CN) 6 + 0.5 mL 1 mL 0.2 M K 4 Fe(CN) 6 Luminol test soln 1 mL H 2 O & 1 d. K 3 Fe(CN) 6 1 mL H 2 O & 5 d. K 3 Fe(CN) 6 14
Notice ◼ Start counting time while H 2 O 2 (aq) being added to the reacting solution ◼ Take and place burning incense back into fume hood to avoid smoke accumulating in lab. ◼ Wear cotton gloves to avoid burned by hot plate or boiling water ◼ Be cautious of operating with liquid nitrogen for low temperture ◼ Recycle the plastic droppers after used ◼ Boil all the pig liver after use and recycle ◼ Give the timer back to TA ◼ Clean the apparatus, lab bench after class 15
Dispenser 1. Check the pre-set volume and do not change the volume ( 1 ) setting afterwards. 2. Position the flask under the tip ( 3 ) ( 2 ) of dispenser. ( 4 ) 3. Lightly pull the piston pump up and down several times to get rid of the bubbles. 4. Lightly pull piston pump up to the top, then slowly push down to obtain the measured solution. 16
Recommend
More recommend