
SLIDE 1
Arduino: Controlling the Wild RGB LED Strips!
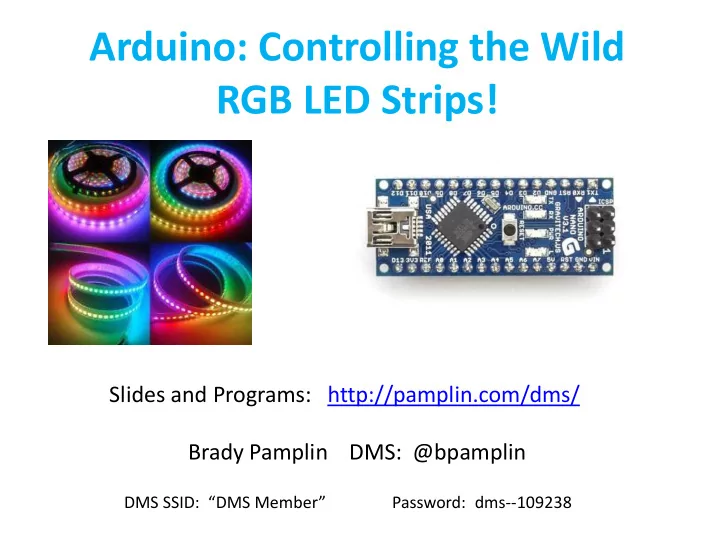
Slides and Programs: http://pamplin.com/dms/ Brady Pamplin DMS: @bpamplin
DMS SSID: “DMS Member” Password: dms--109238
Arduino: Controlling the Wild RGB LED Strips! Slides and Programs: - - PowerPoint PPT Presentation
Arduino: Controlling the Wild RGB LED Strips! Slides and Programs: http://pamplin.com/dms/ Brady Pamplin DMS: @bpamplin DMS SSID: DMS Member Password: dms--109238 Agenda Physical Computing Microcontrollers,
DMS SSID: “DMS Member” Password: dms--109238
2 Arduino: Controlling the Wild LED Strips!
https://en.wikipedia.org/wiki/Physical_computing
3 Arduino: Controlling the Wild LED Strips!
LEDs LCD Display RGB LED Strips Ultrasonic Distance Sensor Temperature Sensor Light Sensor Relay Flame Sensor Module Metal Touch Module Sound Module Laser Emit Module Water Lever Sensor IR Receiver Module IR Emission Module Tilt Switch Module Button Module Buzzer Module Photo-resistor Module Photo-interrupter Module Tap Module Membrane Switch Module Shake Module
sensors and actuators
4 Arduino: Controlling the Wild LED Strips!
components
development to downloading software into microcontrollers
5 Arduino: Controlling the Wild LED Strips!
6
Arduino: Controlling the Wild LED Strips!
aaa
7
Arduino Nano/UNO Lolin/Wemos D1 Mini RPi 3B+ Category Microcontroller Microcontroller Computer system Chip ATmega328 ESP8266 Broadcom BCM2837B0 Flash 32K – 2K bootloader 4M Add in >= 8G SRAM 2K 80K 1 GB WiFi No Yes Yes Voltage 5 3.3 3.3 Digital I/O Pins 14 11 24 Analog Input Pins 6 1 Active programs 1 1 Dozens Clock speed 16 MHz 80 MHz 1.4 GHz USB Cable Nano – Mini Uno - B Micro Micro
Arduino: Controlling the Wild LED Strips!
9 Arduino: Controlling the Wild LED Strips!
10 Arduino: Controlling the Wild LED Strips!
11 Arduino: Controlling the Wild LED Strips!
12 Arduino Install Information
13 Arduino Install Information
14 Arduino Install Information
15 Arduino: Controlling the Wild LED Strips!
16 Arduino: Controlling the Wild LED Strips!
17 Arduino: Controlling the Wild LED Strips!
18 Arduino Install Information
19 Arduino Install Information
20 Arduino Install Information
21
Arduino: Controlling the Wild LED Strips!
Program: File / Examples / 01.Digital / Blink
22
23
Arduino: Controlling the Wild LED Strips!
24
Arduino: Controlling the Wild LED Strips!
25 Arduino: Controlling the Wild LED Strips!
26
https://www.arduino.cc/en/Tutorial/PWM
Arduino: Controlling the Wild LED Strips!
27
Arduino: Controlling the Wild LED Strips!
28 Arduino: Controlling the Wild LED Strips!
29 Arduino: Controlling the Wild LED Strips!
30 Arduino: Controlling the Wild LED Strips!
#define NUM_LEDS 5 int brightness = 5; int delay_time = 500; #include <FastLED.h> #define DATA_PIN 3 // Arduino pin D3 CRGB leds[NUM_LEDS]; void setup() { FastLED.addLeds<NEOPIXEL, DATA_PIN>(leds, NUM_LEDS); LEDS.setBrightness(brightness); }
31 Arduino: Controlling the Wild LED Strips!
void loop() { for (int i=0; i <NUM_LEDS; i++) { leds[i] = CRGB::Green; FastLED.show(); delay(delay_time); } for (int i=NUM_LEDS-1; i!= -1; i--) { leds[i] = CRGB::Black; FastLED.show(); delay(delay_time); } }
32 Arduino: Controlling the Wild LED Strips!
AliceBlue =0xF0F8FF, Amethyst =0x9966CC, AntiqueWhite =0xFAEBD7, Aqua =0x00FFFF, Aquamarine =0x7FFFD4, Azure =0xF0FFFF, Beige =0xF5F5DC, Bisque =0xFFE4C4, Black =0x000000, BlanchedAlmond =0xFFEBCD, Blue =0x0000FF, BlueViolet =0x8A2BE2, Brown =0xA52A2A, BurlyWood =0xDEB887, CadetBlue =0x5F9EA0, Chartreuse =0x7FFF00, Chocolate =0xD2691E, Coral =0xFF7F50, CornflowerBlue =0x6495ED, Cornsilk =0xFFF8DC, Crimson =0xDC143C, Cyan =0x00FFFF, DarkBlue =0x00008B, DarkCyan =0x008B8B, DarkGoldenrod =0xB8860B, DarkGray =0xA9A9A9, DarkGrey =0xA9A9A9, DarkGreen =0x006400, DarkKhaki =0xBDB76B, DarkMagenta =0x8B008B, DarkOliveGreen =0x556B2F, DarkOrange =0xFF8C00, DarkOrchid =0x9932CC, DarkRed =0x8B0000, DarkSalmon =0xE9967A, DarkSeaGreen =0x8FBC8F, DarkSlateBlue =0x483D8B, DarkSlateGray =0x2F4F4F, DarkSlateGrey =0x2F4F4F, DarkTurquoise =0x00CED1, DarkViolet =0x9400D3, DeepPink =0xFF1493, DeepSkyBlue =0x00BFFF, DimGrey =0x696969, DodgerBlue =0x1E90FF, FireBrick =0xB22222, FloralWhite =0xFFFAF0, ForestGreen =0x228B22, Fuchsia =0xFF00FF, Gainsboro =0xDCDCDC, GhostWhite =0xF8F8FF, Gold =0xFFD700, Goldenrod =0xDAA520, Gray =0x808080, Green =0x008000, GreenYellow =0xADFF2F, Honeydew =0xF0FFF0, HotPink =0xFF69B4,
33 Arduino: Controlling the Wild LED Strips!
34
void loop() { sensorValue = analogRead(sensorPin); newLED = map(sensorValue,0, 1023, 0, NUM_LEDS-1); if (newLED != oldLED) { leds[oldLED] = CRGB::Black; FastLED.show(); leds[newLED] = CRGB::Red; FastLED.show(); Serial.println();
} } Connect a pot with the center pin to A4 and outer pins to 5V and GND. Turn knob to control LEDs.
35 Arduino: Controlling the Wild LED Strips!
36
Arduino: Controlling the Wild LED Strips!
37 Arduino: Controlling the Wild LED Strips!
38 Arduino: Controlling the Wild LED Strips!
Other example programs are available on the web and at the following location but be careful. Many USB ports can
much load. Most such programs assume you are using a power supply. File / Examples / FastLED / … For example, ten LEDs on full brightness White requires 600mA (0.6) which exceeds specifications for some USB ports. Each “LED” of the strip actually includes an LED for each of the three colors and requires 60mA for max White. To be safe, calculate current required and use an appropriate power supply.
39 Arduino: Controlling the Wild LED Strips!
40 Arduino: Controlling the Wild LED Strips!
41 Arduino: Controlling the Wild LED Strips!