SLIDE 1
Adding Graphics, Multimedia, and Special Effects to Slides
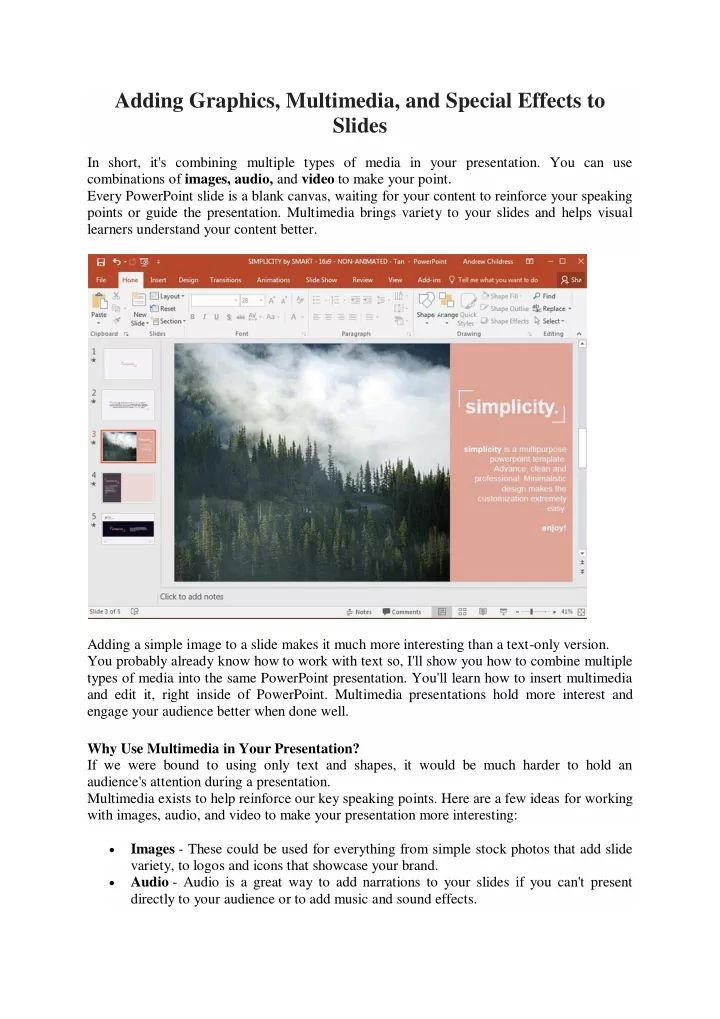
In short, it's combining multiple types of media in your presentation. You can use combinations of images, audio, and video to make your point. Every PowerPoint slide is a blank canvas, waiting for your content to reinforce your speaking points or guide the presentation. Multimedia brings variety to your slides and helps visual learners understand your content better. Adding a simple image to a slide makes it much more interesting than a text-only version. You probably already know how to work with text so, I'll show you how to combine multiple types of media into the same PowerPoint presentation. You'll learn how to insert multimedia and edit it, right inside of PowerPoint. Multimedia presentations hold more interest and engage your audience better when done well. Why Use Multimedia in Your Presentation? If we were bound to using only text and shapes, it would be much harder to hold an audience's attention during a presentation. Multimedia exists to help reinforce our key speaking points. Here are a few ideas for working with images, audio, and video to make your presentation more interesting:
Images - These could be used for everything from simple stock photos that add slide variety, to logos and icons that showcase your brand.
Audio - Audio is a great way to add narrations to your slides if you can't present directly to your audience or to add music and sound effects.
SLIDE 2
Video - You can add video clips from your computer or sites like YouTube. Videos could be used for showing instructional walkthroughs from YouTube, TED talks, or a recorded screen cast of your own. How to Use Multimedia in PowerPoint Presentations 1. Images in PowerPoint: Stills & Animated 1.1 How to Insert Images into PowerPoint The simplest way to add an image to PowerPoint is to simply copy and paste. You can copy an image to your clipboard in practically any app like a web browser or image editor, and then right click to paste it into PowerPoint. A better way to insert images is to save them to your computer, then insert them using the Insert menu. Go to the Insert > Pictures menu to browse to an image to insert. Insert an image from the Insert > Pictures menu on the PowerPoint ribbon. On the pop-up menu, browse to where your images are stored and click on them to add them to the presentation. By Insert menu you can add multiple images at the same time. Hold the Control button on your keyboard and click on multiple images before you press Insert to add them all to a slide.
SLIDE 3
Select multiple images by holding Control on your keyboard and clicking on them before pressing Insert to add them all to a slide. 1.2 Resize and Reposition Images Once an image is on the slide, you can click and drag it to move it around on the slide. If the image is larger or smaller than you want, you can click and drag on the corner to resize it. Click and drag the white circle on the corner of an image to resize it on your PowerPoint slide. 1.3 PowerPoint Picture Tools PowerPoint also includes a set of tools to edit images from within the app. You don't always have to open up Photoshop or another editor to make basic changes to your images. When you select an image, you'll see a new option on the PowerPoint ribbon. Click on the Picture Tools > Format to open up image editing tools.
SLIDE 4 Here are the key Picture Tools to try out:
Cropping - Select a portion of the image that you want to keep (and remove) to trim an image inside PowerPoint
Remove background - If you have a logo with a white or black background, use this wizard to isolate the logo.
2.1 Add an Audio File to PowerPoint Audio is another multimedia type you can work with in PowerPoint. If you have an audio track on your computer like an MP3 or WAV file, you can easily add them to your presentation. Choose the Insert > Audio > Audio on My PC option to browse for and choose an audio file. Go to Insert > Audio > Audio on my PC option to browse for and choose an audio file to add. After you choose the audio file, you'll see a small speaker icon on your PowerPoint slide. You can hover over it and press the play button to play it while presenting. 2.2 Record Audio inside PowerPoint If you don't already have your audio recorded in a file, you can actually capture it right inside
To record audio for the presentation, go to the Insert > Audio > Record Audio option. Go to the Insert > Audio > Record Audio option to record audio using a microphone. Now, you'll see the Record Sound option pop up. Press the red Record button, and PowerPoint will start grabbing audio. When you're finished press the Stop button (black square) to add your audio to PowerPoint.
SLIDE 5 Press the record button to record audio inside your presentation and add it to the PowerPoint file. 2.3 Working with PowerPoint's Audio Tools PowerPoint lets you make minor edits and adjustments to audio files without having to open another app. With the audio file selected, the most useful options are found on the Audio Tools > Playback menu. Here are some of the most useful options:
Trim Audio - Open this option to reduce your audio file to play only a selection of the original file.
Start - Change from On Click to automatically to play the audio without clicking the speaker icon.
Video is a powerful multimedia type you can use. PowerPoint supports adding video from your computer or online. Let's look at how to insert and modify them: 3.1 Add a Clip from Your Computer If you have a video clip on your computer, you can quickly drop it into your presentation by using the Insert menu. Go to Insert > Video > Video on My PC to browse to your video file. After browsing to the video and inserting it, you'll see it placed on your slide with the playback controls.
SLIDE 6 Once the video is on your slide, you can drag the corners to resize it and control how much of the slide it covers. PowerPoint has good support for most of the major video file types, like MP4, QuickTime, and Windows Media files. 3.2 Add a Video Clip from Online Finding an inspiring or insightful YouTube video can help make drive your point to reach an
- audience. Instead of finding a workaround to download and convert a YouTube video,
PowerPoint can link to and insert them directly. To add a YouTube (or other online) video, go to Insert > Video > Online Video to launch the menu. To add an online video, choose Insert > Video > Online Video to get started. Now, PowerPoint will show a new window to search for or add an online video. If you want to add a YouTube video, you can drop in the URL for a video, or search directly inside this box for a relevant clip. Other sites might give you embed codes on their site. On sites like Vimeo or TED, try out the Embed code and dropping the HTML into the bottom box. Search for videos using the box or drop in a URL for a YouTube video of your choice.
SLIDE 7
Adding a YouTube video is a great way to include a video without increasing your PowerPoint file size. Instead of embedding the video inside the file, the link will play a YouTube video, right inside the presentation. 3.3 PowerPoint Video Playback Options Just as PowerPoint has built-in tools to adjust images, the Playback Options are great to adjust how a video plays inside the presentation. With the video selected, click on the Video Tools > Playback option on the ribbon to access key settings to control the video. With a video selected, you can use the Video Tools > Playback options to edit your video inside of PowerPoint. Here are several key options to try out to change how the video plays:
Start - Change this option from "On Click" to "Automatically" to start playing the video as soon as the slide appears.
Play Full Screen - With this option turned on, playing the video will cut to a full screen mode with the rest of the slide hidden.
Trim Video - Open this option to select which parts of the video to reduce the video to the parts you want to show.