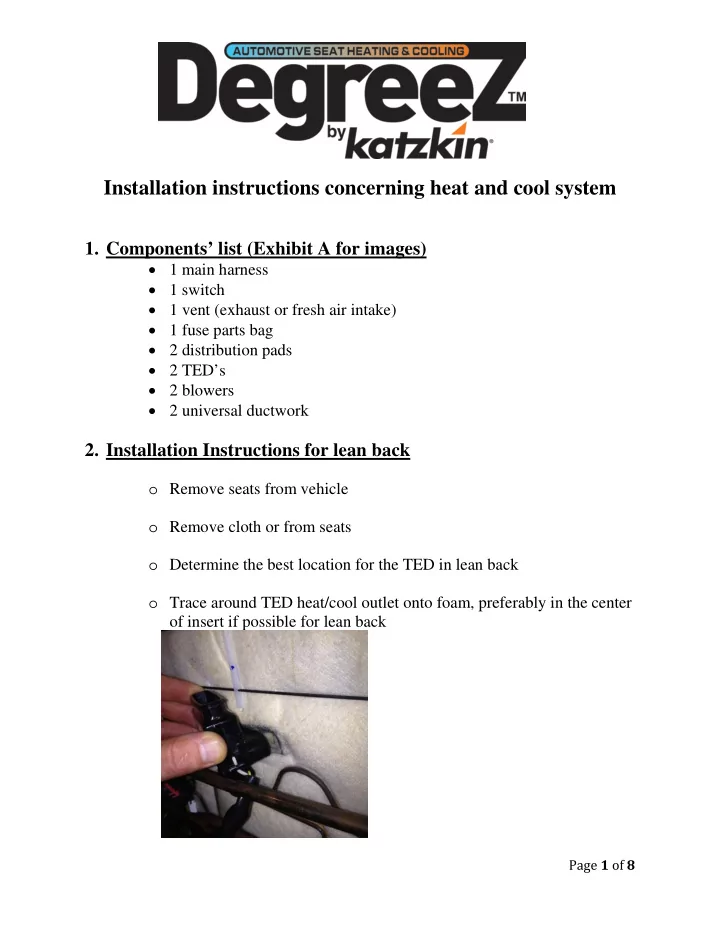

Installation instructions concerning heat and cool system 1. Components’ list (Exhibit A for images) • 1 main harness • 1 switch • 1 vent (exhaust or fresh air intake) • 1 fuse parts bag • 2 distribution pads • 2 TED’s • 2 blowers • 2 universal ductwork 2. Installation Instructions for lean back o Remove seats from vehicle o Remove cloth or from seats o Determine the best location for the TED in lean back o Trace around TED heat/cool outlet onto foam, preferably in the center of insert if possible for lean back Page 1 of 8
o Cut a clean hole through lean back foam for TED heat/cool outlet o Lay pad on top surface of foam, using a pen or marker trace the connection point on the pad through the hole for the lean back o Remove the distribution pad from seat foam, using a razor blade cut through only the top layer of the traced area of the distribution pad and peel off top layer exposing internal mesh of distribution pad o Assemble blower to short side of TED using a small portion of the universal duct work and zip ties Page 2 of 8
o Take an additional piece of ductwork and screw it on each side to the heat/cool outlet of the TED, ensuring that the ductwork is longer than the thickness of the seat foam o Attach ductwork to longer side or exhaust of TED and zip tie o Install your assembled unit into lean back while routing the exhaust duct out of bottom lean back Page 3 of 8
o Trim the ductwork even with the face of the foam once inserted through lean back o Secure TED and blower to the seat using zip ties or screws Page 4 of 8
Installation of Distribution Pad – Version 1 o Run a bead of silicon around the hole on the face of the foam o Glue the distribution pad to the face of the foam creating a good seal Note: If the pad is longer or wider than the insert it can be trimmed to length and width. To adjust for length and width make cuts and finish off edges with glue duct tape to create a seal. Page 5 of 8
Installation of Distribution Pad – Version 2 o Repeat version 1 but with the option of using a router to recess pad and reduce the amount of lumbar to the lean back and thickness of the bottom cushion o Lay your distribution pad in desired area and trace the perimeter o Set your router to ¾ inches or desired depth and router inside the marked area and install your distribution pads Page 6 of 8
3. Installation Instructions for bottom o Repeat same process as lean back for bottom cushion o No exhaust ductwork is necessary for the bottom 4. Fresh air intake vent / exhaust vent o The more fresh air you can get into the lean back the better it will preform. o Mark cover and cut opening for vent o With the Snap bezel grill to bezel base plate. Making sure side facing material is trapped Note: This vent can be used as an exhaust vent if necessary 5. Install Brain box and main wiring harness on the bottom of seat 6. Install switch in desired location Page 7 of 8
Exhibit A (Components) 2 1 Main Distribution Harness Pads 1 Switch 2 TED's 1 Vent 2 Blowers 2 1 Fuse Universal Parts Bag Ductwork Page 8 of 8
Recommend
More recommend