
SLIDE 1
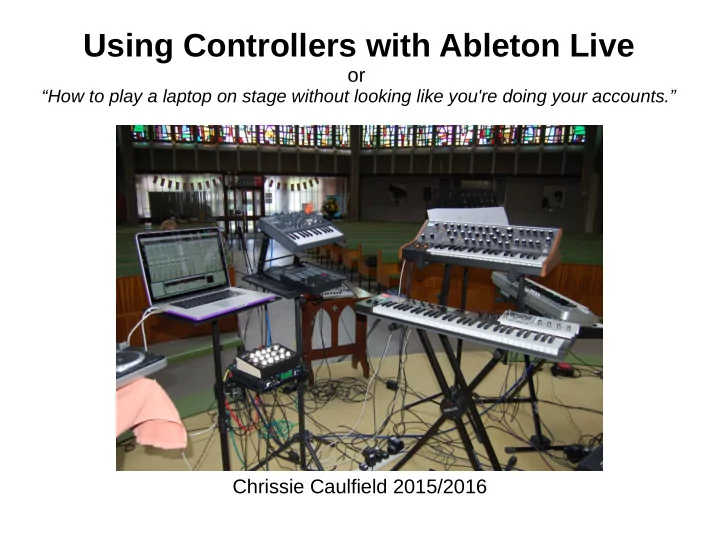
Using Controllers with Ableton Live
- r
“How to play a laptop on stage without looking like you're doing your accounts.”
Using Controllers with Ableton Live or How to play a laptop on stage - - PowerPoint PPT Presentation
Using Controllers with Ableton Live or How to play a laptop on stage without looking like you're doing your accounts. Chrissie Caulfield 2015/2016 Introduction Ableton Live is a variant on a standard DAW (Digital Audio Workstation) with
“How to play a laptop on stage without looking like you're doing your accounts.”
Ableton Live is a variant on a standard DAW (Digital Audio Workstation) with extras tailored for live performance. You can use it as a recording DAW but that's not what I'll be covering today 3 variants
– comes free with many hardware controllers (eg I got it with a £25 keyboard!) – restricted number of tracks/scenes
synthesizers and Max for Live
Even 'Intro' version comes with 'Simpler' which is a very useful sampler.
– Audio: for pre-recorded sounds/ live instruments – MIDI: for driving synthesizers/drum machines etc
– ⌘T (ctrl-T on Windows) create an audio track – ^⌘T to create a MIDI track
– Which we probably won't go into
Browser Clip/Effects Tracks Mixer Transport
You only really need to map the big button to a footswitch
– ⌘, (on Mac) – Choose 'MIDI'
– For controllers
– Mainly keyboards for playing
– For keeping instruments on the beat
– Defines how external controls
change internal values.
– Launchpad designed for this
– Built in or VST
– Guitar/violin/hardware synths
Audio setup dialogue
– Change FX on a live instrument
– And when you’re sure of your timing!
– And add new ones ‘on the fly’ – Shows graphics too
– If expensive
– Though it can be used with external instruments
– Minus-barem
– Minus-Gaiser
– Ada
– Witch Hazel
– Synths
– 'Impulse' for beats (including samples)
– Plug in a microphone