
SLIDE 1
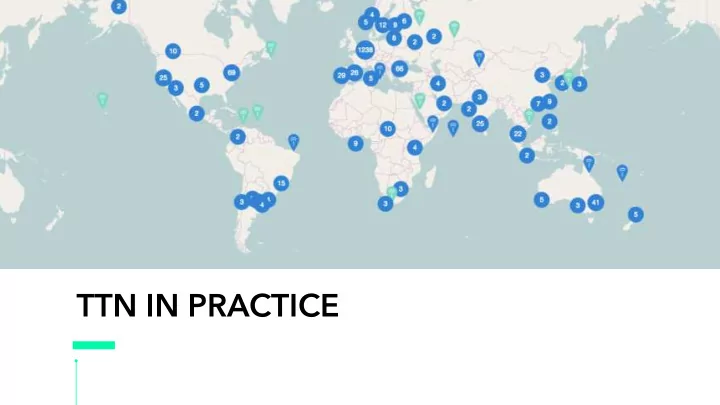
TTN IN PRACTICE TTN: APP AND GATEWAY TTN: GATEWAY TTN: GATEWAY - - PowerPoint PPT Presentation
TTN IN PRACTICE TTN: APP AND GATEWAY TTN: GATEWAY TTN: GATEWAY TTN: GATEWAY SINGLE CHANNEL GATEWAY 70 euro RPi+board No enclosure Single Channel 8 CHANNELS GTW 500-1500 euro Enclosure 8 Channels 8 CHANNELS GTW 200-300 euro No
70 euro RPi+board No enclosure Single Channel
500-1500 euro Enclosure 8 Channels
200-300 euro No enclosure 8 Channels
Example: https://github.com/ttn-zh/ic880a-gateway/wiki
Login to thethingsnetwork.org Console Click on Gateways -> register gateway Enable checkbox I'm using the legacy packet forwarder Enter your Gateway EUI (if is printed on start and end of the installer) Enter any description Select Europe 868Mhz as frequency plan Select the correct antenna placement according to your plans Confirm clicking Register gateway
Connected!
It may take 24 hours for the gateway to be shown on TTNMapper and only if you generate traffic
You don’t need to install a Gateway to use TTN if there are other Gateways available!
Application ID Description Handler
Name of Device Device EUI
Authentication Never seen!
Credit: https://www.newieventures.com.au/blogtext/2018/2/26/lorawan-otaa-or-abp
https://www.newieventures.com.au/blogtext/2018/2/26/lorawan-otaa-or-abp
Settings
ABP
DeviceAdd, NetKey, AppKey
Copy and Paste in the TTN example I provided
Payload format
function Decoder(bytes, port) { var decoded = {}; decoded.latitude = ((bytes[2]<<16)>>>0) + ((bytes[3]<<8)>>>0) + bytes[4]; decoded.latitude = (decoded.latitude / 10000.0); decoded.longitude = ((bytes[5]<<16)>>>0) + ((bytes[6]<<8)>>>0) + bytes[7]; decoded.longitude = (decoded.longitude / 10000.0); decoded.altitude = ((bytes[8]<<16)>>>0) + ((bytes[9]<<8)>>>0) + bytes[10]; decoded.altitude = (decoded.altitude / 100.0); decoded.hdop = ((bytes[11]<<16)>>>0) + ((bytes[12]<<8)>>>0) + bytes[13]; // decoded.hdop = (decoded.hdop / 10000.0); return decoded; }
Integrations
1) Create an Application (your own!) 2) Register one device 3) Send some data 4) Try the Ubidots integration!