
SLIDE 1
OSHA Office of Training and Education 1
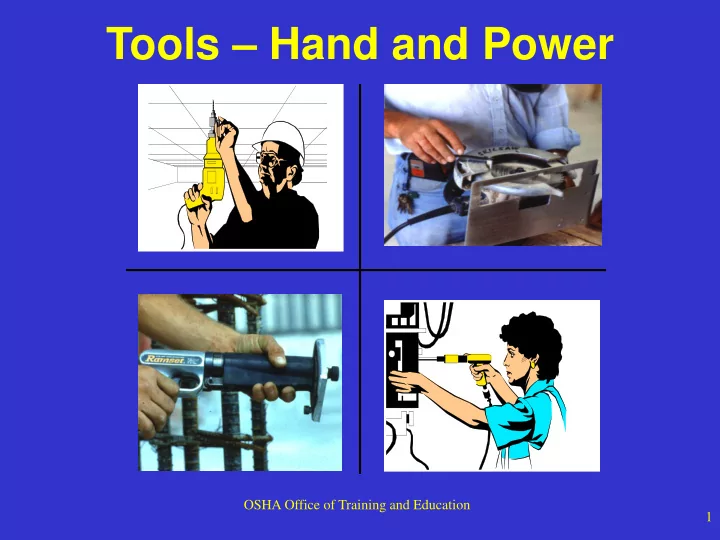
Tools Hand and Power OSHA Office of Training and Education 1 - - PowerPoint PPT Presentation
Tools Hand and Power OSHA Office of Training and Education 1 Hazards Workers using hand and power tools may be exposed to these hazards: objects that fall, fly, are abrasive, or splash harmful dusts, fumes, mists, vapors, and
OSHA Office of Training and Education 1
OSHA Office of Training and Education 2
OSHA Office of Training and Education 3
OSHA Office of Training and Education 4
Crack
OSHA Office of Training and Education 5
OSHA Office of Training and Education 6
OSHA Office of Training and Education 7
OSHA Office of Training and Education 8
OSHA Office of Training and Education 9
OSHA Office of Training and Education 10
Double insulated markings Plug with a grounding pin
OSHA Office of Training and Education 11
OSHA Office of Training and Education 12
OSHA Office of Training and Education 13
OSHA Office of Training and Education 14
Ensure the spindle speed doesn’t exceed the maximum speed marked on the wheel
OSHA Office of Training and Education 15
OSHA Office of Training and Education 16
OSHA Office of Training and Education 17
This shows a radial arm saw equipped with proper point of
guards
OSHA Office of Training and Education 18
Nip Point
OSHA Office of Training and Education 19
Radial arm saw equipped with an upper and lower blade guard
OSHA Office of Training and Education 20
OSHA Office of Training and Education 21
OSHA Office of Training and Education 22
OSHA Office of Training and Education 23
Wire used to secure hose
OSHA Office of Training and Education 24
OSHA Office of Training and Education 25
Muzzle in contact with work surface
OSHA Office of Training and Education 26
OSHA Office of Training and Education 27
OSHA Office of Training and Education 28
OSHA Office of Training and Education 29
OSHA Office of Training and Education 30
OSHA Office of Training and Education 31
OSHA Office of Training and Education 32
OSHA Office of Training and Education 33
OSHA Office of Training and Education 34
OSHA Office of Training and Education 35