
SLIDE 1
Table of contents
98
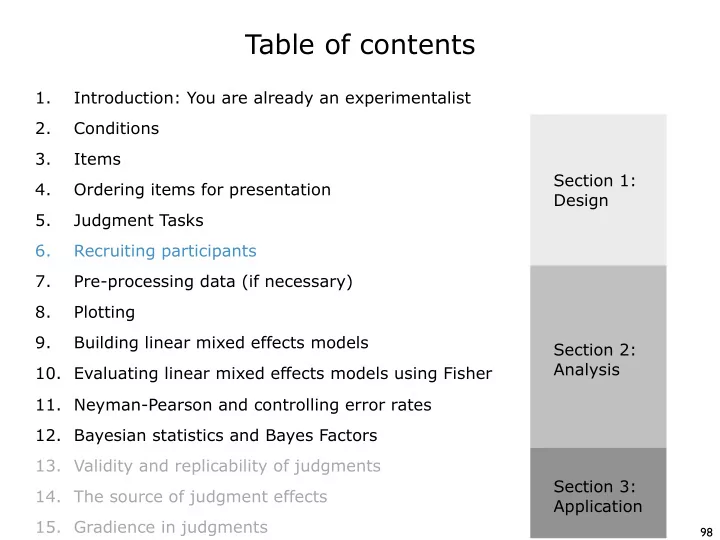
Table of contents 1. Introduction: You are already an - - PowerPoint PPT Presentation
Table of contents 1. Introduction: You are already an experimentalist 2. Conditions 3. Items Section 1: 4. Ordering items for presentation Design 5. Judgment Tasks 6. Recruiting participants 7. Pre-processing data (if necessary) 8.
98
99
100
101
102
103
104
105
106
Forced−Choice Likert Scale Magnitude Est. Yes−No
40 60 80 100 20 40 60 80 100 20 40 60 80 100 20 40 60 80 100 small medium large extra large 25 50 75 100 25 50 75 100 25 50 75 100 25 50 75 100
sample size mean power (%)
107
108
109
110
111
112
113
114
115
116
117
118
119
120
121
122
123