SY306 Web and Databases for Cyber Operations Slide Set #3: CSS - - PDF document

sy306 web and databases for cyber operations slide set 3
SMART_READER_LITE
LIVE PREVIEW

SY306 Web and Databases for Cyber Operations Slide Set #3: CSS - - PDF document

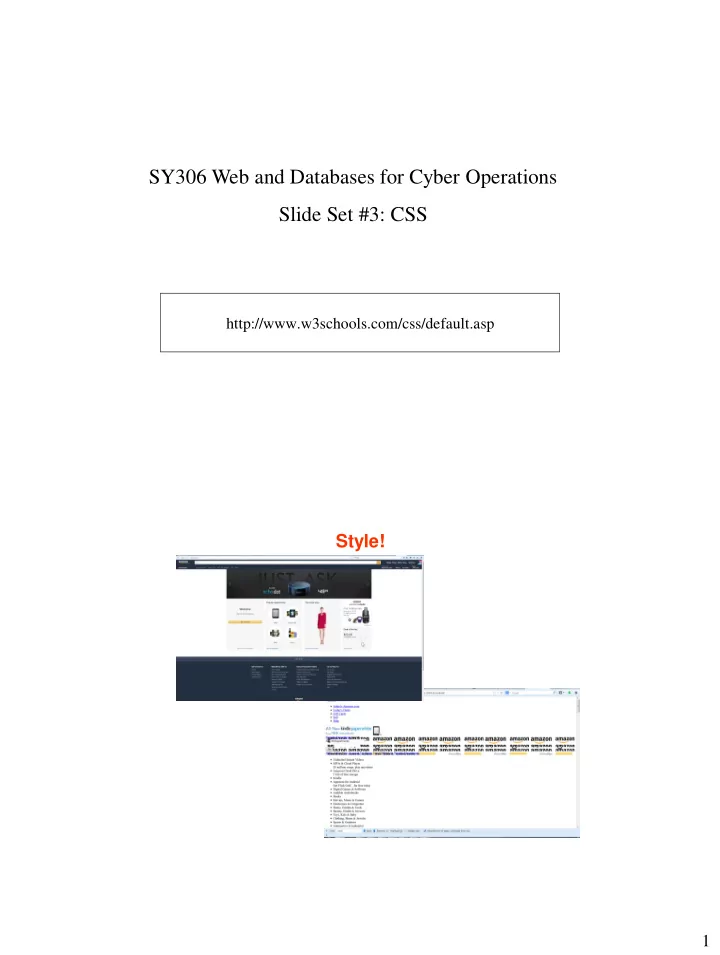
SY306 Web and Databases for Cyber Operations Slide Set #3: CSS http://www.w3schools.com/css/default.asp Style! 1 ClickJacking Attack! Past Clickjacking attacks By loading Adobe Flash plugin settings page into an invisible iframe, an


slide-1
SLIDE 1

1

http://www.w3schools.com/css/default.asp

SY306 Web and Databases for Cyber Operations Slide Set #3: CSS

Style!

slide-2
SLIDE 2

2

ClickJacking Attack!

  • By loading Adobe Flash plugin settings page into an invisible iframe,

an attacker could trick a user into altering the security settings of Flash, giving permission for any Flash animation to utilize the computer's microphone and camera.

  • Twitter worm. This clickjacking attack convinced users to click on a

button which caused them to re-tweet the location of the malicious page, and propagated massively.

  • Attackers can trick logged-in Facebook users to arbitrarily like fan

pages, links, groups, etc

Past Clickjacking attacks

slide-3
SLIDE 3

3

Cascading Style Sheets (CSS)

  • Language:
  • Style sheet:
  • Cascading:
  • Syntax:

p {color: blue; font-size:20px}

declared.html (1 of 2)

Cascading Style Sheets (CSS) example

slide-4
SLIDE 4

4

Key Questions I. Where can we specify style? II. How to “select” what parts of a page the style applies to?

  • III. How can we specify specific style values?
  • IV. Cascading – how does it work?

Three Locations for Style

1. Inline

<p style = "font-size: 20pt" > … </p>

2. Embedded style sheet (in <head>)

<head> … <style type="text/css" > p { font-size: 20pt} </style>

3. External style sheet

styles.css content:

p { font-size: 20pt}

In HTML5 document:

<head> … <link rel="stylesheet" type="text/css" href="styles.css" />

I.

slide-5
SLIDE 5

5

CSS Selectors: automatically applied

<style type = "text/css"> p { font-size: 20pt; text-align: right} h1, h2 { font-size: 30pt} li em { color: red; font-weight: bold } a:hover { text-decoration: underline; color: red; } </style>

II.

Exercise #1: Write an external stylesheet styles.css that makes every h1 element centered; apply the stylesheet to starter.html

slide-6
SLIDE 6

6

CSS Selectors: manually applied

<head> …<style type = "text/css"> a.nodec { text-decoration: none } .crazy { font-size: 40pt; color: red } #fineprint { font-size:8pt } </style> </head> <body> … <a class="nodec" href="links.html"> … <h1 class="crazy"> … <div id="fineprint"> …

II.

Organizing multiple selectors with the same tag

What if you had several <p>s that you want to style? Options?

  • 1. Give a unique ID to each tag! <p id=“unique”>
  • 2 . Give a unique class name to each tag! <p class=“one”>

II.

slide-7
SLIDE 7

7

What styles can I apply?

  • font-family, font-size, font-style, font-weight
  • text-decoration (line-through, overline, underline,

none)

  • list-style-type (disc, square, circle, url)
  • color, background-color
  • text-align (left, center, right, justify)
  • float (left, right, none)
  • border-style, border-width, margin, padding

– margin-left, margin-right, etc.

  • background-image
  • opacity
  • width, height
  • position

Many more… III.

Examples of property values/units Predefined – xx-small, x-small, small, smaller, medium, large, x-large, xx-large 40% (of current size or screen size) 2em (2*size of of current font current style) 3ex (3*height of x in current font [rarely used]) 10px 12pt = 1 pc 23in 17cm 92mm

III.

slide-8
SLIDE 8

8

Color “color: yellow” black, white, red, blue, … “color: rgb(255, 255, 0)” “color: #FFFF00” “Web-safe colors”? Only use hex values: http://www.w3schools.com/tags/ref_colorpicker.asp

III. Exercise #2: Write an embedded stylesheet that will…

  • 1. Make every <h1> and <h2> section have 20pt

size text

  • 2. Put lines above all links instead of under them
  • 3. Define a generic selector called “cat" that will

italicize text

slide-9
SLIDE 9

9

Exercise #3: Write an external stylesheet that will…

  • 1. Using some relative size, make all <h3> text

twice as large as <h4> text

  • 2. Make normal paragraphs that are nested inside a

table appear in bold. Exercise #4: Where’s the bug?

/* styles.css */ td {background-color: green; color: white} th {background-color: green; color: red} a {font-weight: bold; text-decoration: none} table {margin-left: 5em, border-style: groove, border-width: thick} div {border-style: inset; border-width: thick} .crazy {color: yellow; font-weight:700} .mild {color: gray; text-decoration: underline}

slide-10
SLIDE 10

10

W3C CSS Validation Service

  • Fig. 6.7

CSS validation results. (Courtesy of World Wide Web Consortium (W3C).)

http://jigsaw.w3.org/css-validator

Cascading 101 Put the cascade in Cascading Style Sheets.

<head> … <style type = “text/css”> p { color:green } </style> <link rel="stylesheet" type = “text/css” href=“blue-styles.css" /> </head> <body> <p style=“color:red”>What color am I?</p> </body>

IV.

slide-11
SLIDE 11

11

Cascading 101

  • If two of the same tags

– Choose the last one to be declared

  • If different tags, choose the more specific

– p – td p – p.header – p:hover

Cascading 101

  • What if no style is given?

– Cascade (inherit) from a parent!

p { font-size: 12pt } div.topbox { color:green } <div class=“topbox”> <p>I will be the div.topbox color!</p> </div>

slide-12
SLIDE 12

12

Exercise #5

  • What attributes does the <p> get assigned?

<style type = “text/css”> body { font-weight: bold } td { font-size: 14pt; font-color: green } .cool { font-color: red } p { font-size: 12pt } td p { text-decoration: underline; font-color: yellow } </style> <table><tr> <td><p class=“cool”>Let’s get it started</p></td> </tr></table>

The Box Model

  • Subtitle: “how to jazz up your webpage”
slide-13
SLIDE 13

13

The Box Model Examples

  • h1 { margin: 20px }
  • p { border: 3px solid black; padding: 10px }

Fine-Grained

  • h1 { margin-right: 20px; margin-bottom: 10px }
  • h1 { margin: 20px 10px 20px 0 }

My text with 10px padding! My text with 3px padding!

Exercise #6

  • Write HTML5 code to simulate this with only h3

and p tags and inline CSS:

I like being far from that h3. Does this look nicer? Give me some room.

This is an h3.

slide-14
SLIDE 14

14

Positioning with CSS

  • Float

– Make your element float on the left or the right – <p><img src=“….” style=“float:right”>some text here</p>

  • Clear

Positioning with CSS

  • Getting fancy: float all over the place
  • What happens with this code?

<img src=“…” style=“float:left” /> <img src=“…” style=“float:left” /> <img src=“…” style=“float:left” />

slide-15
SLIDE 15

15

Positioning with CSS

  • Relative

– Relative to its normal position – Does not affect other elements

  • Absolute

– Put an element in an exact pixel location in relation to its containing block-level element that has a non-static position. .bgimg { position: absolute; top: 0px; left: 0px; }

<body> … <div><img class=“bgimg” … /></div> </body> …<div style = “position:relative”><img class=“bgimg” … /></div>…

The <div> Tag - ‘Div’ide and conquer

  • Divider: <div>

– Just a wrapper, similar to <body> – Divides up your page in object-oriented-like sections – Styles can easily be applied to each divider – Can be your best friend <div class=“header”> …. </div> <div class=“leftpanel”> … </div> <div class=“content”>…</div> <div class=“footer”> …</div>

slide-16
SLIDE 16

16

  • You can also ‘create’ visual

HTML objects like menus, sidebars, and more.

<body> <div style = “width:100px; height:300px; background-color:red”></div> <div style = “width:100px; height:100px; background-color:blue”></div> <div style = “width:100px; height:100px; background-color:green”></div> <div style = “width:400px; height:100px; background-color:yallow”></div> </body>

The <span> Tag

  • Allows you to separate your content into

smaller in-line sections

  • Control styling for smaller parts of your page,

such as text.

slide-17
SLIDE 17

17

<span>

<body> <p> My favorite font is <span style = “font-family:IMPACT”>Impact!</span> </p> </body>

Exercise #7: Div tag

<head> <style type=“text/css”> .pane { float:right; width:20%; height:600px; border:1px solid black } .header { width:75%; height:100px; border:1px solid black } .main { width:75%; height:500px; border:1px solid black } </style> </head> <body> <div class=“pane”> some content </div> <div class=“header”> the header </div> <div class=“main”> the main body </div> </body>

Draw this output.

slide-18
SLIDE 18

18

Centering Secrets

  • Stylesheet:

.tcenter {text-align: center} .dcenter {margin-left: auto; margin-right: auto; text-align: center}

  • Usage:

<h1 class=“tcenter”> <table class=“dcenter”> …</table> <div class=“dcenter”> <img> … </img> </div>