
SLIDE 1
SETTING ARRIVAL & DISCHARGE DATES & TIMES
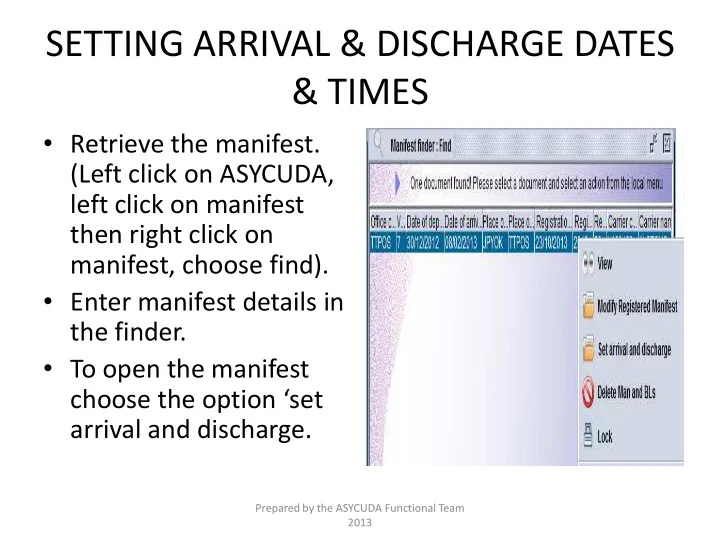
- Retrieve the manifest.
(Left click on ASYCUDA, left click on manifest then right click on manifest, choose find).
- Enter manifest details in
the finder.
- To open the manifest
choose the option ‘set arrival and discharge.
Prepared by the ASYCUDA Functional Team 2013