
SLIDE 1
RECAP WEEK 1
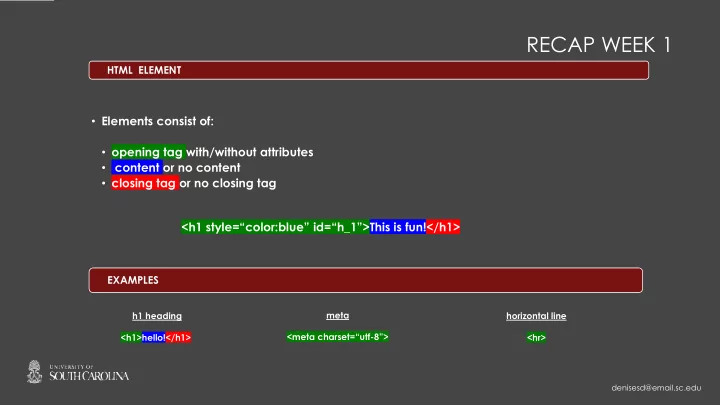
- Elements consist of:
- opening tag with/without attributes
- content or no content
- closing tag or no closing tag
HTML ELEMENT EXAMPLES
h1 heading <h1>hello!</h1> meta <meta charset=“utf-8”> horizontal line <hr>
<h1 style=“color:blue” id=“h_1”>This is fun!</h1>
denisesd@email.sc.edu