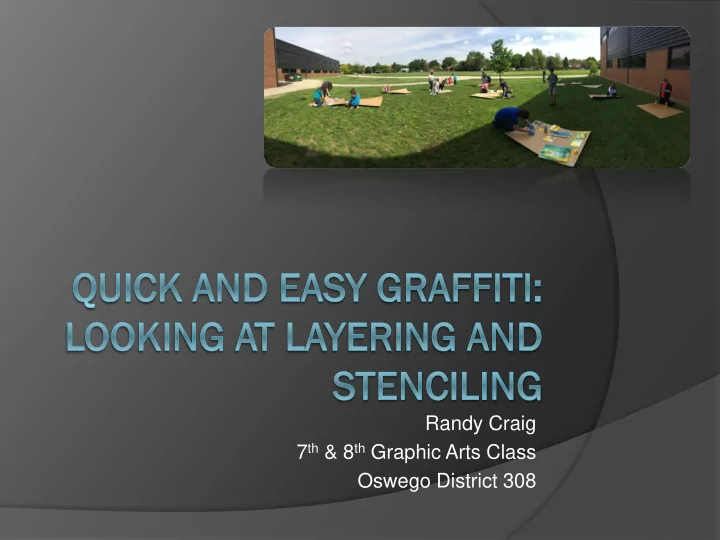
SLIDE 1
Randy Craig 7th & 8th Graphic Arts Class Oswego District 308
SLIDE 2
Part of a larger project focusing on the
use of several art concepts/techniques:
Color Texture Line Shape Value Layering Symbolism
SLIDE 3
Discipline-Based Art Education
Art History Art Aesthetics Art Production Art Criticism
SLIDE 4
Project Part 1
Learn about the history of graffiti Look at the different color families Grid Drawing using a web-based program
called Graffiti Creator.
SLIDE 5
“Aha Moment”
Let them use spray paint! How to make it meaningful... Multimedia and
Photoshop connection
SLIDE 6
Use the concepts of Photoshop and
apply them to a “painting” for transitional project.
Layering Opacity
SLIDE 7
Materials:
Hard board sheets 12” x 12” Acrylic paint Spray paint Disposable gloves Dust masks Painters tape Stencils Cardboard pieces Paintbrushes Sharpies Metallic Sharpies Paint markers
SLIDE 8
Step 1:
Lay down background Acrylic Paint Applied with cardboard/paintbrush
SLIDE 9
Step 1:
Should be loose Creates 1st layer
SLIDE 10
Step 2:
Tape off areas, 1st layer of spray paint
○ Creates depth ○ Forces decision making
SLIDE 11
Step 2:
Should be more precise Creates a 2nd layer
SLIDE 12
Step 2:
Should be more precise Creates a 2nd layer
SLIDE 13
Step 3:
Remove tape and stencil layer
SLIDE 14
Step 3:
Should be clean and crisp Creates 3rd layer
SLIDE 15
Student Examples
SLIDE 16
Step 4:
Drawn layer with Sharpies or paint markers Creates 4th layer
SLIDE 17
Student Examples
SLIDE 18
Student Examples
SLIDE 19
Great resources:
Books:
○ Stencil 101 ○ Stencil 201 ○ The Street Art Stencil Book ○ Stencil Republic
SLIDE 20
Great resources:
Online:
○ •Glossary of Graffiti
http://en.wikipedia.org/wiki/Glossary_of_graffiti
○ •Graffiti Creator
http://www.graffiticreator.net
SLIDE 21
Local Artists:
Reach out to the community
○ Joel Feciliano
SLIDE 22
Local Artists:
Reach out to the community