
SLIDE 1
O Scale West 2013 www.americantieandtimber.com 1
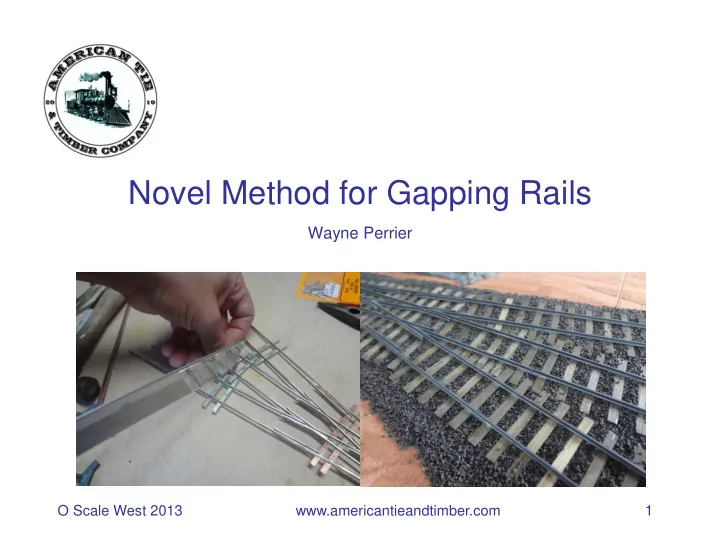
Novel Method for Gapping Rails Wayne Perrier O Scale West 2013 - - PowerPoint PPT Presentation
Novel Method for Gapping Rails Wayne Perrier O Scale West 2013 www.americantieandtimber.com 1 My Dad was a Real Engineer O Scale West 2013 www.americantieandtimber.com 2 Something Completely Unrelated 4-way switch its real! O
O Scale West 2013 www.americantieandtimber.com 1
O Scale West 2013 www.americantieandtimber.com 2
O Scale West 2013 www.americantieandtimber.com 3
O Scale West 2013 www.americantieandtimber.com 4
O Scale West 2013 www.americantieandtimber.com 5
O Scale West 2013 www.americantieandtimber.com 6
O Scale West 2013 www.americantieandtimber.com 7
O Scale West 2013 www.americantieandtimber.com 8
O Scale West 2013 www.americantieandtimber.com 9
O Scale West 2013 www.americantieandtimber.com 10
O Scale West 2013 www.americantieandtimber.com 11
O Scale West 2013 www.americantieandtimber.com 12
O Scale West 2013 www.americantieandtimber.com 13
O Scale West 2013 www.americantieandtimber.com 14
O Scale West 2013 www.americantieandtimber.com 15
#0000 steel wool
position.
O Scale West 2013 www.americantieandtimber.com 16
Weller soldering gun
silver-bearing solder where rail base meets Gapmaster metal top.
O Scale West 2013 www.americantieandtimber.com 17
with steel wool and or scratch brush.
#239 razor saw, held firmly.
O Scale West 2013 www.americantieandtimber.com 18
through rail base and slightly into composite substrate.
scratch brush.
roadbed.
O Scale West 2013 www.americantieandtimber.com 19
O Scale West 2013 www.americantieandtimber.com 20
O Scale West 2013 www.americantieandtimber.com 21
O Scale West 2013 www.americantieandtimber.com 22
O Scale West 2013 www.americantieandtimber.com 23
O Scale West 2013 www.americantieandtimber.com 24
O Scale West 2013 www.americantieandtimber.com 25
O Scale West 2013 www.americantieandtimber.com 26
O Scale West 2013 www.americantieandtimber.com 27
O Scale West 2013 www.americantieandtimber.com 28
O Scale West 2013 www.americantieandtimber.com 29
O Scale West 2013 www.americantieandtimber.com 30
O Scale West 2013 www.americantieandtimber.com 31