
SLIDE 1
Macro Photography The technical part Macrophotography. - - PowerPoint PPT Presentation
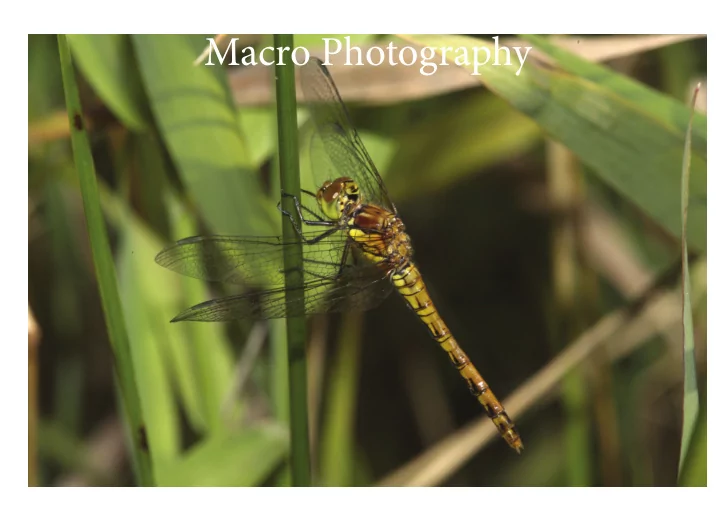
Macro Photography The technical part Macrophotography. MacroPhotography is the capturing of an image of an object at lifesize or up to 10 times life size on the record- ing medium, that is the film or digital sensor. 5 main methods 1
This is a lens that has been designed from the ground up as a lens that can focus on close
They are usually prime lenses and often perform poorly when focusing on distant objects. Prime lenses that are given a macro suffix are normally true macro-Lenses. Shorter focal length macro lenses need to brought closer to the object to achieve 1:1 magnification. Longer focal length macro’s allow you to work from slightly further away. Lenses such as these often have the magnification at a given focus distance mentioned on the focusing scale. Dedicated macro lenses can be expensive. Zoom lenses are often described with a macro suffix but are rarely true macro’s, that is they cannot give 1:1 magnification but have the advantage that they can act as a general purpose lens and are a good deal cheaper.
Price examples Sigma 180 mm macro lens £740, Sigma 150 mm macro cost £580. Canons 180 macro costs £1250 Tamrons 180 mm is £740, Tamron also has an excellent 90 mm macro which can focus at 29 cm and is £290. Canon have an unusual lens in the 65 mm MP E Lens which is non AF but capable of 1-5 times magnification. Sigma 70-300 mm Dl macro about £150, at the 300 mm end this lens can focus on objects 95 cm away at which point it can achieve 1:2 magnification ( that is half life size). )
These fit in between the lens and the camera body, allowing the lens to focus closer than it normally could. They are normally purchased in sets but must be bought with a specific fit to your camera model. A related technique to this is the use of bellows attachments which can be thought of as being infinitely variable length extension tubes. Because they don’t add glass between the lens and the camera they don’t affect the quality of the image. When using extension tubes the following formula must be born in mind. Magnification =Extension / Focal Length Say for example you are using a 90 mm Macro lens capable of 1:1 Magnification , because it is of 1:1 magnification it will have an extension of 90 mm adding another 60 mm of extension via extension tubes will give a magnification of 1.6 {(90 + 60)/90}
Examples of prices are; Canon 12 mm £67 Canon 25 mm £110 Kenko Dg set(12mm 20mm 36mm) £112. This set is not EF-S compatable Be sure to check compatibility before buying any extension tubes.
These are attached to the front of a lens and may be the screw in type or the cokin type. They work by allowing a lens to focus much closer than normal. They normally rated in dioptres and work by shifting the plane of focus from infinity to a point dependant on the dioptre of the close up element. When you fit a +1 dioptre close up filter and focus the lens on infinity (according to the scale on lens) you will be in fact be focused at an object 1 Meter away , a 2 dioptre will be focused on 1/2 Meter. With a lens that whose closest focus is 2 Meters you can use a +1 dioptre close up ele- ment which would bring its infinity focus to 1m and you can then focus on something even closer than 1 M . Close up filters have the disadvantage that they tend not to be as sharp as other methods because of the additional glass.
These are devices that fit between the lens and the camera but unlike extension tubes they contain a lens element and consequently can adversely affect quality. They modify the focal lenght of a lens by a given factor and cause a reduction in the amount of light it transmits, hence a 1.4 x converter will change a 300 F4 lens into a 420 mm F5.6, a 2 x converter makes it into a 600 F8. Canon call their teleconverters extenders. They are mainly used to magnify distant
These can aid macro photography because they don’t change the minimum focusing distance thereby magnifying the image size at a given focusing distance however they change the quality of the image.
This is an advance technique which relies on using two lenses. In the example shown below a 200 mm f4 and a 50 mm f1.8 are used . The 200 mm is mounted on the camera like normal but the 50 mm is attached to it in reverse using a special adapter ring (2 cokin filter rings of the apropriate size can be glued together to make one of these ). The 50 mm lens in effect ef- fect acts a highy corrected close up filter. Care must be take using this technique as vignetting may be possible. It is also advisable that the two lenses have a similar filter size. The magnifi- cation possible with this technique is equal to the focal lenght of the main lens divided by the focal lenght of the ‘supplementery’. Placing an extension tube between the main lens and the camera can help reduce vignetting.
Dedicated macro lens; 1:1 Magnification. Can be expensive. Optimised for macro. Extension tubes Relatively cheap. Loss of light. Quality unaffected. Lose ability to focus on infinity (when fitted) Teleconverter Working distance increased. Loss of f stop. Introduction of glass affects quality.
Close up filters Cheap Introduction of glass affects quality. No light loss Stacked Lenses Greater than 1:1 Possible. Complex technique. Possible vigneting
http://photo.net/learn/macro/index A general macro guide http://www.beautifulbugs.com/beautifulbugs/howto.htm A guide to insect macro photograpy http://www.edbergphoto.com/pages/Photo_tips.html A general photo guide with a good section on macro
Taking macro photographs has problems that require a bit more care and attention than nor- mal photography. The first of these is the limited depth of field available. Many times you are talking about a depth of field in the order of fractions of an inch. This implies that you have to be careful in setting up the camera (often on a tripod) in order to best make use of the available depth of field which of means setting up your camera so that it is perfectly parallel to the plane the object is in. Below you will find a table describing the depth of field available at various magnifications. This table is based in 35 mm film and is given in mm but it should give you an idea how small a depth of field you will get. Magnification M Reproduction ratio f/5.6 f/8 f/11 f/16 f/22 f/32 0.25 1:4 7.5 10.6 14.6 21.3 29.2 43 0.5 1:2 2.25 3.2 4.4 6.4 8.8 12.8 1 1:1 0.75 1.07 1.47 2.14 2.93 4.27 2 2:1 0.28 0.4 0.55 0.8 1.1 1.6 3 3:1 0.16 0.24 0.32 0.47 0.65 0.95 4 4:1 0.11 0.17 0.23 0.34 0.46 0.68 5 5:1 0.09 0.13 0.18 0.25 0.36 0.51
Because of the limited depth of field you will find that you are using f11 f16 and above more
The second of these is that autofocus is less use than normal. Normally when taking a macro shot you will have to choose which point in the shot you want in focus meaning you will have to manually focus on the area of the shot that you want sharp, relying on the AF will often grab the wrong area of the photograph to focus on. Often times you will want to photograph the object at the largest size possible and in such cases it is common to focus your lens at its closest possible focusing point and then rock the camera back and forth so you can focus on the point you are interested in. This is simplified by the use of a focusing rack. These allow you to set the desiered magnification and the move the camera forward to focus on the desiered object using the rack and pinion slide without having to adjust the tripod. Care must be taken not to cast shadows on the scene. Using mirror lock up and a remote release is recomended but not always possible. If you wish to use flash when taking macro shots you have another problem because often the inbuilt flash on your camera will have its light output blocked by the lens or lens hood you are using. Specially adapted flashes such as ringflashes may be necessary although if you are not to close flashguns on the camera might be ok.
F 14 1/200 second
50 mm lens no extension tubes. 50 mm Lens 13mm extension tube. 50 mm lens 21 mm extension tube. 50 mm lens 31 mm extension tube 50 mm lens 65 mm extension. 180 mm no extension tube.
On this and the next page you will find images taken with both a 50 mm lens and with a 180 macro lens , all used in conjunction with extension tubes. All photos are of the same object to better show the effect of extension tubes and the object in these cases was moved to the closest focusing point.
180 mm no extension tube. 180 mm 31 mm extension tube 180 mm 65 mm extension tube. A set of extension tubes. A focusing slide