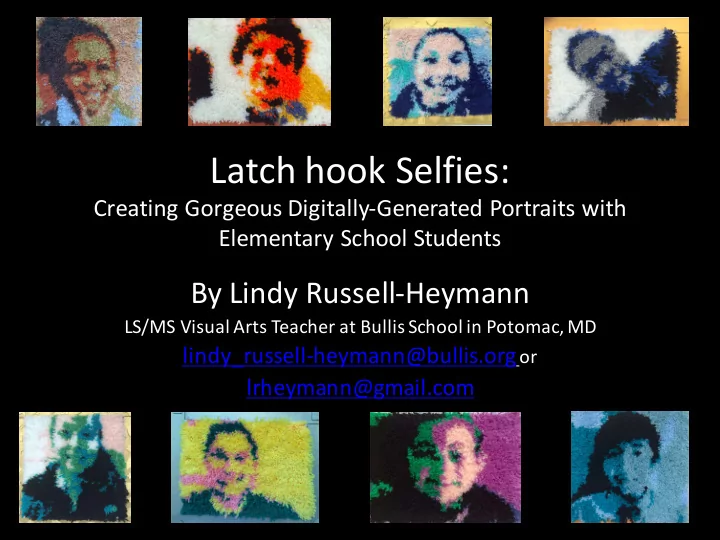
SLIDE 1 Latch hook Selfies:
Creating Gorgeous Digitally-Generated Portraits with Elementary School Students
By Lindy Russell-Heymann
LS/MS Visual Arts Teacher at Bullis School in Potomac, MD
lindy_russell-heymann@bullis.orgor lrheymann@gmail.com
SLIDE 2
Latch hook, in action
SLIDE 3
The fastest student in class:
SLIDE 4 Good Art Takes Time!
– Real Talk for Real Teachers, by Rafe Esquith – The Gift of Failure: How the Best Parents Learn to Let Go So Their Children Can Succeed, by Jessica Lahey
– Leftsource.com (to create the pattern)
– Herrschner’s.com or MCGtextiles.com (latch hook supplies)
SLIDE 5
SLIDE 6 “It’s not about the latch hook, it’s about time management.” “Please accept my sincere thanks for introducing a long term project like the latch hooking. It helps R to apportion his time investment, which is a great skill, both in art and in life.” “M has loved every minute of her latch
class so much. Thank you!” “I have latch hook fever!”
SLIDE 7
In defense of the abstract, minimal, and mysterious….
SLIDE 8
Getting from A to Z
From photo… …to pattern… …to rug!!
SLIDE 9
- 1. Have students take photos of each
- ther against a neutral background.
Note: Rectangles make smaller rugs than squares.
SLIDE 10
- 2. Students upload the photos in
leftsource.com
SLIDE 11
- 3. In leftsource, students manipulate
colors and play with values to alter their photos.
Limitless Bowie color combinations are possible!
SLIDE 12
- 4. Students print out the completed
patterns or email them to the teacher for checking, printing, and record keeping.
This is one pattern, based on a square photo. We use the cover sheet to keep track of our yarn.
SLIDE 13
- 5. Students cut and assemble the
pattern pieces to create one portrait. We use the paper pattern as a guide.
+ + + =
SLIDE 14
- 6. Math time! Students use the cover
sheet to calculate yarn amounts and to
SLIDE 15 Educreations is a great app for creating
- screencasts. I use it to walk students
through the long division.
SLIDE 16
- 7. Use the cover sheet from each
student’s pattern to order the yarn. Students then select their yarn on “shopping day”.
Order enough hooks for each child, then add 5-10 extra.
SLIDE 18
- 9. Progress is slow at first, as students
learn to manipulate the yarn and hook.
SLIDE 19
- 10. Then the project really takes off!
SLIDE 20
- 11. I allow students to take the work
home and periodically photograph it to show progress.
SLIDE 21
- 12. As students finish, we build frames
using chipboard, wooden shapes, and paint.
SLIDE 22
- 13. Show them off! Each rug has a
name tag with the student’s original photo for reference.
SLIDE 23
SLIDE 24
How to use www.leftsource.com
SLIDE 25
SLIDE 26
SLIDE 27
SLIDE 28
SLIDE 29
SLIDE 30
SLIDE 31
SLIDE 32
SLIDE 33
SLIDE 34
SLIDE 35
SLIDE 36
LOGISTICS
SLIDE 37 Before you start, make one yourself!
I learned a lot from creating my own… 1. Use a plain, uncluttered background.
SLIDE 38 5 inch Latch Rug Canvas is too small! Students will become frustrated trying to force their hooks into the
mesh.
SLIDE 39 Materials
- 3.75 Mesh Latch Hook Canvas- 36x60 inch for
6 students =$5-$10
- Latch hook tool= $2
- 1 package of yarn= $1 (we use 10-13 bags per
student)
SLIDE 40
Sending them home and a word about family involvement (which is mostly good!)
SLIDE 41
Modifications may be necessary
SLIDE 42
Long term deadlines with periodic check-ins keep everyone on track
SLIDE 43
Partnerships with homeroom teachers are really helpful.
SLIDE 44
Thank you so much! To contact me for resources, questions, or just to stay in touch, email me at: Lindy_russell-heymann@bullis.org or lrheymann@gmail.com