
SLIDE 1
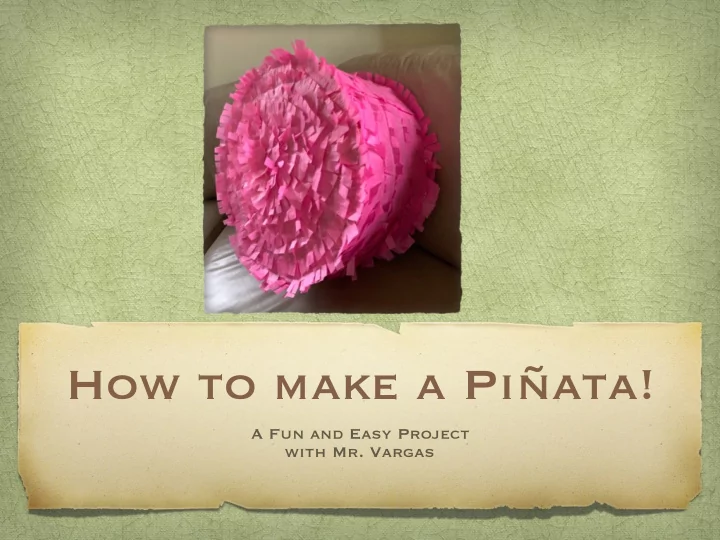
How to make a Piñata!
A Fun and Easy Project with Mr. Vargas
How to make a Piata! A Fun and Easy Project with Mr. Vargas What - - PowerPoint PPT Presentation
How to make a Piata! A Fun and Easy Project with Mr. Vargas What will you learn? Today you will learn the construction of a simple cardboard piata. With practice, you will be able to make any shape or figure you want! THE
A Fun and Easy Project with Mr. Vargas
construction of a simple cardboard piñata.
able to make any shape or figure you want! THE POSSIBILITIES ARE ENDLESS.
pinata for your next special event!
piñata)
It doesn’t matter if the cardboard is pretty or ugly
you will be deorating it so know one will ever know that is was ugly! Step a. Cut the Cardboard box on every edge where it is folded. Make sure to keep all of the pieces!
You only need two Cardboards that are the same size. Step A. Draw or trace the circle shape. **Ideas: The circle can be any size. You can use a plate, a pot, Pizza Cardboard, or whatever you can find. I used this pink circle as an example.
Step a. Cut out the two circle shapes. They must to be the same size. *You have to be strong! Use good scissors to make it easier. **Most importantly be careful! Ask for help if you need it.
You will need the flaps from the box to make the flexible side edge like you see below. They should all be the same height. This is what it should look like. Before After
enough flaps to fit around the shape you are going to
example, it is a round circle.
the way across the flaps about an inch apart.
have fnisihed slicing, Your flaps should bend and fold like this.
We have to make the hole to fill the candy!
Step A. Cut a small circle on the flexible side edge. You can hide it later with decoration.
We also need to hang it!
So that the pinata doesn’t break easily, we have to put in a hanging support device. It will look like this.
Inside
A, CUT TWO SMALL SQUARE PIECES OF CARDBOARD, about half the size of a cell phone.
Outside
TWO BOARDS. Using scissors, POKE two holes.
BE CAREFUL!
to match the two small squares. Pass a strong string
edge and the two cardboard pieces. Then, tie them together.
the inside and
look like. This is how you will hang the pinata.
Inside
Using 2”-3” inch pieces of tape, tape the flexible edge to the bottom side of the circle. Continue around the entire base. You may need help at first. It should look something like this.
Inside Outside
Continue taping all around the piñata.
circle on top. Tape it down.
piñata should look something like this.
colors you want.
your pinata!
strips with fringe should look like this.
strips are cut, you will make fringe one side
This is what makes it look
the fringe, cut into the strip half way, every half inch or so.
and stack several sheets of soft tissue
paper at the crease.
strips about two inches wide.
cover the top side with small amounts of glue. Work on one side at a time.
with the fringe side
the edge. If you are laying your strips straight across, start at the bottom.
gluing strip aroud and around, covering the top side. Your finished top side should look something like this.
You are now a certified piñata maker! THE POSSIBILITIES ARE ENDLESS! Have fun!