
SLIDE 1
Experience the Difference
2017
Experience the Difference 2017 DECRA Shake Panel Detail Installed - - PowerPoint PPT Presentation
Experience the Difference 2017 DECRA Shake Panel Detail Installed Exposure: 12- 5/8 x 51 Panels per Square: 22.4 Installed Weight: 150 lbs./sq. 2017 DECRA Tile Panel Detail Installed Exposure: 14- 1/2 x 50 Panels per Square:
2017
Installed Exposure: 12-5/8” x 51” Panels per Square: 22.4 Installed Weight: 150 lbs./sq.
2017
Installed Exposure: 14-1/2” x 50” Panels per Square: 20 Installed Weight: 150 lbs./sq.
2017
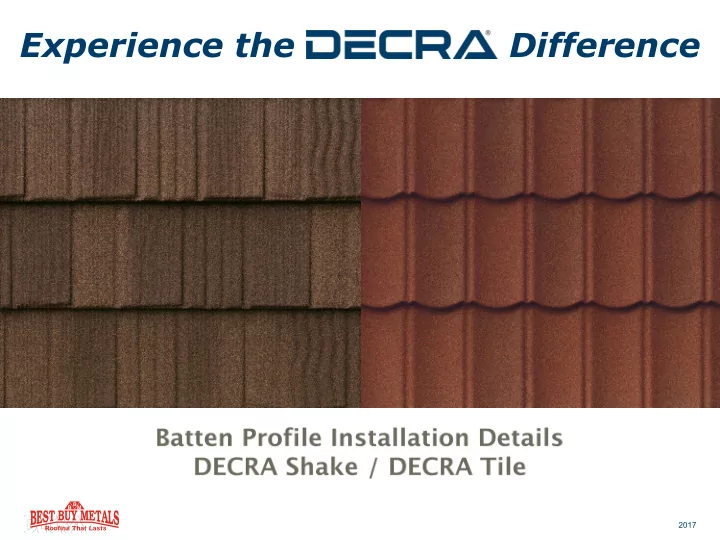
DECRA Shake Panel DECRA Shake Panel Vent Shake End Cap Side Flashing Flat Sheet DECRA Ridge Vent “W” Style Valley Shake Underpan Shake Hip & Ridge (at hips and ridges) 3.5” or 5” Fascia Metal
2017
DECRA Tile Panel DECRA Tile Panel Vent Tile End Cap Side Flashing Flat Sheet DECRA Ridge Vent “W” Style Valley Tile Underpan Tile Hip & Ridge (at hips and ridges) 3.5” or 5” Fascia Metal
2017
2017
2017
2017
2017
2017
2017
2017
2017
2017
2017
2017
2017
2017
2017
2017
2017
2017
2017
2017
2017
2017
2017
2017
2017
2017
2017
2017
2017
2017
ice and water shield.
Diameter) x 1-1/2” long corrosion resistant screw is recommended.
panels should be fastened with 7 fasteners at 7 evenly spaced locations.
batten.
2017
sealant / adhesive should be covered by roofing materials or by a matching stone granules.
damaged panel surfaces.
clean off ALL debris, ESPECIALLY any metal shavings.
matching colors and should be used where it is necessary to touch up or repair panel finishes.
2017
DECRA RA Shake Shadowo wood DECRA RA Shake Charco rcoal al DECRA RA Shake Weathere hered d Timber DECRA RA Shake Chestnut ut
2017
DECRA RA Tile Shado dowo wood DECRA RA Tile Charco rcoal DECRA RA Tile Terrac racotta DECRA RA Tile Garnet net
2017
Apple Store and Google Play
level pricing through MyDECRA.
profiles.
2017
DECRA Tile & Shake Estimating Sheet
2017
bestbuymetals.com
your rep using only your address
quotation
http://www.bestbuymetals.com
2017
2017