
5/16/2020 1
Home Vegetable Gardening
PRESENTED BY: CAROLYN KINNON, MIRACOSTA COLLEGE HORTICULTURE PROGRAM Chapter 13 – CALIFORNIA MASTER GARDENER HANDBOOK
2 nd Edition, 2015.
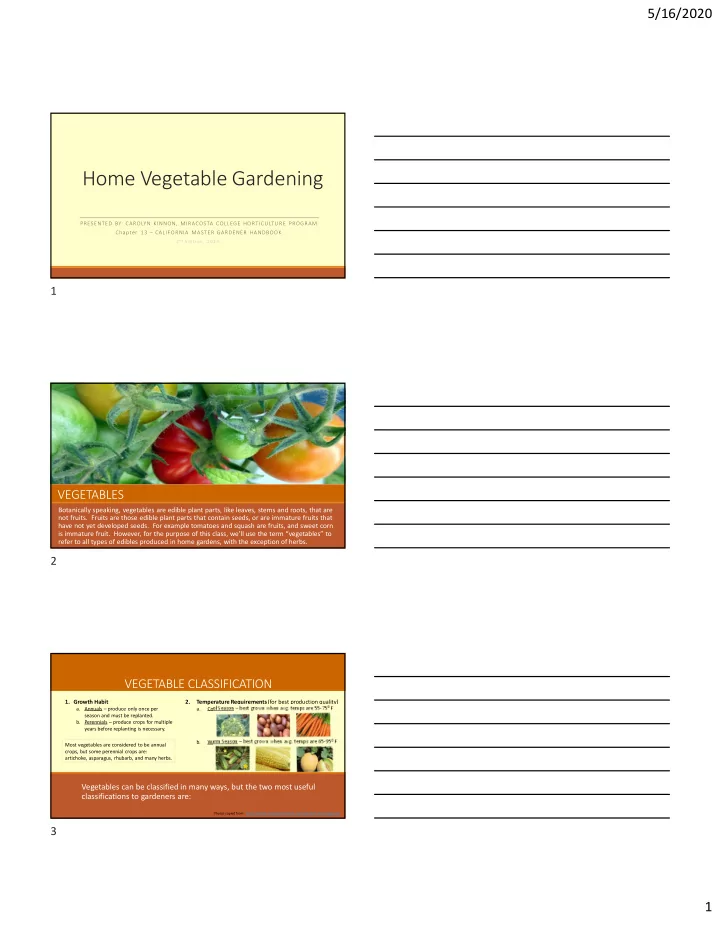
VEGETABLES
Botanically speaking, vegetables are edible plant parts, like leaves, stems and roots, that are not fruits. Fruits are those edible plant parts that contain seeds, or are immature fruits that have not yet developed seeds. For example tomatoes and squash are fruits, and sweet corn is immature fruit. However, for the purpose of this class, we’ll use the term “vegetables” to refer to all types of edibles produced in home gardens, with the exception of herbs.
Vegetables can be classified in many ways, but the two most useful classifications to gardeners are:
- 1. Growth Habit
- a. Annuals – produce only once per
season and must be replanted.
- b. Perennials – produce crops for multiple
years before replanting is necessary.
2. Temperature Requirements (for best production quality)
a. Cool Season – best grown when avg. temps are 55-750 F b. Warm Season – best grown when avg. temps are 65-950 F
VEGETABLE CLASSIFICATION
Most vegetables are considered to be annual crops, but some perennial crops are: artichoke, asparagus, rhubarb, and many herbs.
https://www.mastergardenersd.org/vegetable-planting-guide/ Photos copied from:
1 2 3