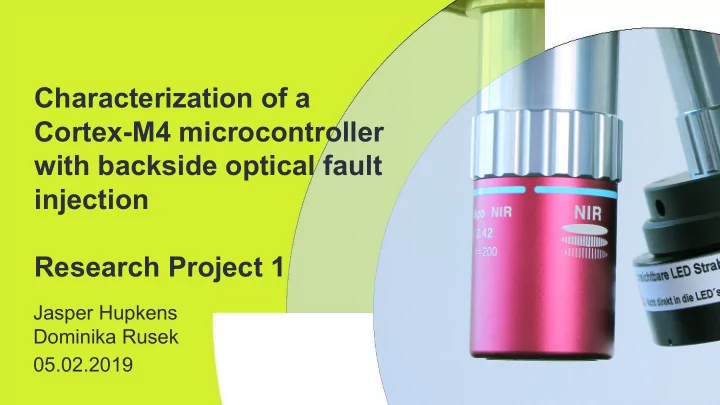

Characterization of a Cortex-M4 microcontroller with backside optical fault injection Research Project 1 Jasper Hupkens Dominika Rusek 05.02.2019 1
Introduction to the world of fault injection • Research project at Riscure • Fault injection techniques introduce faults into a target by controlled environmental changes, in order to alter its intended behavior • 5 types - clock, voltage, electromagnetic, optical, temperature • Our focus - optical (laser) fault injection 2 Introduction
Why? • Secure software relies on hardware functioning in the intended way • You can have the best lock in the world on your door, but if your door is made out of paper, it is useless • Used e.g in bypassing secure boot of Nintendo consoles 3 Introduction
Research question What is the security impact of injecting laser glitches into an ARM based, Cortex-M4 microcontroller (MCU)? • How may laser glitches be injected into the MCU so that it results in a fault? • What are the optimal variables for the laser to introduce glitches in the ARM Cortex-M4 MCU? • What behavioral changes occur in the MCU when injecting laser glitches? 4 Research setup
Device Under Test - Cortex-M4 5 Research setup
Test environment 6 Research setup
Test environment 7 Research setup
Methodology • Global vs detailed scan • Several laser parameters • Color coding of the results: • Red/pink – success • Green – expected • Yellow – mute • Orange – reset • Cyan – timeout • Glitch repeatability 8 Research setup
Results: Counter increment Code in C: • Goal: verify the setup, check if glitches can occur • Result: 0.012% successful glitches Code in ARM assembly: • Different memory and register operations 9 Results
Results: Counter increment 10 Results
Results: Bitwise increment • Goal: setting bits in a byte with a consecutive power of 2 • Result: 36.14% successful glitches • 0xff: 1111 1111 • 0xfb: 1111 1011 • 0xf7: 1111 0111 11 Results
Results: Bitwise increment 12 Results
Results: Register value modification • Goal: Modify value while in register • How: Initialize registers with known values • Result: 1.50% successful glitches • But we are modifying instructions instead 13 Results
Results: Register value modification • Register values: • r0: fa ca de 00 r6 : de ad be ef r4: ca fe ba be r5: fa ce fe ed • NOP instruction: mov r1, r1 • MOV transformed into Linear Shift Left (LSL) • Expected output: 0xfacade00deadbeefcafebabefacefeed 14 Results
Results: ADD loop • Goal: Increment a counter to 10,000 using a single instruction • Instruction: add.w r1, r1 #1 repeated 10,000 times • Result: 50.77% successful glitches • 0xdeadd77f • 0xeadc0789 • 0x1890 15 Results
Results: ADD loop • 16 Results
Results: ADD loop (0xdeadd77f) • Register r0 was first loaded with 0xdeadbeef • This value now shows up in r1 • Subtract 0x1890 from the result 17 Results
Results: ADD loop (0xeadc0789) • The same was true for this result • When we subtract 0x1890 from result 18 Results
Results: ADD loop • So how can this happen? • We modified the processor instruction, instead loading r1 it loads r0 19 Results
Results: ADD loop • How could we obtain the value of 0x1890 • Probably the counter was restarted, also this can be explained using a modified instruction • The AND instruction sets the counter back to 1 or 0 20 Results
Bypass authentication • Goal: Attack a real-world scenario, in this case, password verification • Result: 0.22% successful glitches • Lots of possibilities for introducing glitches 21 Results
Results: Bypass authentication 22 Results
Conclusion What is the security impact of injecting laser • There are two ways laser injection can be glitches into an ARM performed - backside and frontside based, Cortex-M4 microcontroller (MCU)? • Power 20-25% of the maximum 20W seemed to be most efficient • Other variables differ per experiment • We have proven to be able to modify processor instructions 23 Conclusion
Future work • Use of different objectives: magnitude 20x or 50x to have smaller spotsize and more precise aim • Target specific features of the board e.g. the Read Data Protection (RDP) byte • Test other processors in Cortex family with more advanced security features e.g. TrustZone or Memory Protection Unit (MPU) 24 Conclusion
Thank you! Questions? 25 Conclusion
Recommend
More recommend